If the urge to start fresh with your Hobonichi Weeks feels overwhelming or you secretly love the idea of a blank planner but freeze as soon as you see the first page—welcome. As a fellow paper planning enthusiast, I know how much potential (and sometimes anxiety) a new planner holds, especially one as beloved as the Hobonichi Weeks. Here at Dark Moon Paper, we design our weekly and monthly kits with both creative fun and practical ease in mind, so you can enjoy the best of both worlds: visually satisfying pages and a system that actually helps you stay on track. Let’s break down a step-by-step setup for your first month—one you can easily copy, adapt, and make your own throughout the rest of the year.
The Hobonichi Weeks offers a rare blend of flexibility and structure. Its slim format, horizontal weekly layout, and generous memo pages allow you to mix scheduling, journaling, goal setting, and creative memory keeping—all in the same book. This setup excels for:
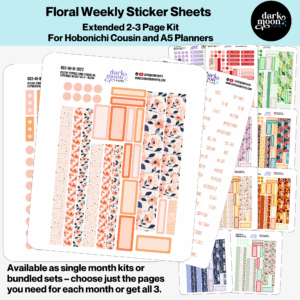
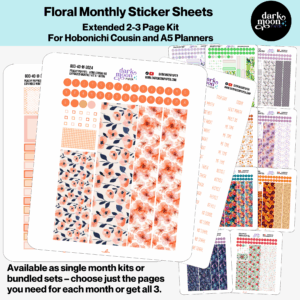
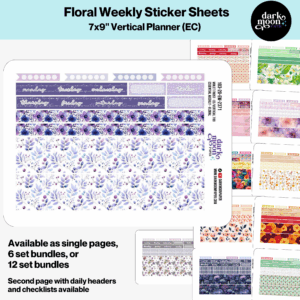
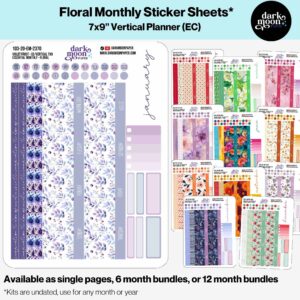
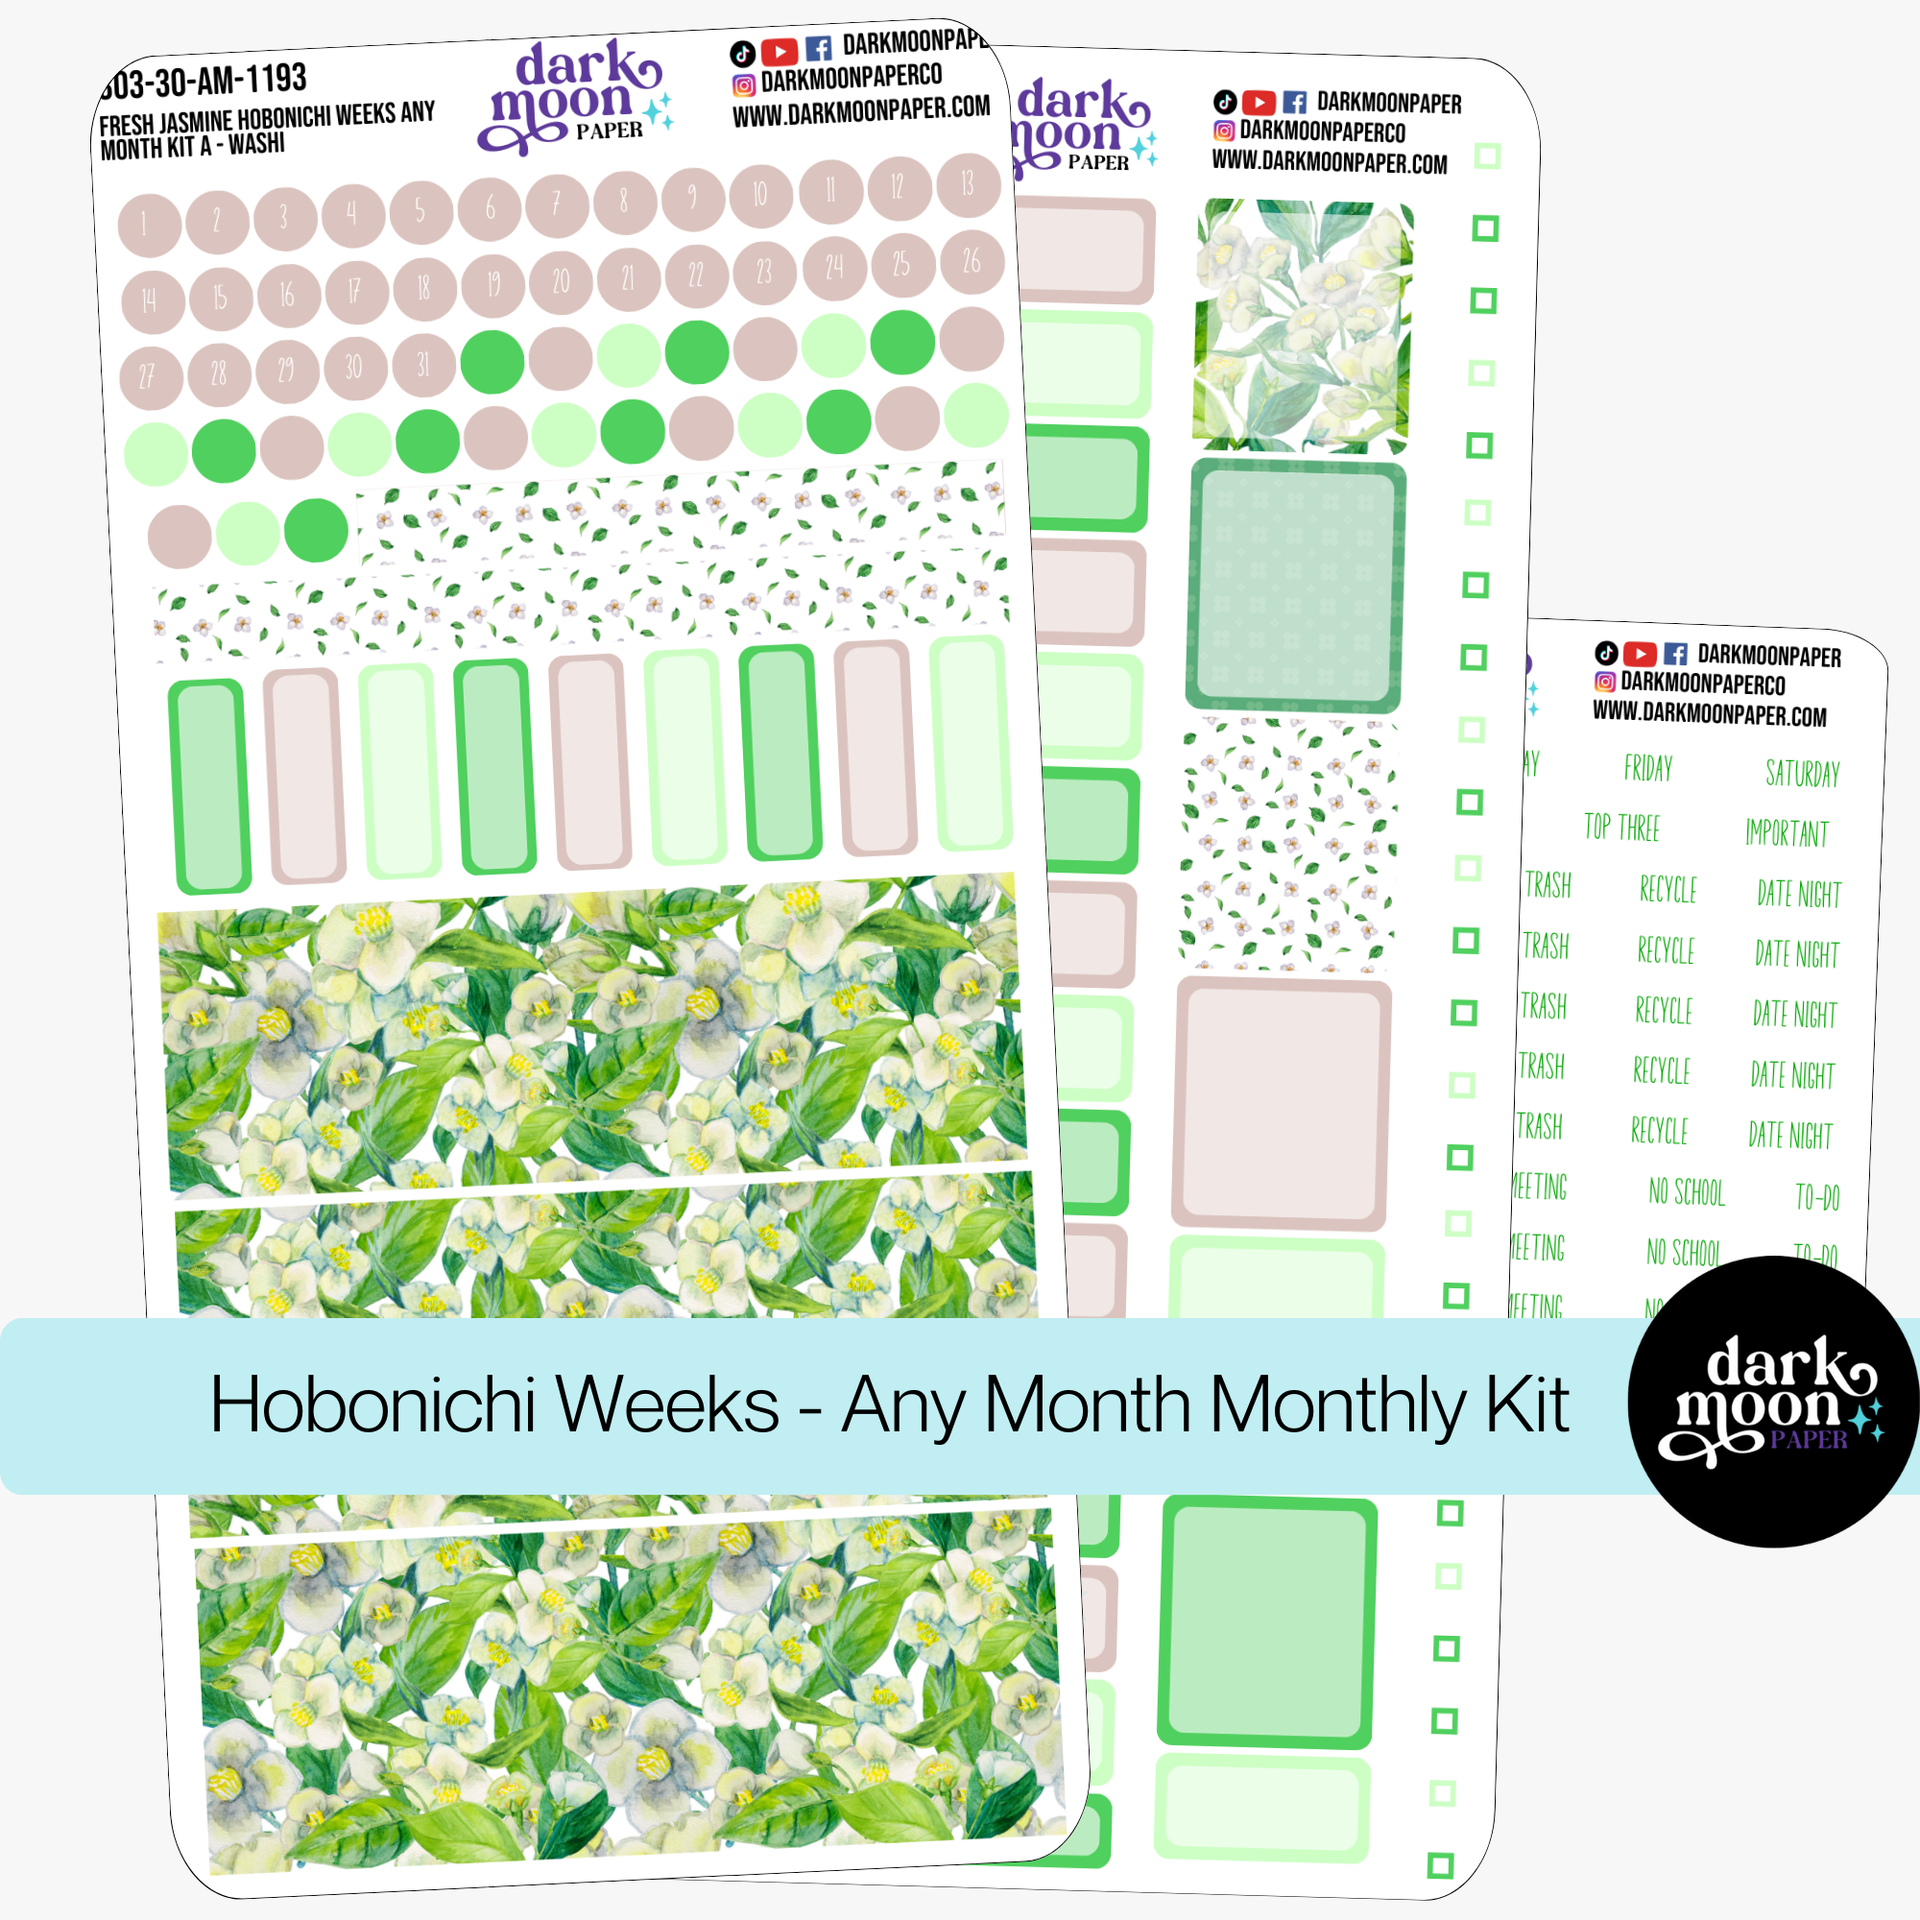
Our planner sticker kits are crafted to fit the Weeks’ unique dimensions perfectly—no more awkward trimming or wasted sheets. Everything is built for ease, but there’s a lot of space to personalize and experiment throughout your first month.
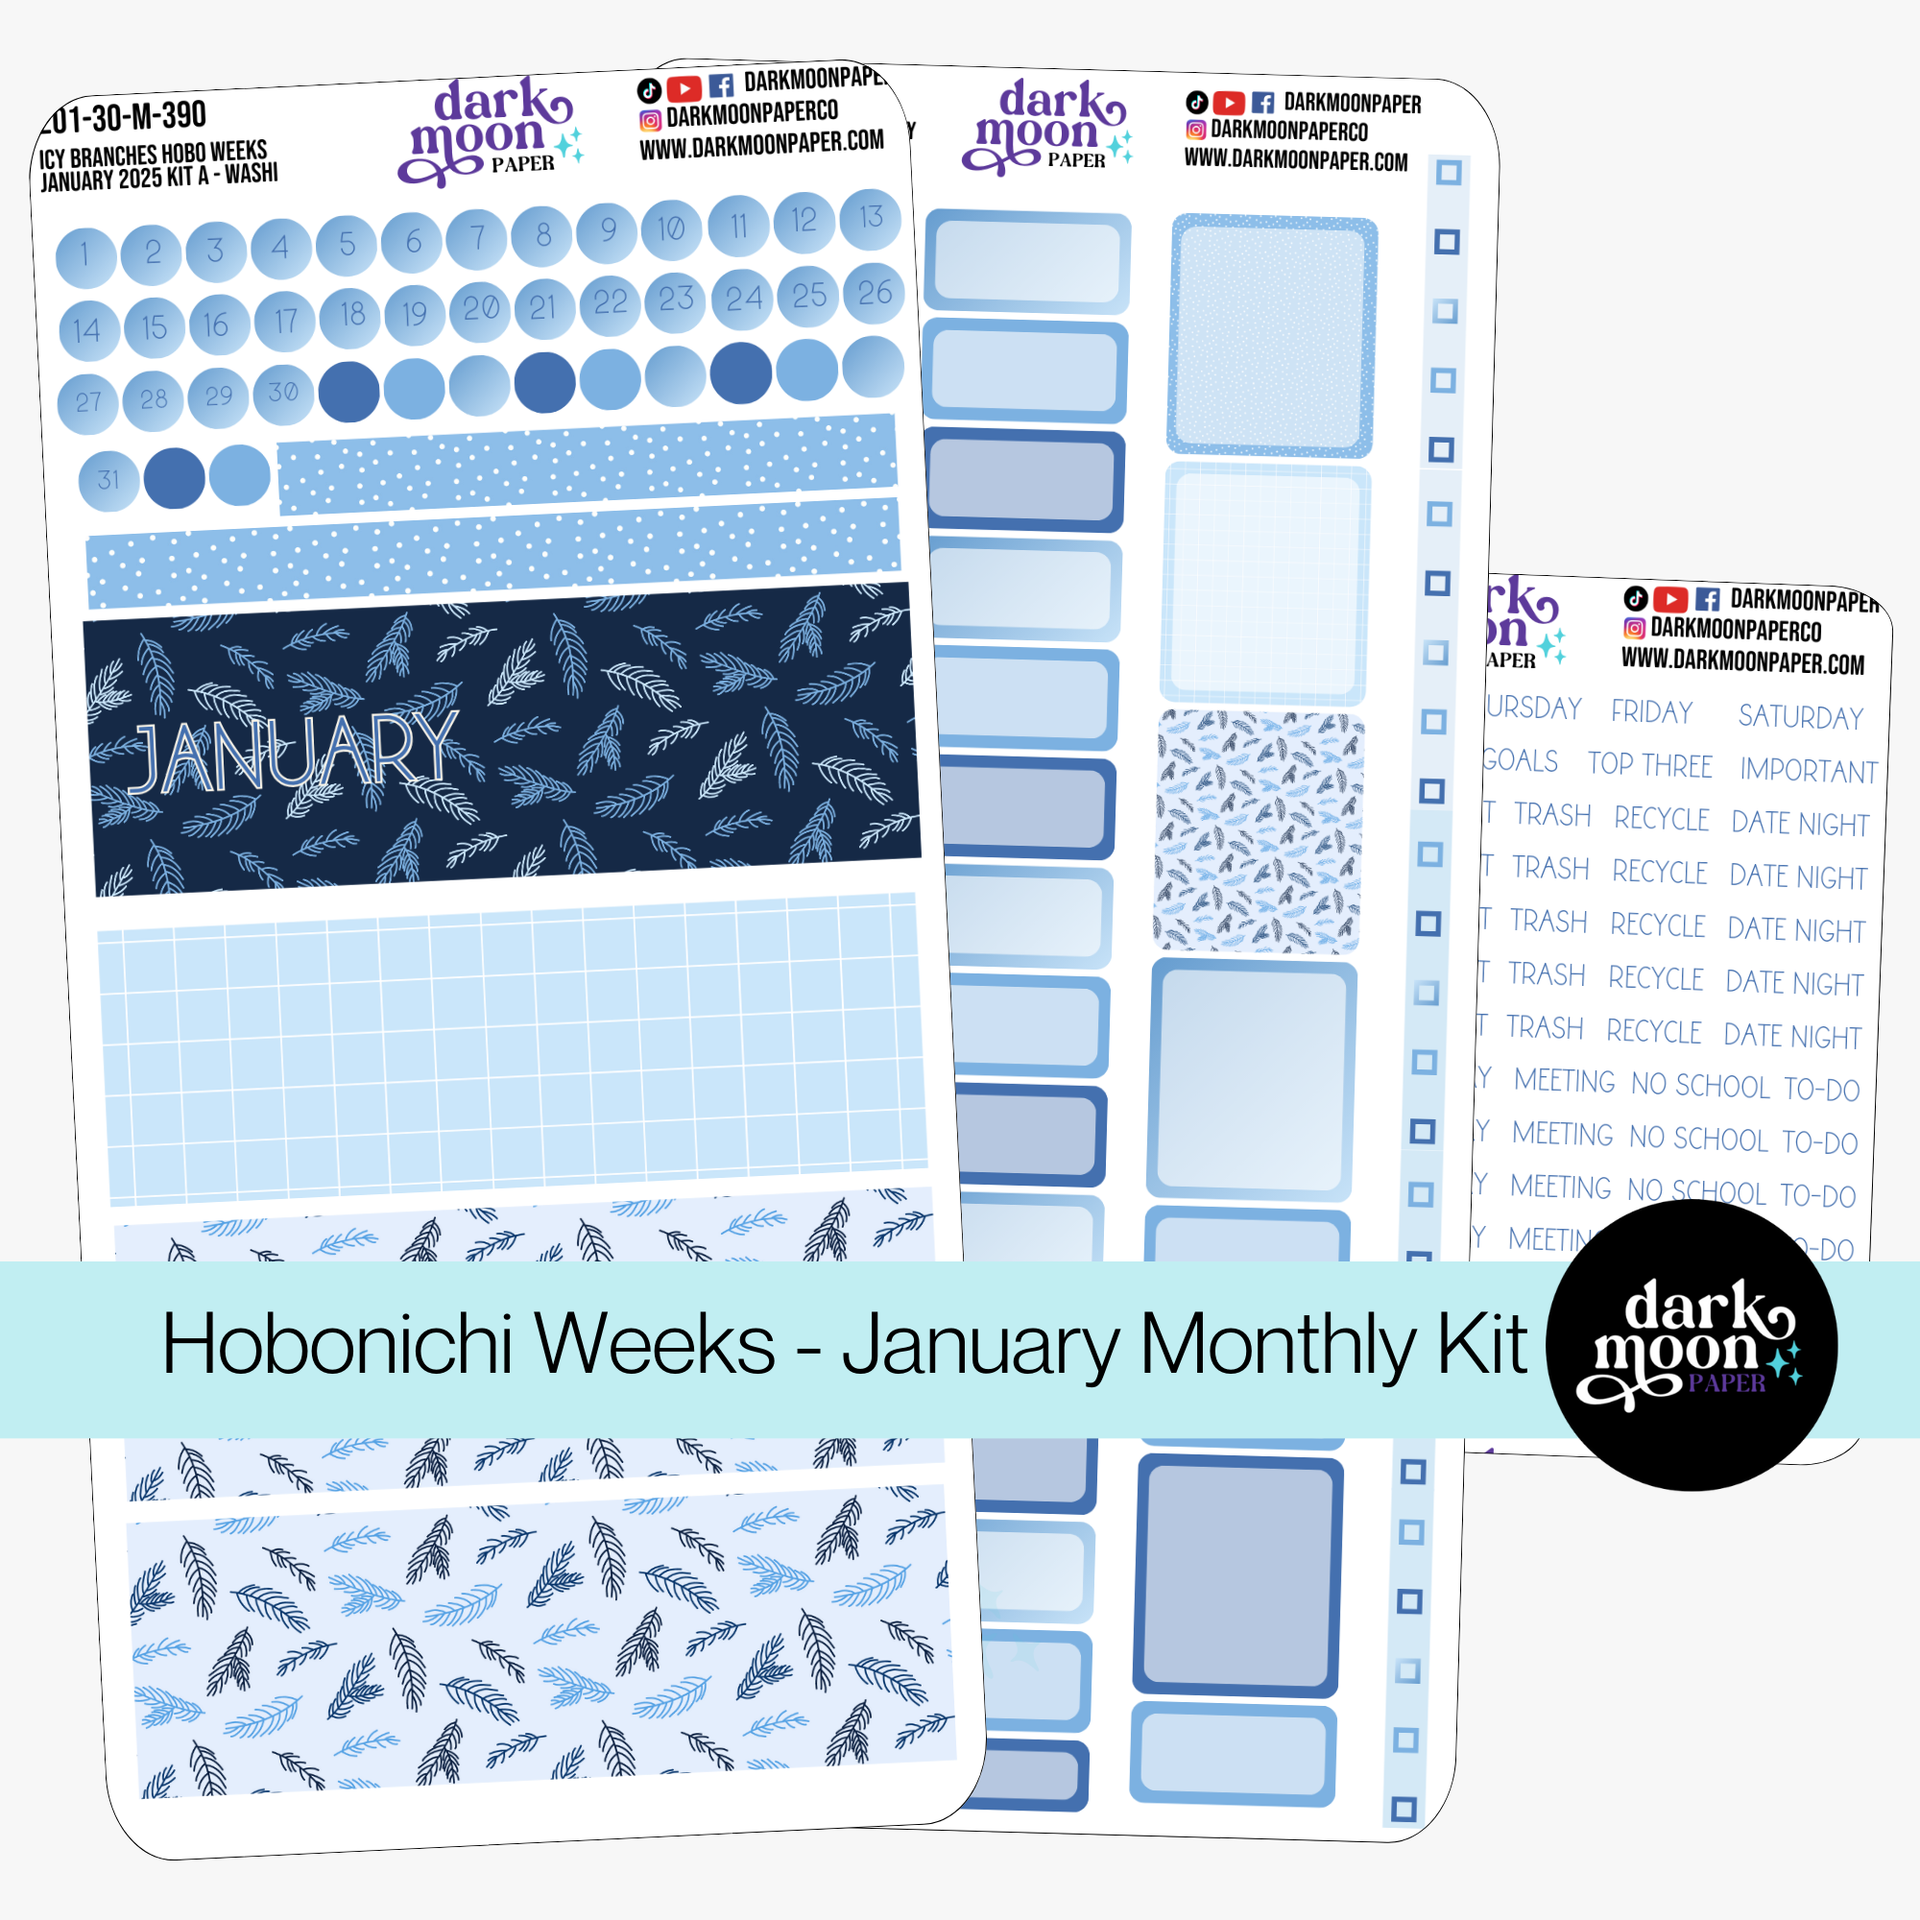
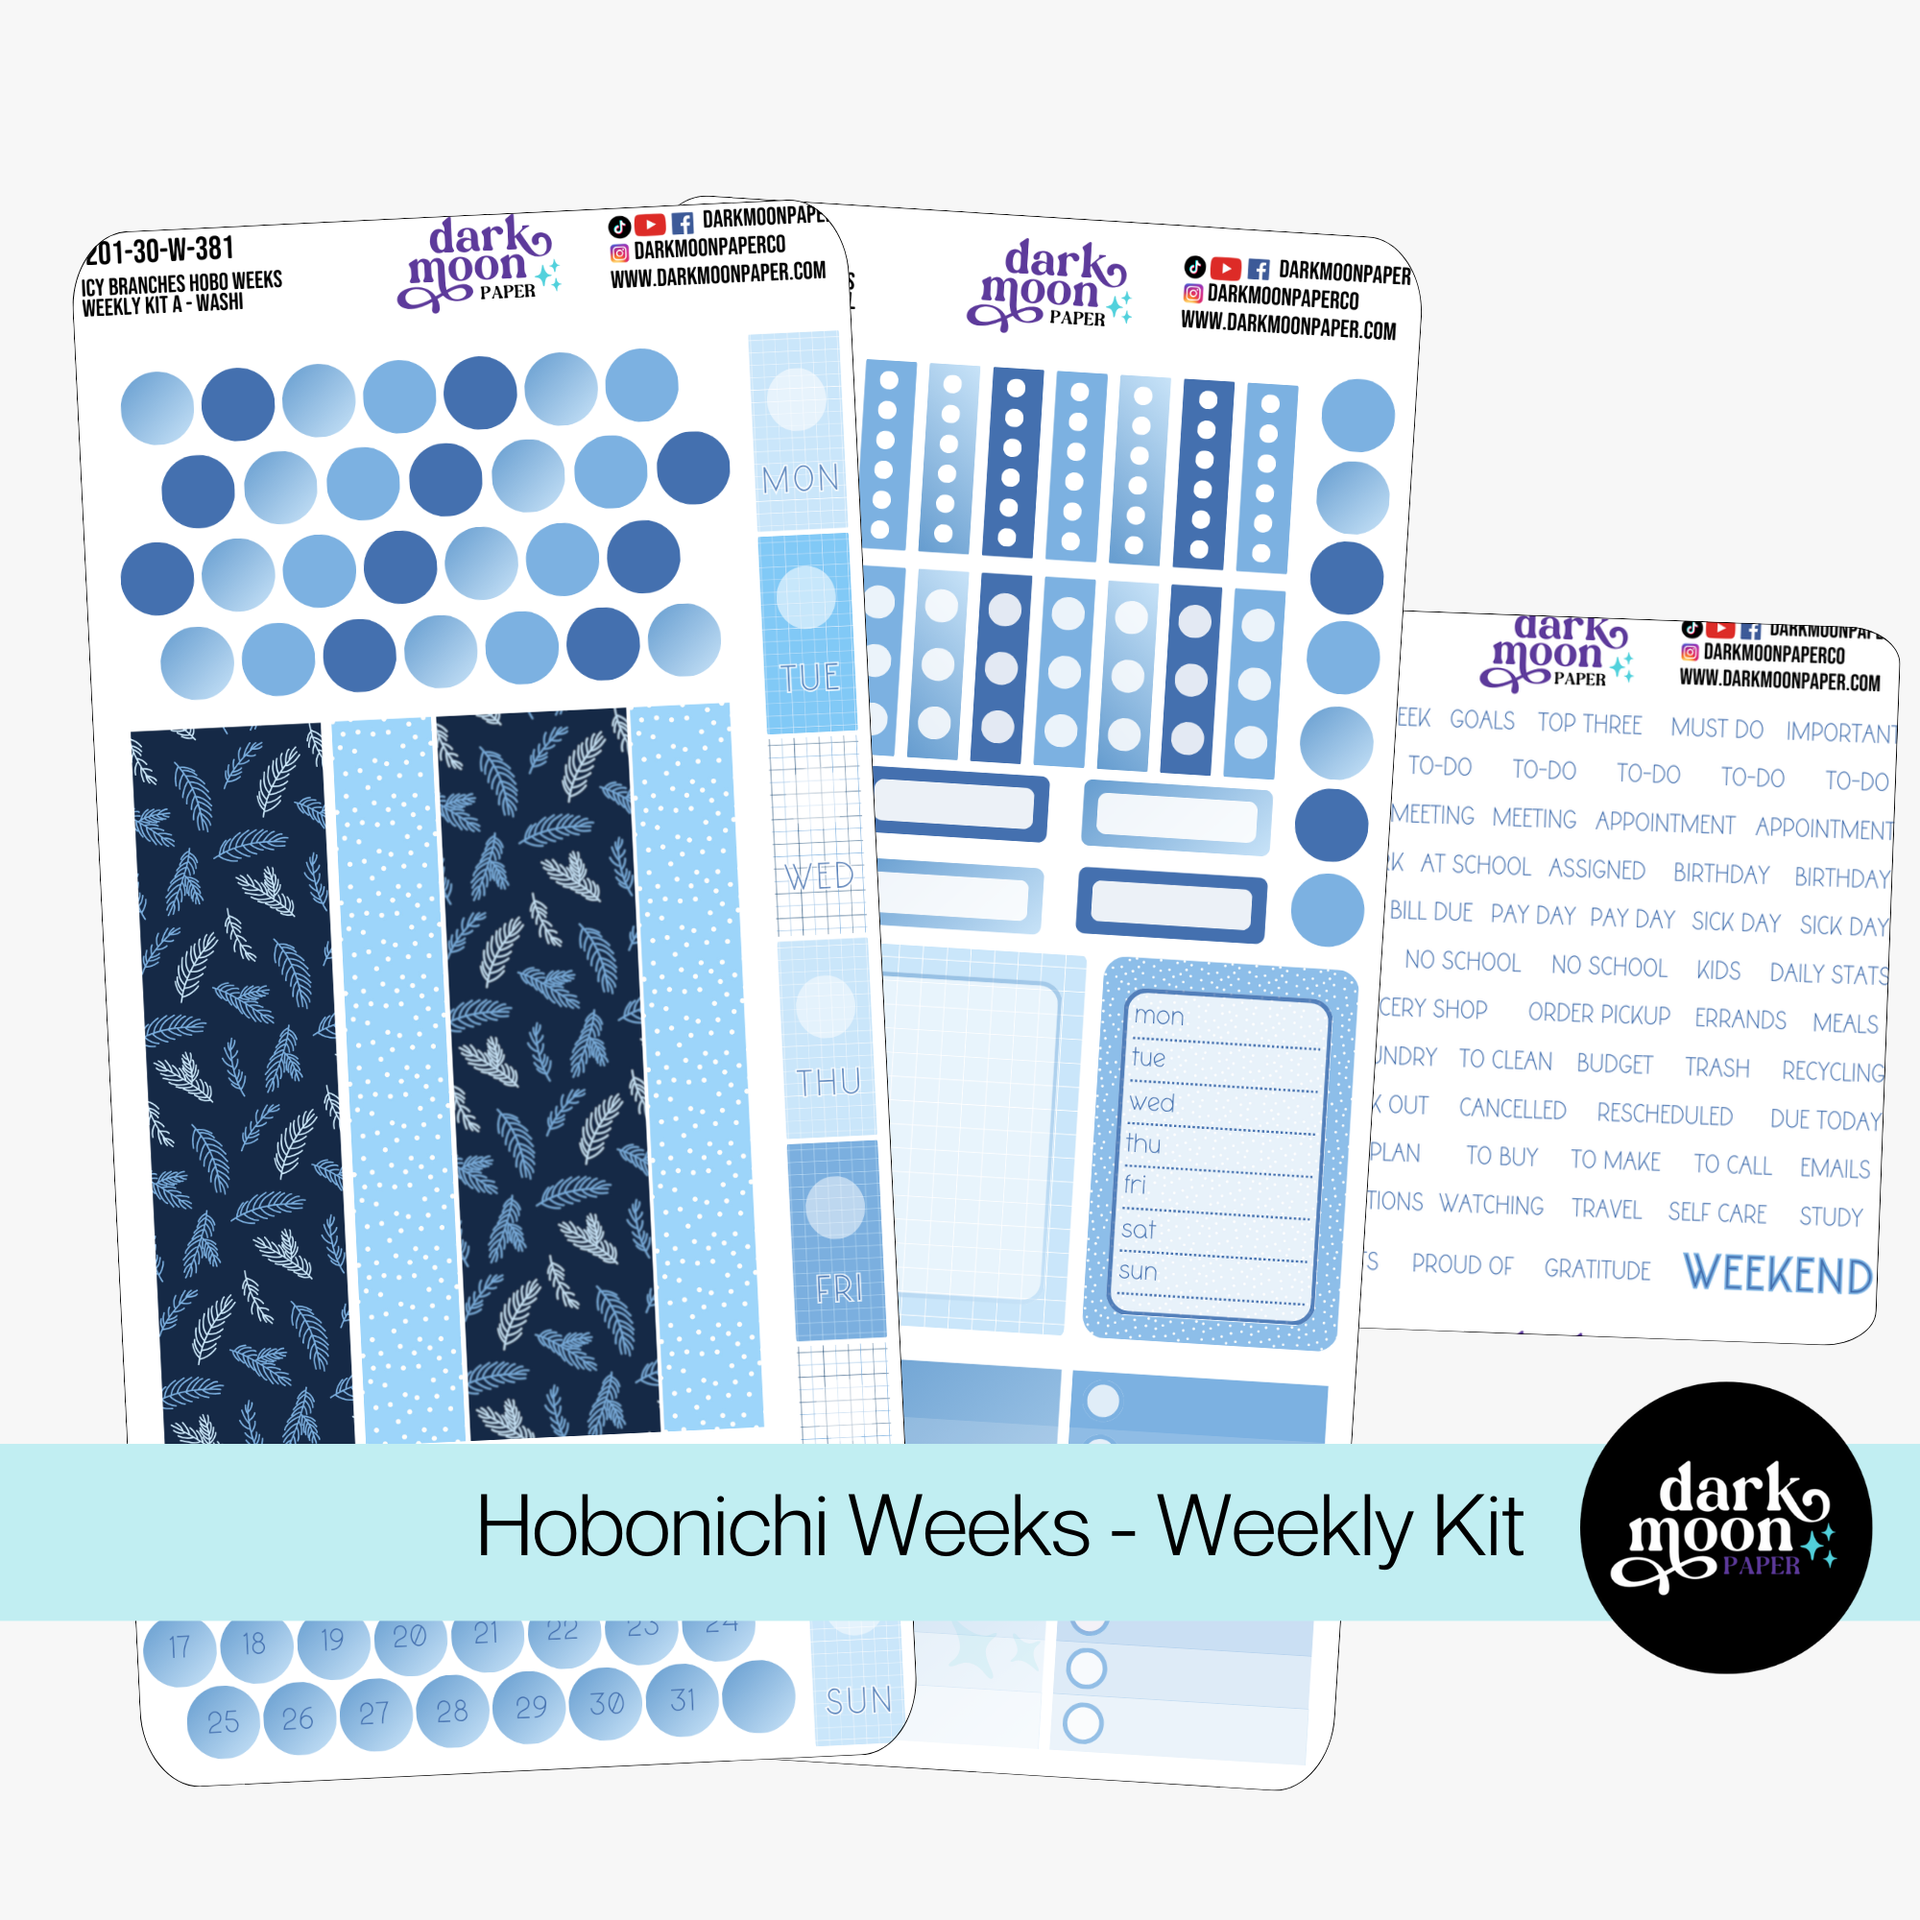
Winter themes like the Icy Branches January Kit set a cool, calm tone for the month. Each kit comes with washi strips, functional icons (think checklists, arrows, weather), and clean, understated text labels for the perfect polished finish.
Everything above is optional—but combining functional and decorative stickers lets you try out planning, tracking, and memory keeping layouts without the stress of perfection on each page.
Start with the yearly index near the front of your Weeks. Use a strip or two of your kit’s washi as month tabs on the page edge. Write in the week numbers horizontally—trust us, having those cues helps you find your place quickly all year.
Pro tip: If you struggle with keeping up year to year, fill in recurring dates (birthdays, anniversaries, deadlines) right up front—future you will thank you.
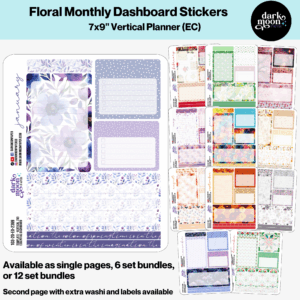
Flip to the January monthly spread. This is where you’ll see your wins every time you open your planner, so go all in on your chosen sticker kit theme.
Check out the full guide to maximizing your monthly overview for more ideas.
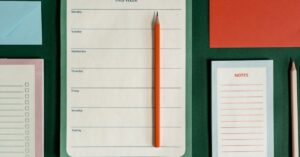
Next, dedicate a few of your back (or front) notes pages for the most important trackers. You can use our handwriting worksheet downloads to letter page headings or set up clean grids. Here are a few ideas you can use right away:
Bonus: Use headers like ‘Health’, ‘Clean’, or ‘Wins’ with a handwriting worksheet like MEOW MEDIUM from the Freebies Library to elevate your noted pages.
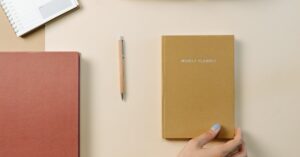
Now it’s time to personalize your weekly layouts.
If you want even more inspiration on weekly layouts, try our ideas for where to put to-dos, appointments, and notes or visit no-fuss weekly layout ideas.
On the front notes page (or inner cover), jot down a simple legend. For example, dot for task, circle for event, star for priority. Number key pages so you can easily find trackers, logs, or special lists later—this step saves time every week.
Always test new pens on an inconspicuous notes page before using them on your planner spreads. Curious which pens give the best results for the Hobonichi’s Tomoe River paper? Our real pen test blog is a useful deep dive. Doodle, test colors, and add any personal touches or quotes as you go.
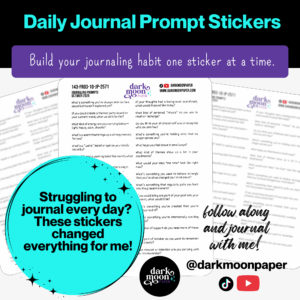
To make your planner a place of growth as well as organization, finish each evening or begin each morning by responding to a quick daily prompt in the memo or notes area. Kat curates daily journaling ideas on YouTube and TikTok—use Journal Prompt #050 or pick from recent uploads for a low-pressure, creative boost to your day.
Mercy wrote in a recent review that daily prompts kept her inspired to journal every day in her Hobonichi 5-Year—if you’re new to habit tracking or want to stay motivated, give this a try.
The real magic of your Hobonichi Weeks comes when you adapt the setup to new seasons or changing priorities. Change out Icy Branches for Fresh Jasmine or other monthly kits as winter turns to spring.
Use new handwriting worksheets each month for fresh headers and script practice, like Weekly Planner or MEOW MEDIUM. Add spreads for budgeting, listmaking, or monthly reflections as needed (monthly review routines can be a game changer!).
We’re thrilled to inspire and support your creative and organized journey—one month at a time.
Ready to transform your blank planner into a bright, motivating, artful home for your best ideas? Start by picking a theme you love for January—like the wintery Icy Branches January Kit—and layer in tracker templates, prompt routines, or weekly themes from our Freebies Library. Experiment, play, and adjust as you discover what works best for you. Your setup is always a living work in progress, and your creativity matters just as much as your checklists.
For more ideas, check out our detailed monthly calendar setup guide, explore planner sticker uses for goal and habit tracking, or dive into dozens of free printables to use in your planner at every stage.
We’d love to see your first month’s spread—tag us or join our community for ongoing inspiration. For even more planner tips, join our newsletter or follow Kat Spills The Ink on YouTube and TikTok. Happy planning, and here’s to a creative, truly fresh start this year!