Looking to make the most of your Erin Condren Vertical Planner? Here’s how you can stay organized, save space, and add a personal touch:
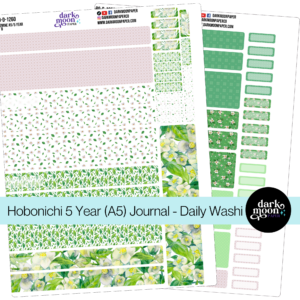
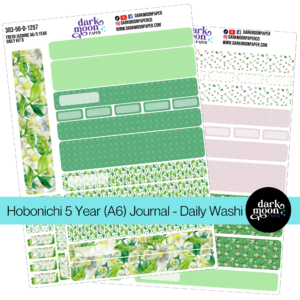
- Sticker Tips: Use color-coded headers, priority markers, and time block dividers to keep your layout neat and visually clear.
- Section Use: Assign sections for tasks like "Work", "Home", or "Self-Care" or divide your day into morning, afternoon, and evening blocks.
- Creative Layouts: Try color-coded time mapping, mini dashboards for daily priorities, or progress blocks for tracking multiple projects.
- Functional Techniques: Use time-blocking, abbreviations, and color-coded stickers to streamline your schedule and make planning easier.
With these ideas, you can create a planner system that’s both practical and visually appealing. Let’s dive into the details and start planning smarter!
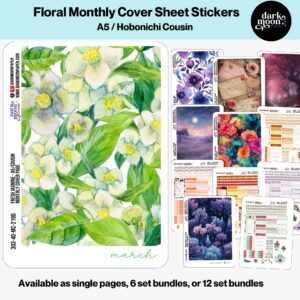
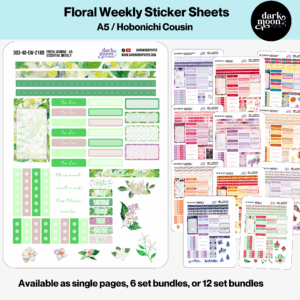
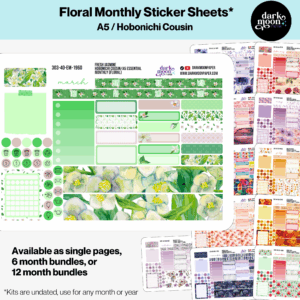
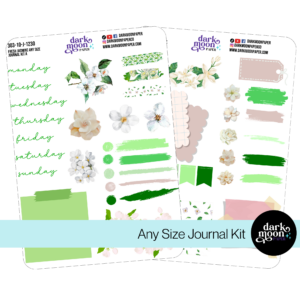
1. Sticker Placement Strategies
Here are three practical ways to place stickers in your Erin Condren Vertical Planner to keep it organized and visually appealing:
-
Color-Coded Headers
Use header stickers to visually organize your daily columns while keeping enough room to write. Pick stickers in soft, muted tones that fit neatly into the vertical layout. Assign specific colors to different activity categories for a clear and consistent system.
-
Priority Markers
Highlight key tasks without taking up too much space. Add small icon stickers – like dots, boxes, or checkmarks – in the left margin to indicate priorities. This keeps your planner uncluttered while making important tasks stand out.
-
Time Block Dividers
Divide your day into sections with thin, decorative stickers. These dividers make it easy to separate tasks or appointments while keeping your layout tidy and maximizing vertical space.
Once you’ve got the hang of placing stickers, you can start focusing on how to use each section of your planner more effectively.
2. Section Utilization Methods
1. Dedicated Task Categories
Assign each section a specific purpose like "Work", "Home", or "Self-Care." Use stickers or labels to create clear headers, keeping your planner neat and easy to navigate.
2. Priority-Based Time Blocks
Divide your day into morning, afternoon, and evening sections using thin washi tape. Place high-priority tasks at the top, appointments in the middle, and more flexible activities at the bottom. This method helps you focus on what matters most while keeping things visually organized.
3. Hybrid Planning Zones
Use the 12-box layout for a mix of monthly goals, weekly tracking, and quick notes or memory keeping. This setup offers a balance of structure and creativity, making your planner both practical and personal.
3. Layout Ideas for Your Planner
-
Color-Coded Time Mapping: Use stickers to assign specific colors to different activities like meetings, tasks, or deadlines. Whether you go for soft pastels or nature-inspired themes, this approach creates a visually clear schedule and helps you organize your day while saving vertical space.
-
Mini Dashboard Layout: Transform the top section of each daily column into a small dashboard. Add habit trackers, water intake logs, or a top-3 priority list side by side. This keeps your key goals visible while leaving room for detailed plans below.
-
Project Progress Blocks: Use thin washi tape to divide each vertical box into smaller sections. This makes it easy to track multiple projects at once while keeping your planner neat and organized.
These layouts can help you keep things visually appealing and more functional for your daily and long-term goals.
sbb-itb-57598ef
4. Functional Planning Techniques
Time-Block Categories help you organize your vertical layout in a clean and efficient way. Use thin washi tape or Dark Moon Paper’s "Lilac Dusk" header stickers to divide your daily columns into sections. For example, place appointments at the top, work tasks in the middle, and personal activities at the bottom. This approach keeps everything neatly arranged and easy to follow while saving space [1].
To make your planner even more practical, try using a simple abbreviation system that fits your style. For example, jot down "WM" for weekly meetings or "DR" for daily reviews in the margins. This saves time and space while keeping your notes clear. You can also use the bottom lines of your planner for meal plans or quick reminders to avoid clutter [1][2].
"Users can assign specific purposes to each section, such as using the first box for appointments, the second for work-related tasks, and the third for personal activities. The bottom lines can be used for nightly items like dinner plans or reminders [2][3]."
For a more polished look, pair your abbreviations with color-coded stickers or highlighters. This adds a creative touch while keeping your planner functional and visually appealing. Clear time blocks ensure your layout stays organized without feeling overcrowded, giving you both structure and flexibility.
These techniques turn your Erin Condren Vertical Planner into a practical and stylish tool that supports both productivity and creativity.
Conclusion
Using the strategies we’ve covered – like sticker placement and thoughtful layouts – you can create a planner system that fits your needs perfectly. Making the most of your Erin Condren Planner is all about designing a setup that boosts both your efficiency and creativity. The vertical layout gives you the flexibility to turn each box into a functional space that matches your planning style.
By blending stickers, sections, and layouts, you can build a system that fits smoothly into your daily routine. These techniques complement one another, helping you stay organized while showcasing your personal style. The vertical LifePlanner’s four boxes make it easy to organize tasks, appointments, and notes in a way that suits your life [1].
Try out different approaches – start simple, like using colors to organize tasks or separating sections with washi tape. As you get more comfortable, layer in advanced techniques to refine your process. The key is finding the right balance between style and function, using decorative touches to support your organization.
Regularly reviewing and tweaking your layout will help you create a planner that’s not just useful but essential for managing your time and reaching your goals. By combining practical organization with your own creativity, you’ll have a planning system that’s both effective and enjoyable to use.
FAQs
What are calendar stickers for?
Calendar stickers are a great way to add both organization and style to your Erin Condren Vertical Planner. They help you visually organize tasks, highlight important dates, and create clear categories for your activities.
Using color-coded stickers can make planning easier by visually separating different types of commitments. For example, you might use red for work meetings, blue for personal appointments, and green for recurring tasks. This makes it quicker to identify what’s on your schedule at a glance [1].
Placing stickers thoughtfully can boost your planner’s functionality without making it feel cluttered. When combined with techniques like time-blocking or hybrid planning zones, stickers can make your daily layout even clearer and more user-friendly [1][3].
| Category |
Sticker Type |
Purpose |
| Deadlines |
Flag stickers |
Highlight urgent dates |
| Appointments |
Circle stickers |
Mark meetings |
| Recurring Events |
Icon stickers |
Track ongoing activities |
| Goals |
Checkbox stickers |
Monitor your progress |
Starting each planning period with a consistent sticker system can help you stay organized and keep your planner visually clean [1]. Thoughtfully incorporating stickers allows you to improve both the functionality and appearance of your planner, making it a more effective tool for managing your time [1][3].
Related posts