Creating a magical forest-themed weekly planner layout goes beyond just functional planning—it’s about curating an inspiring and transformative space that blends beauty, creativity, and organization. At Dark Moon Paper, we understand how the right visual palette can turn your weekly spread into a woodland escape that reinvigorates your routines and sparks creative energy as you organize. If you’ve ever wished your planner felt as enchanting as a sunlit woodland clearing, our Electric Forest sticker kits will guide you there. Below, you’ll find practical tips, detailed placement strategies, and creative layout formulas tailored to Hobonichi Weeks, Hobonichi Cousin (A5), and standard vertical planners.
What Sets the Electric Forest Theme Apart?
- Deep, immersive palette: Moody greens, twilight blues, glowing accents—each kit is designed to feel like stepping into an enchanted forest at dusk.
- Purpose-made and format-perfect: Every element—from washi and date covers to text labels—is precision-cut for the layouts we support, so your spreads always look polished.
- Customizable kit sizes: Choose the single sheets you need or opt for the full set for maximal creative freedom.
What You’ll Need to Get Started
- Your planner: Hobonichi Weeks, Hobonichi Cousin (A5), or any 7×9 vertical-style planner.
- Electric Forest sticker kit(s): At minimum, grab Sheet A (washi/date covers) and Sheet B (functional boxes/checklists).
- Optional: fine-tip pen, washi card, ruler, tweezers, or a mild-liner for highlighting.
Kit Options and Product Showcase
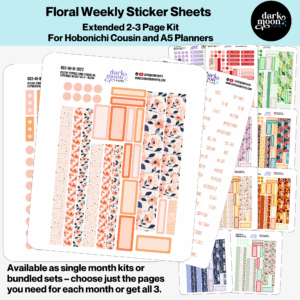
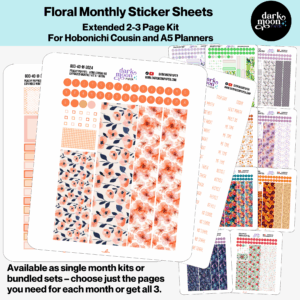
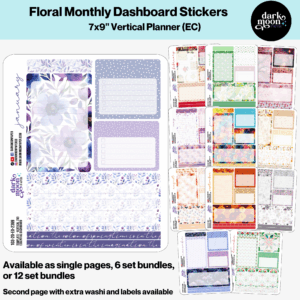
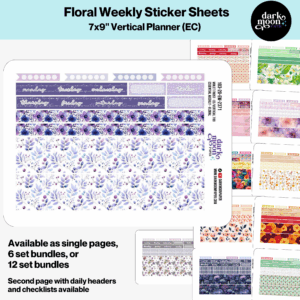
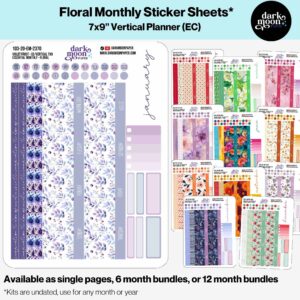
Below are the most popular Electric Forest kits for different planner styles. Each is uniquely tailored for its format, ensuring fit and flow:


Planner Sizing and Sticker Placement Tips
Hobonichi Weeks
- Page size: 93 x 187 mm; columns are narrow—plan for minimal but bold accents.
- Bottom washi is pre-sized, but you can trim 1-2mm at the binding for a crisp look.
- Date covers and flags align best flush left; burnish gently for smoothness.
Hobonichi Cousin (A5)
- Page: 148 x 210 mm, fine grid. Sidebar is perfect for habit tracking or a reflection box.
- Weekly kit washi spans full width; trim at left/right if you want a thin white border.
7×9 Vertical
- Each daily column is 1.5” wide—full boxes fit exactly (1.5 x 1.9”).
- Layer washi at the bottom edge and trim at the planner’s coil or curve for a seamless base.
Forest Layout Formulas & Step-by-Step Build
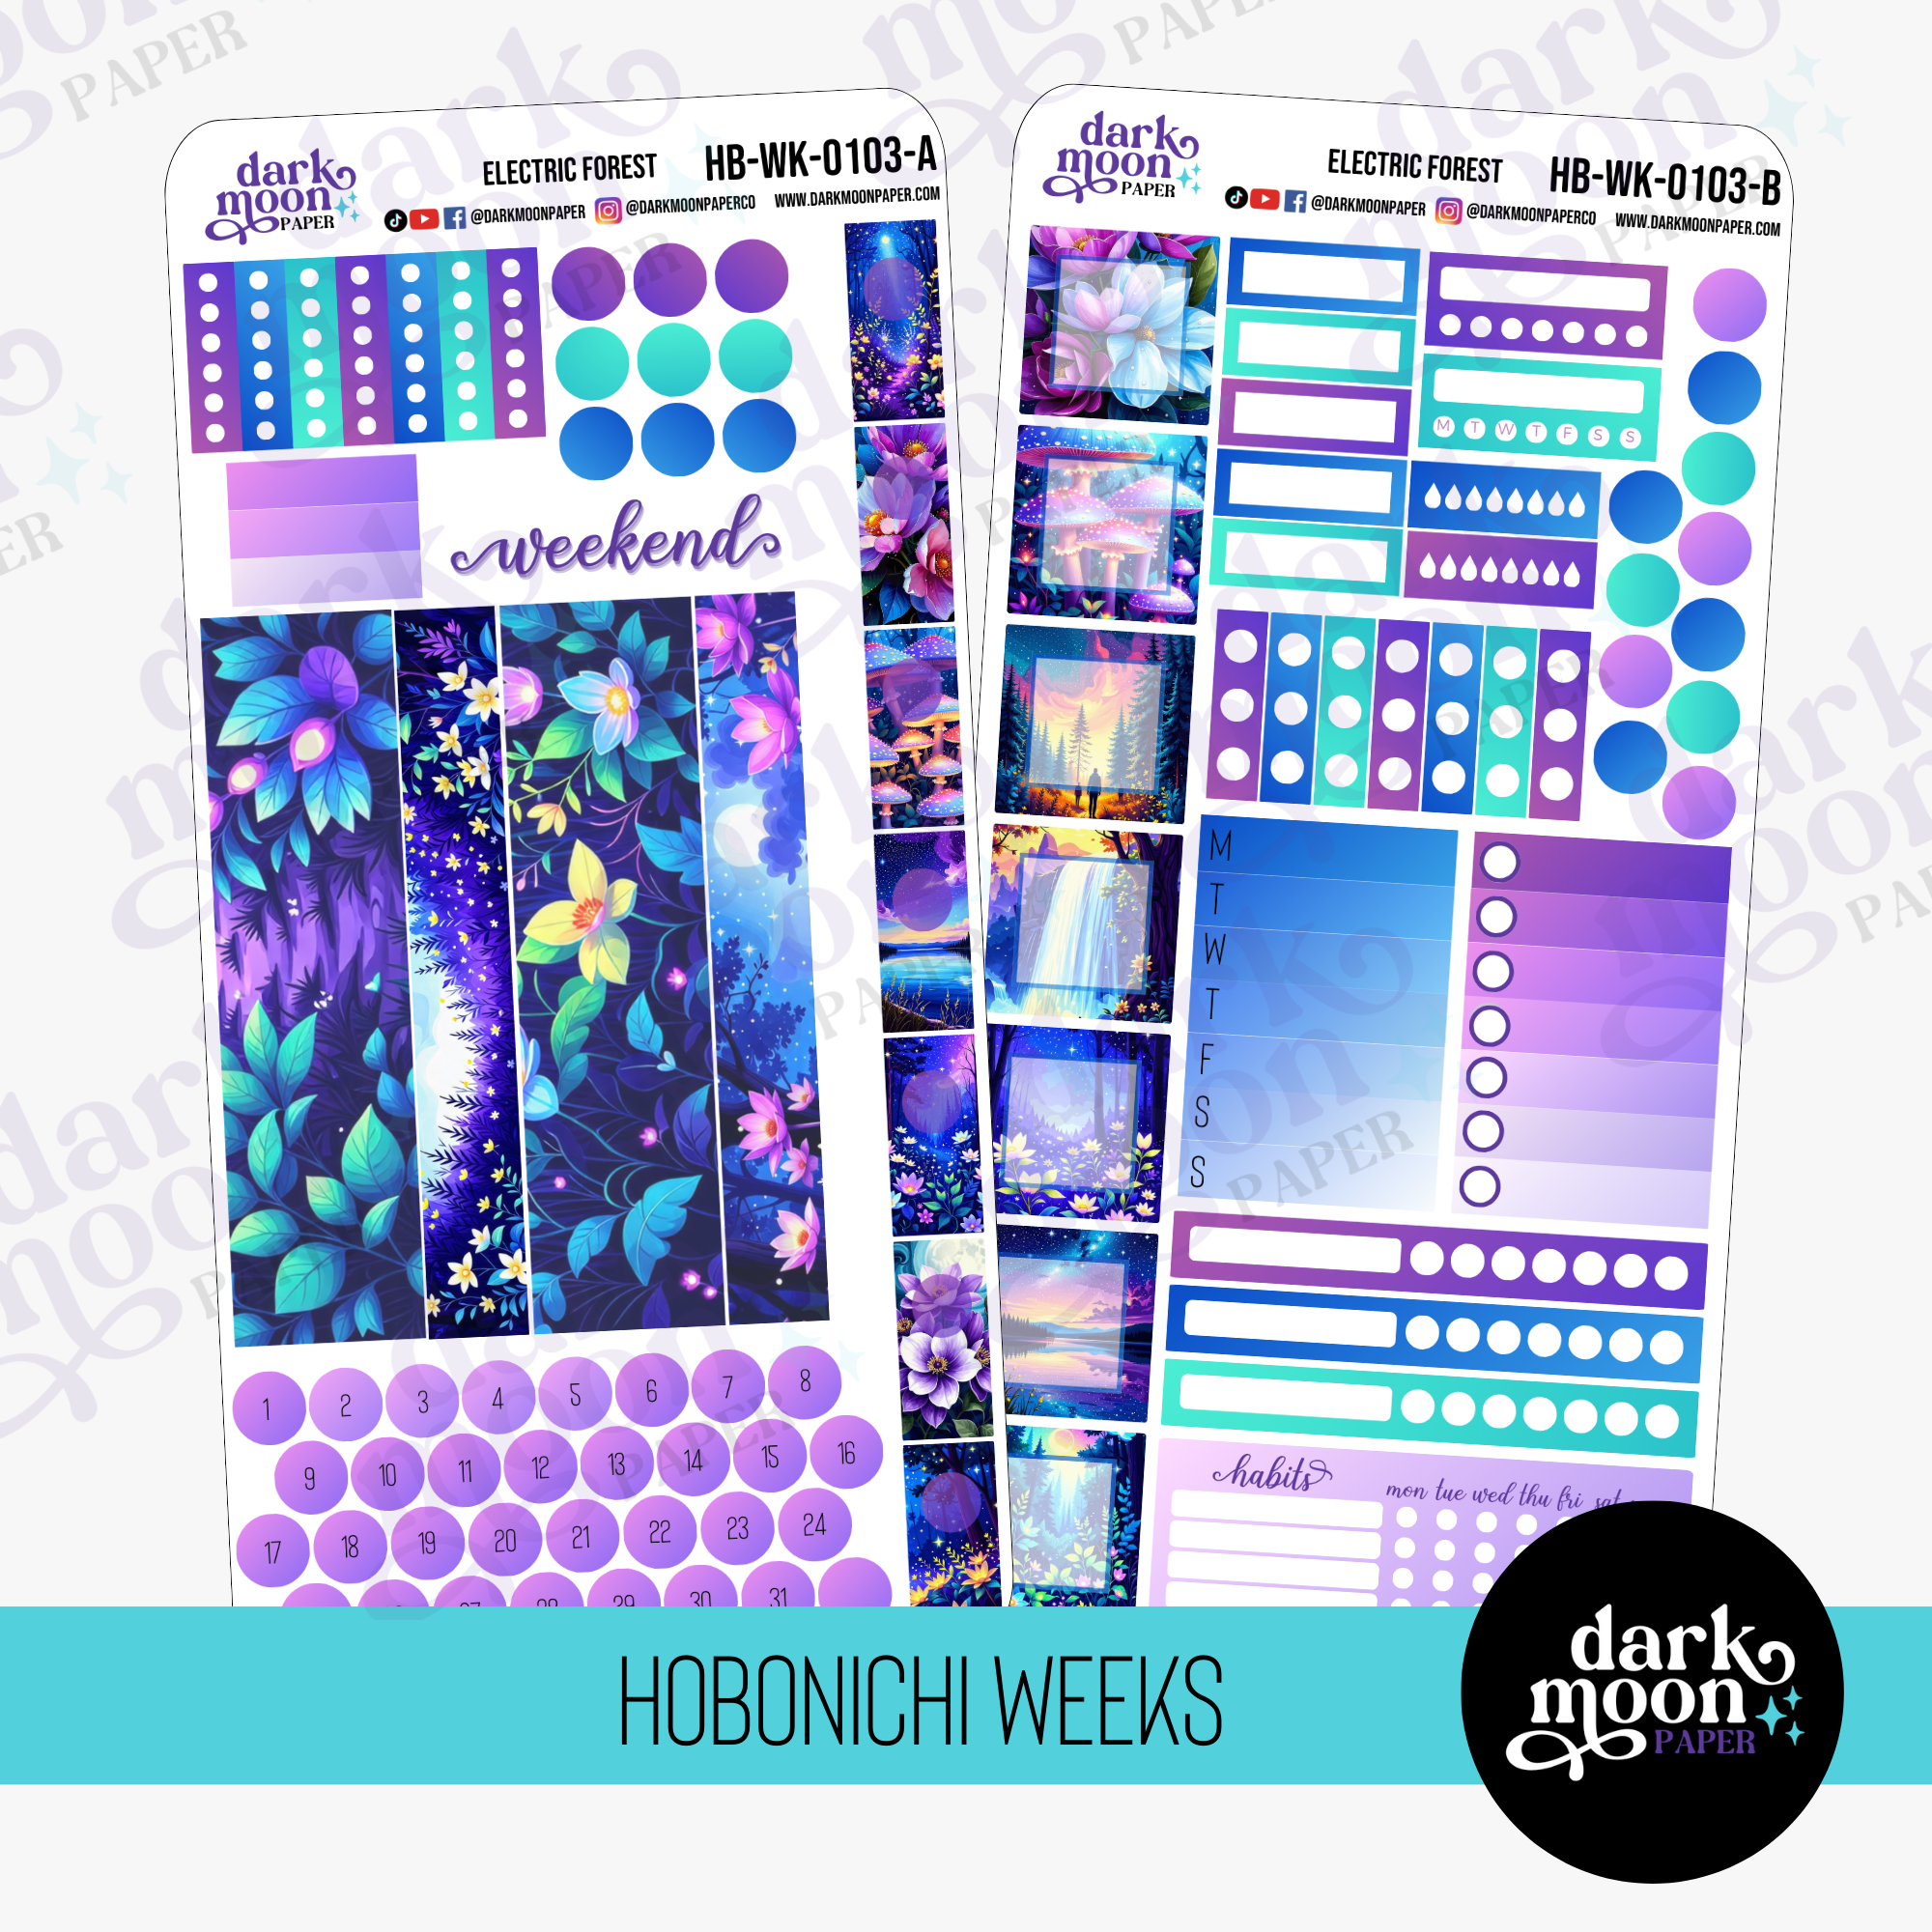
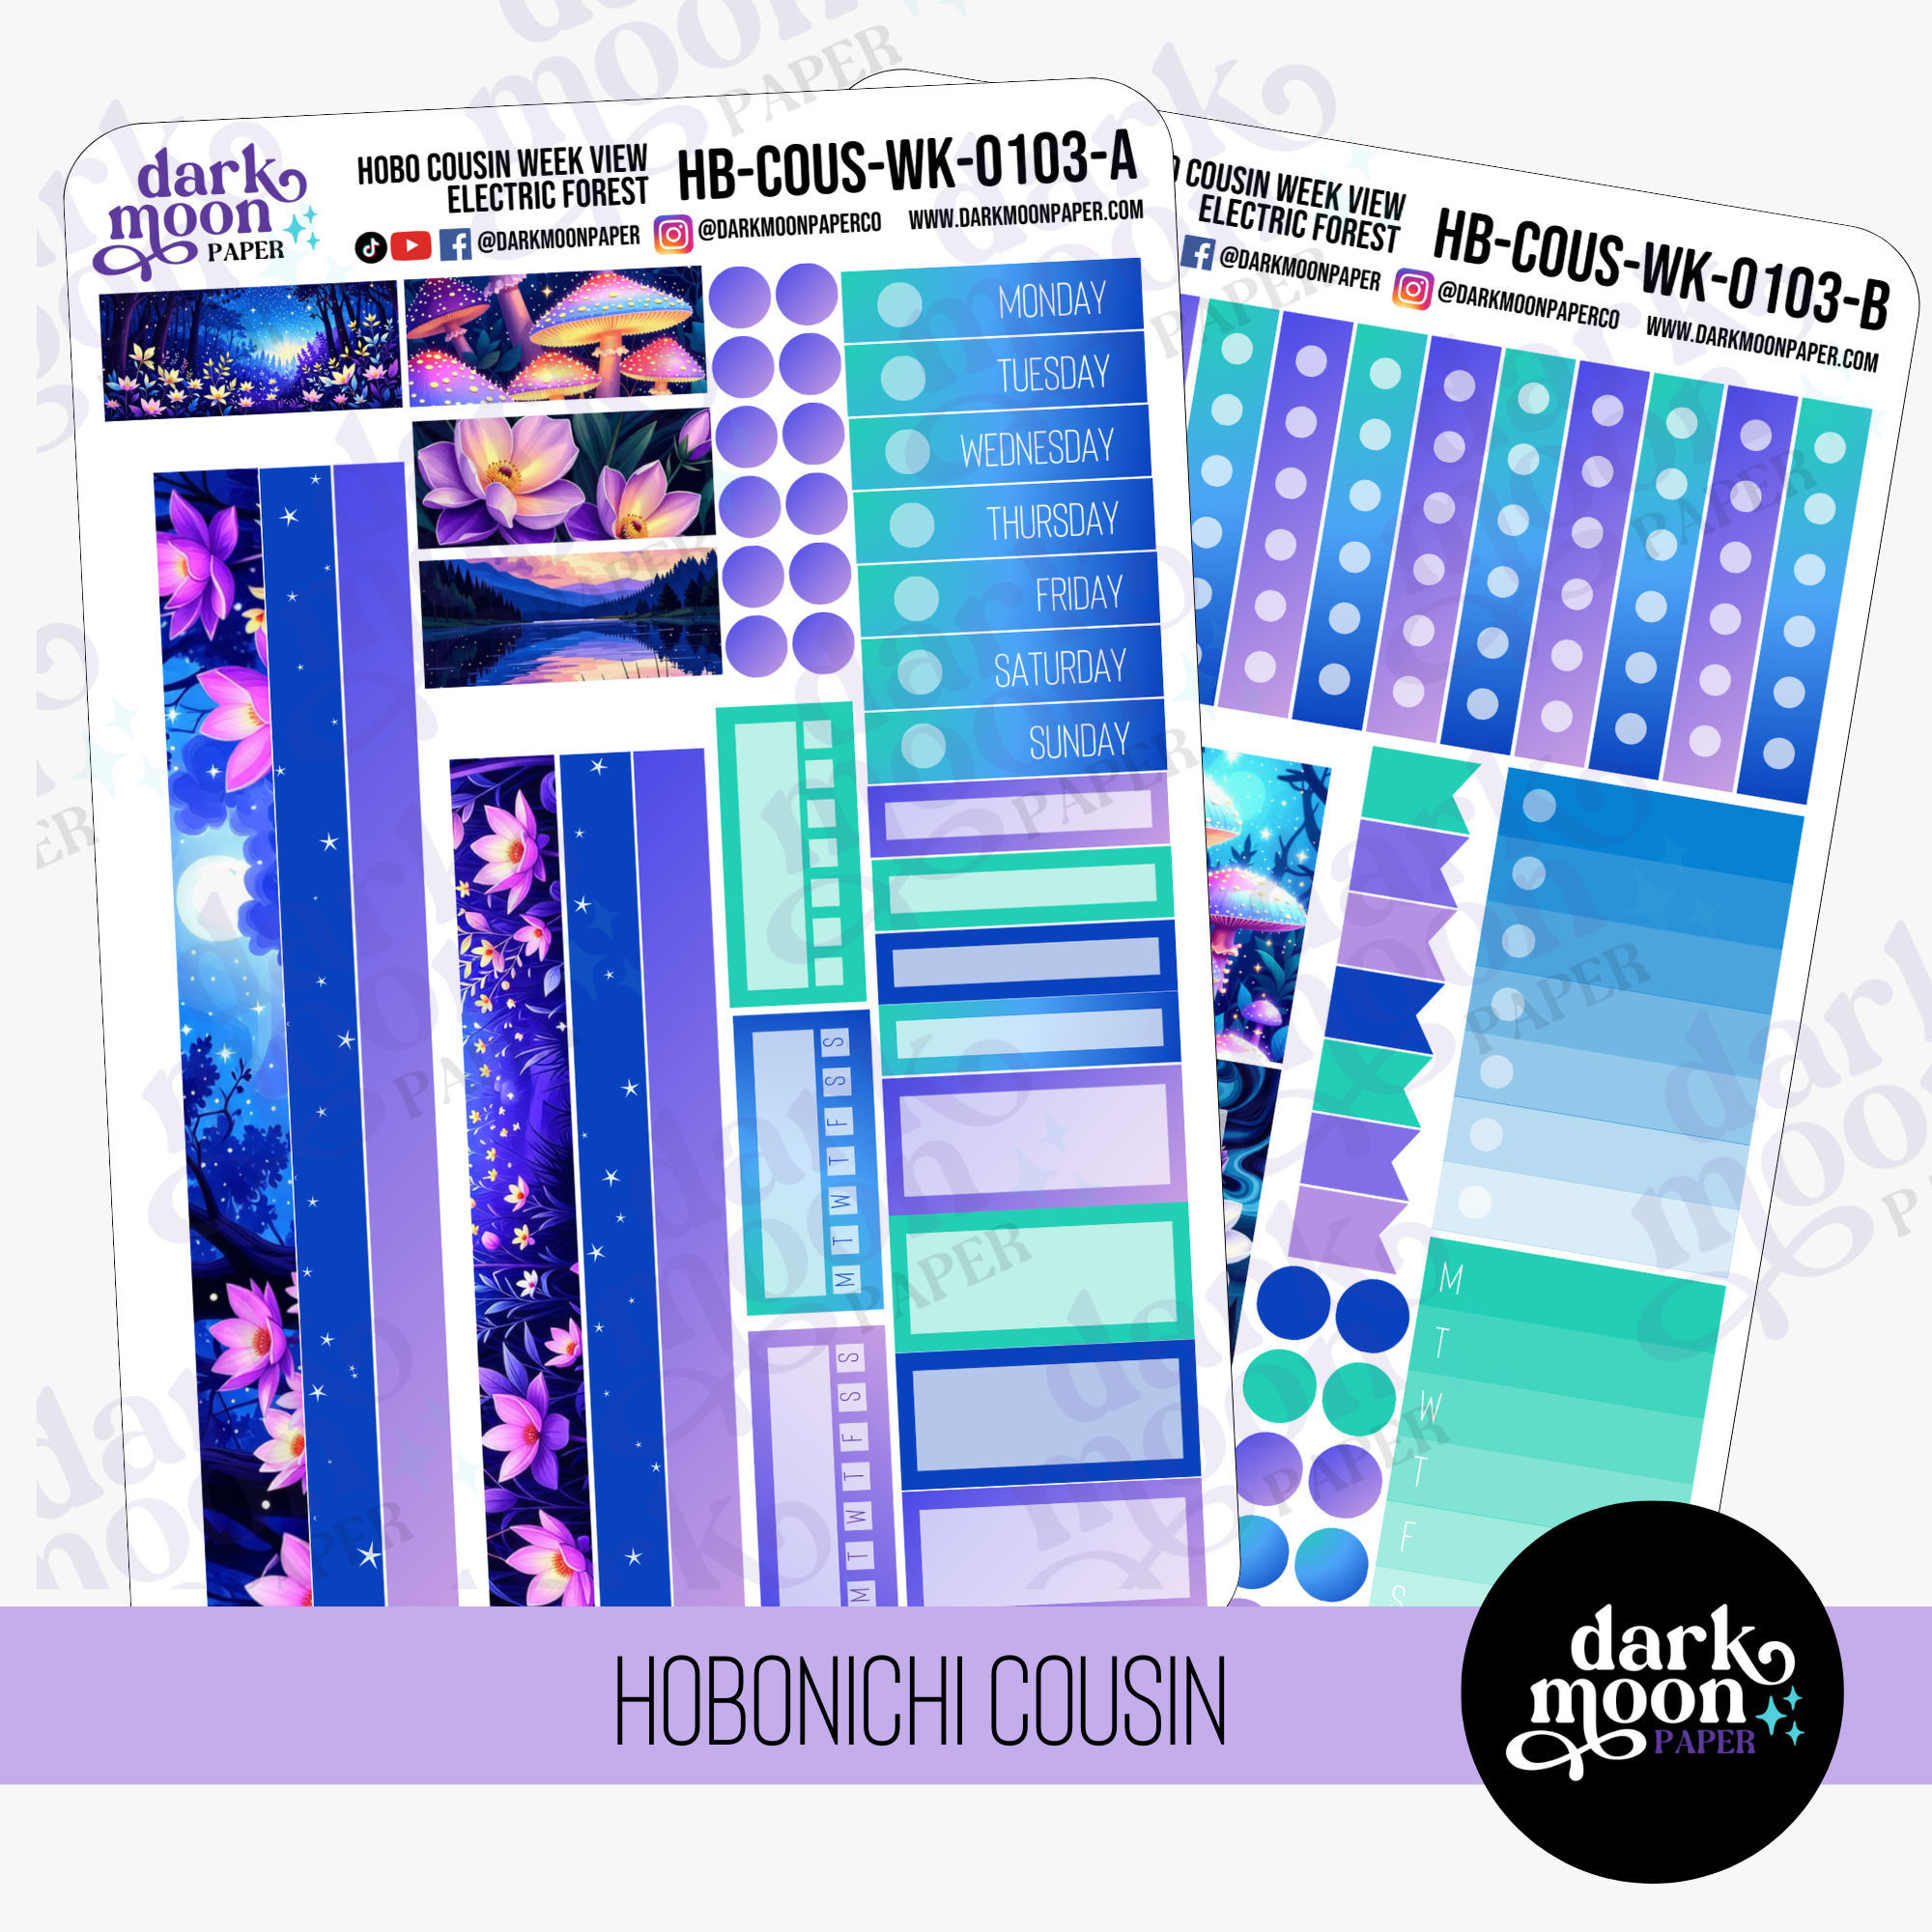
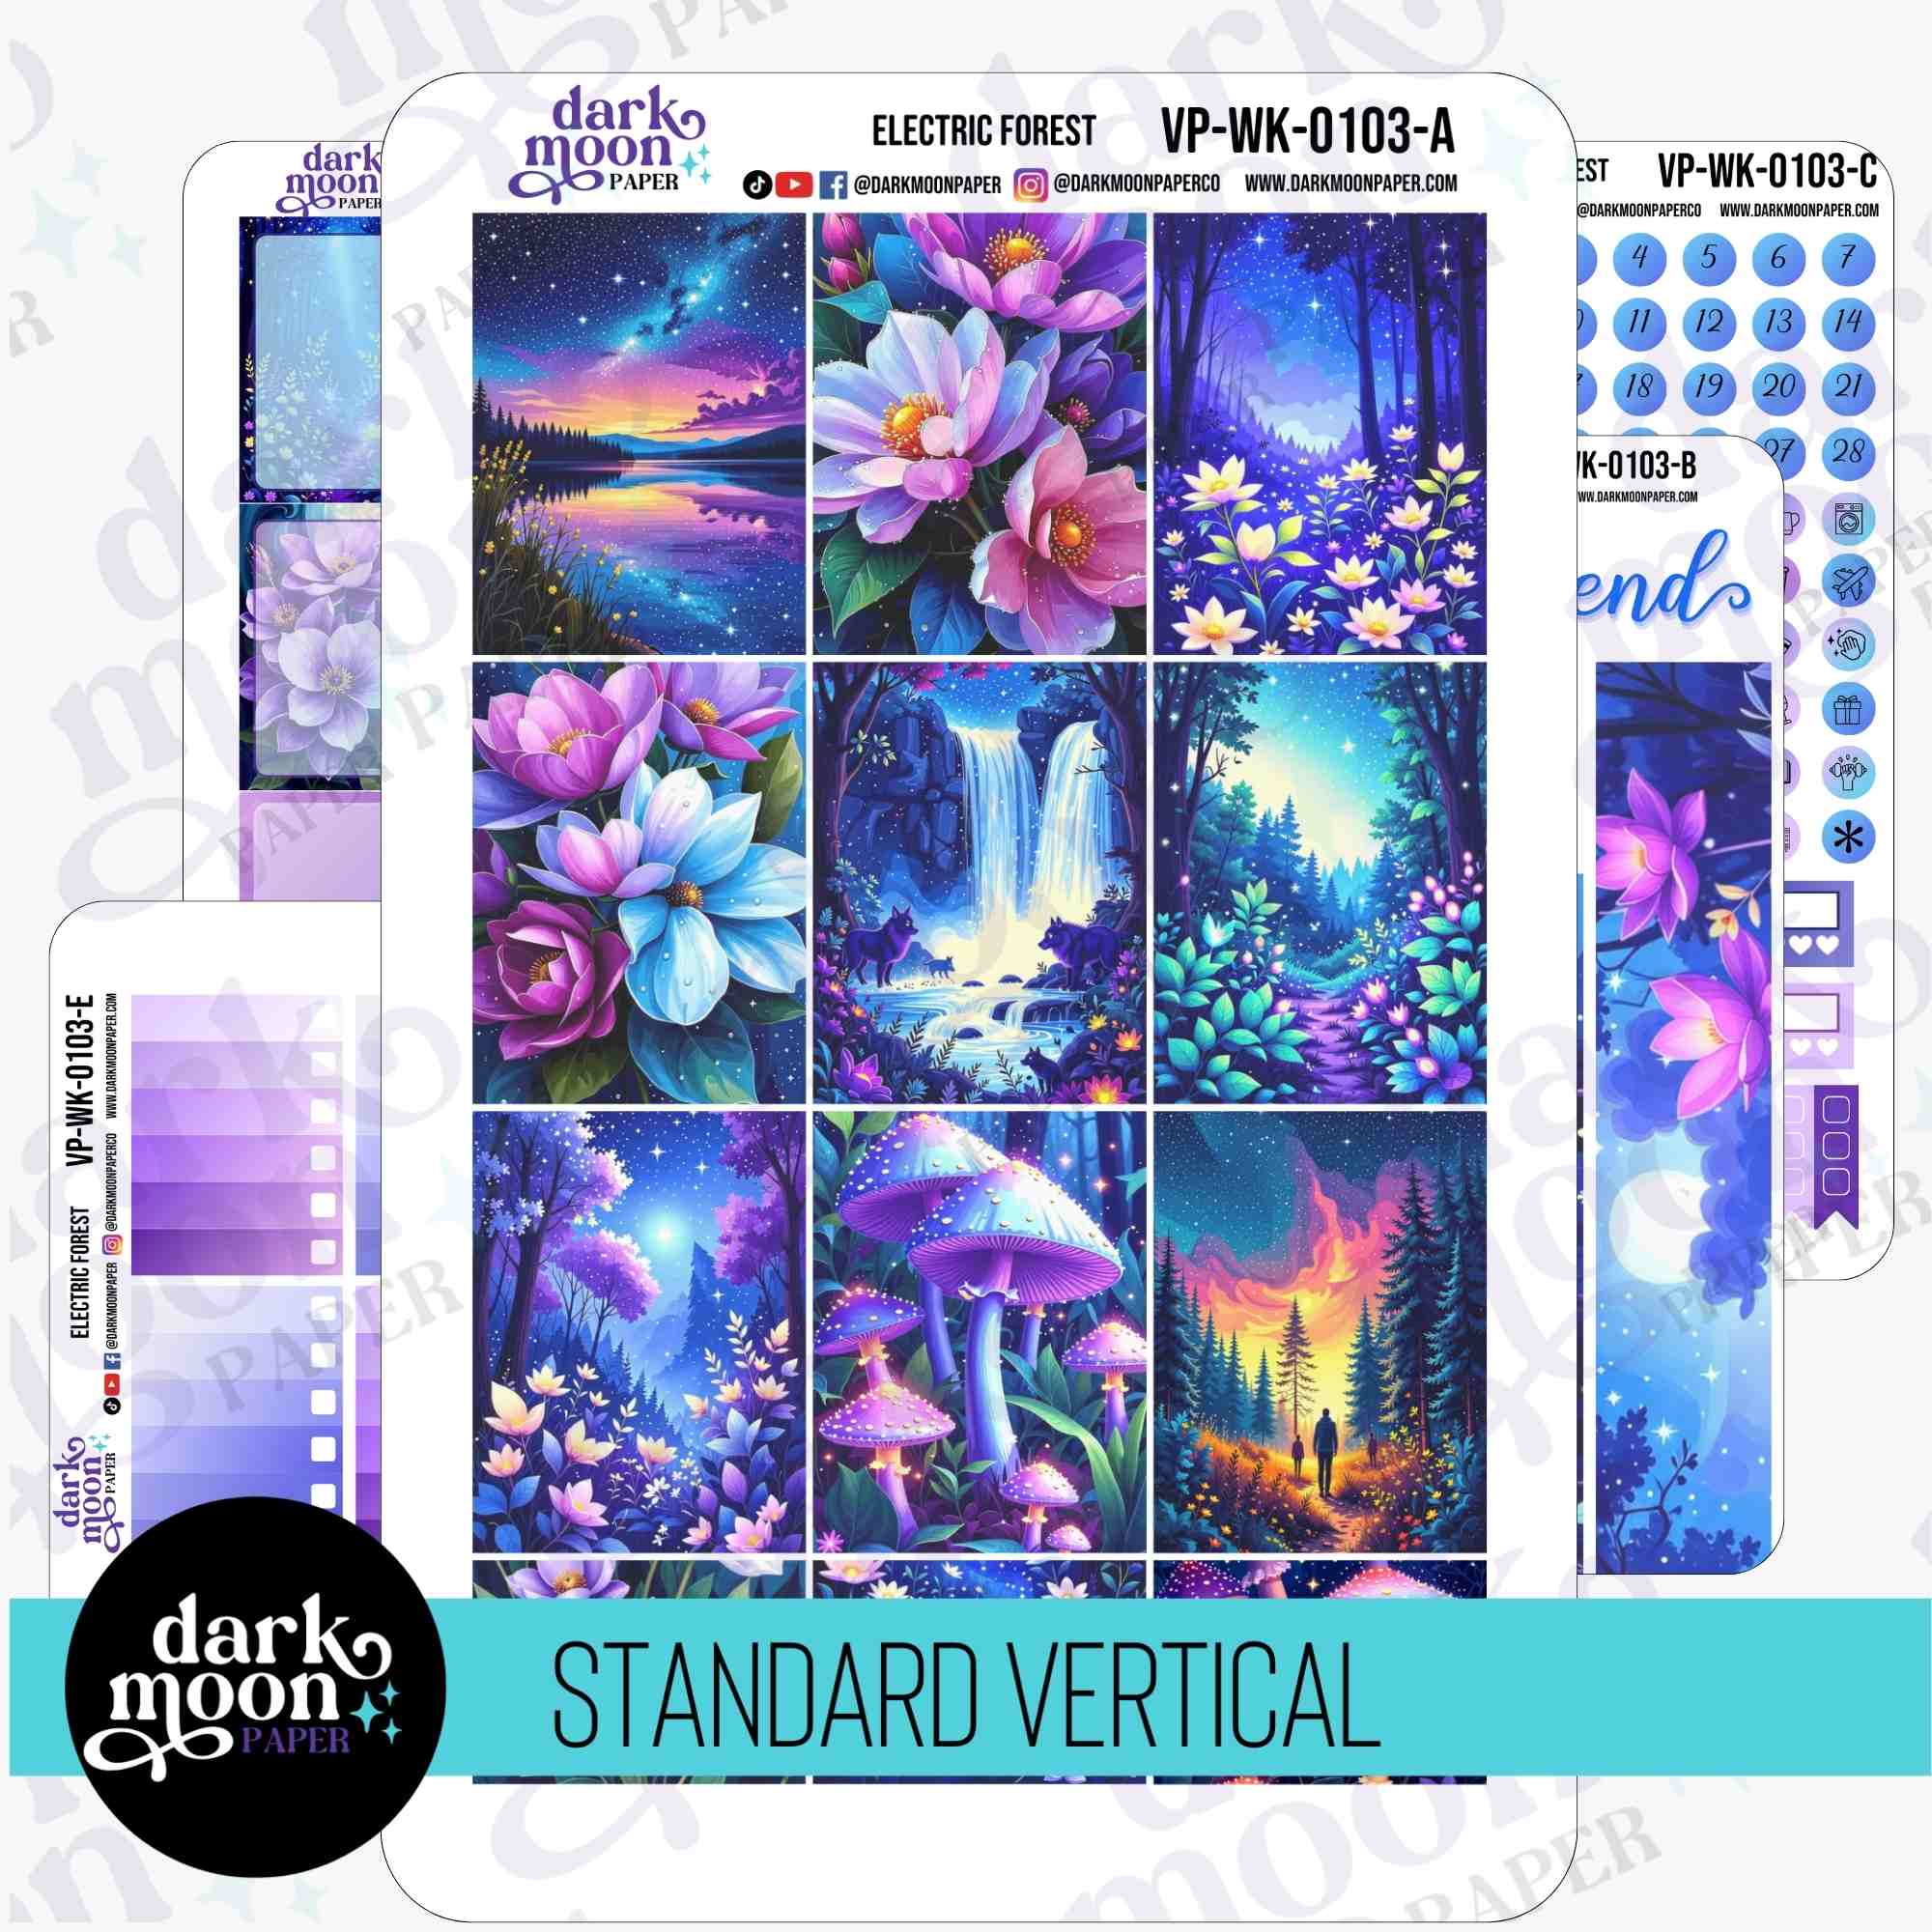
Choose the formula below that fits your planning style—or alternate weekly for variety!
Formula 1: Minimal Magic (Quick Setup)
- Lay down date covers at the top for immediate forest vibes.
- Anchor the spread with bottom washi—choose deep greens for a grounded look.
- Use one checklist per day for must-do tasks. Add mini icons for quick visual cues.
- Sidebar: Habit tracker (move, hydrate, read, rest). Below, a small notes box for “This week’s win.”
- Add 1-2 forest elements—leaf, moth, or firefly—on each page, avoiding the main grid to preserve functionality.
Formula 2: Creative Layered Scene
- Stack thin twilight washi at the top; bottom with forest floor scene washi for a rich frame.
- Divide each day into three zones: AM (work), PM (home), Evening (self-care). Label with text stickers or simple highlighter bands.
- Overlay full boxes on one or two busy days—use them for events, appointments, or memories.
- Sidebar becomes a mini-dashboard: Top 3 goals, errand tracker, “Magic Moment” decorated area.
- Finish with the “triangle deco” method—3 main decorative elements per spread, creating visual flow.
Formula 3: Memory-Keep + Highlight
- Reserve space for weekly reflection (journal entry or photo square) on the right page or lower row.
- Lined sticky strips from the kit cue journaling lanes (e.g., “grateful for” or “today’s highlight”).
- Layered fireflies and translucent highlighter create magical luminescence—outline, don’t fill, to avoid smudges.
Detailed Weekly Setup Process
- Pre-plan: Map out any fixed events, then anchor your color scheme (e.g., deep green for work; teal for wellness).
- Edges first: Apply date covers; lay down bottom washi; add a thin band at the top for balance.
- Daily structure: Place checklists, then drop in 1/2 or 1/3 boxes for top priorities or time blocking.
- Sidebar assembly: Top 3 priorities, tracker rows, and a short “week in review” box.
- Layer text labels: Use consistent label placement to train your eye: left-aligned for calls/errands, right for goals.
- Add deco elements sparingly: Less is more—three distinctive clusters make the theme pop without sacrificing clarity.
Time-Efficient Layouts by Planner Size
- Hobonichi Weeks: L-shape layout—bottom washi + left column checklist, right for daily notes/plans.
- Hobonichi Cousin: “5-Block” spread—center full box, four corners are checklists/tasks by focus (work/home/self/care).
- Vertical 7×9: Three-tier stack—header, event box, checklist for each column; bottom spine unified by washi.
Expert Tips for Forest-Themed Visual Impact
- Stick to high-contrast ink (black, charcoal) over deep backgrounds for readability. White gel pens work beautifully for overlays on mushroom or night-sky stickers.
- Repeat core color-coding each day: assigning colors builds pattern-recognition and speeds up your review.
- Layering tip: For a glowing scene, place a light highlighter swoop before the sticker, not on top—this prevents smudging and showcases the sticker art.
- Keep elements off the gutter and coil zones for cleaner lines and easier writing.
Common Forest Spread Routines
- Productivity Focus: Checklist + top priority box daily, habit tracker weekly, Friday review.
- Personal Growth: Mood or gratitude entry each day, trail a magic moment across the weekend.
- Academic/Project: Pomodoro or reading notation blocks, assignment tracker in sidebar.
Troubleshooting & Frequently Asked Questions
- Feeling cramped? Use smaller boxes, limit deco, and skip every other checklist on less busy days.
- Washi won’t stay flat? Snip near the coil or binding, overlap the edges, and smooth with a washi card. Trimming the tiniest bit ensures no bubbling.
- Ink smears? Opt for quick-dry gel pens and let them set for 10–15 seconds before closing your planner.
- New to layering? Start with just one decorative element per major block, keeping key info visible.
Complementary Kits for More Magic
- Alternate Electric Forest with Enchanted Apothecary in your Weeks for a moody, apothecary woodland vibe.
- In the Cousin, use Electric Forest weekly, then add a matching Dashboard or Monthly Cover from our lineup for a narrative that continues all month.
- Mix in the Lilac Dusk vertical kit for seasonal or twilight transitions.
Free Weekly Setup Checklist
- Pick your layout formula (Minimal, Creative, Memory-Keeping)
- Date covers + bottom washi
- Checklists for each day
- Priority and time-block boxes
- Sidebar: priorities, habits, and memory
- Consistent text labels
- Finish with no more than three main deco clusters
Ready to Begin Your Weekly Woodland Ritual?
Embracing a forest theme in your planner isn’t just about aesthetics—it’s about inviting a sense of magic, routine, and calm into every week. Whether you’re adjusting your system to boost productivity, nurture creativity, or track mindfulness, your layout can be both a tool and an art piece. Try one of our Electric Forest kits to bring your vision to life, and consider layering in seasonal complementary collections for a planner journey that always feels fresh and inspiring.
For more tips, inspiration, and new sticker releases straight to your inbox, subscribe to our newsletter at Dark Moon Paper—and let’s make every week feel a little more enchanted, together.