Cracking open a fresh Hobonichi Weeks for the first time can feel both exciting and intimidating. So many planner lovers have big hopes for their new book, but then the blank pages can quickly spark that “what if I ruin it?” worry. If you’re a beginner, let’s cut through the nerves and perfectionism — your Weeks planner is meant to flex around your needs, quirks, and style. At Dark Moon Paper, we help make your planner journey less overwhelming and a lot more joyful, using tips that work with your real life (not just the highlight reel).
Why the Hobonichi Weeks Makes Sense for Beginners
The appeal of the Hobonichi Weeks is its combination of structure and freedom. The slim design is portable, but inside you’ll find a powerful, flexible system: a yearly calendar, easy-to-use weekly spreads, and extra blank notes pages at the back. Unlike bigger planners with endless undo buttons, the Weeks supports experimentation without pressure. Whether you’re a busy professional or a first-time planner, it’s forgiving and easy to personalize.
Getting Comfortable With the Layout
Year-at-a-glance: Big-picture planning for birthdays, trips, and annual goals.
Monthly spreads: Great for tracking important events, bills, paydays, or habits (Tip: If you want to get more from this layout, explore our guide on maximizing your planner’s monthly overview).
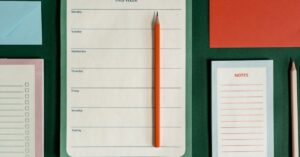
Weekly spreads: Your main dashboard—appointments, tasks, to-dos, memories, or journaling. Every week opens up as a horizontal week on the left with a gridded memo page on the right. This is your command center and creative workspace.
How to Set Up Your Weekly Spread (Without Perfectionism)
Let’s keep it quick and nearly foolproof. Here’s a step-by-step for beginners that we use ourselves at Dark Moon Paper:
Fill in the dates at the top of the weekly layout. This helps you orient yourself and is a simple, consistent starting point.
Add non-negotiables like work, classes, appointments, or kid schedules first. Physically blocking out these items anchors the week.
Pick 3 to 5 priorities for the week. We find this magic number helps avoid overwhelm, sets a gentle intention, and keeps your planner realistic — not just a guilt list.
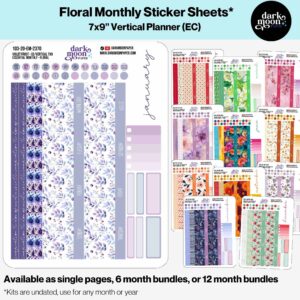
Highlight or decorate (if you want to). Simple stickers, headers, or a strip of washi can signal important sections or just brighten your mood. Our Hobonichi Weeks kits are designed sized perfectly, so you don’t even need to think about exact placement or trimming.
This is the stumbling block most beginners hit: assuming every day needs a masterpiece spread. You can keep it basic and still build a habit that sticks.
Minimalist: Just jot the date, then write a short to-do list (even just one thing!).
Practical: Have a main task, a secondary goal, room for quick notes, and maybe a spot for a daily win or a gratitude line. This takes under two minutes and keeps you moving forward without fuss.
Creative (when you feel like it): Pull out stickers or doodle, write a memory—or not. Consistency, not complexity, is the real secret.
Stickers aren’t cheating or frivolous. A few well-placed washi strips or labels are a shortcut to an organized and motivating page. We recommend starting with a sheet or two designed specifically for Weeks planners. These functional, decorative, and text/header sheets allow you to:
Quickly label work, personal, health, or creative areas with color-coded headers.
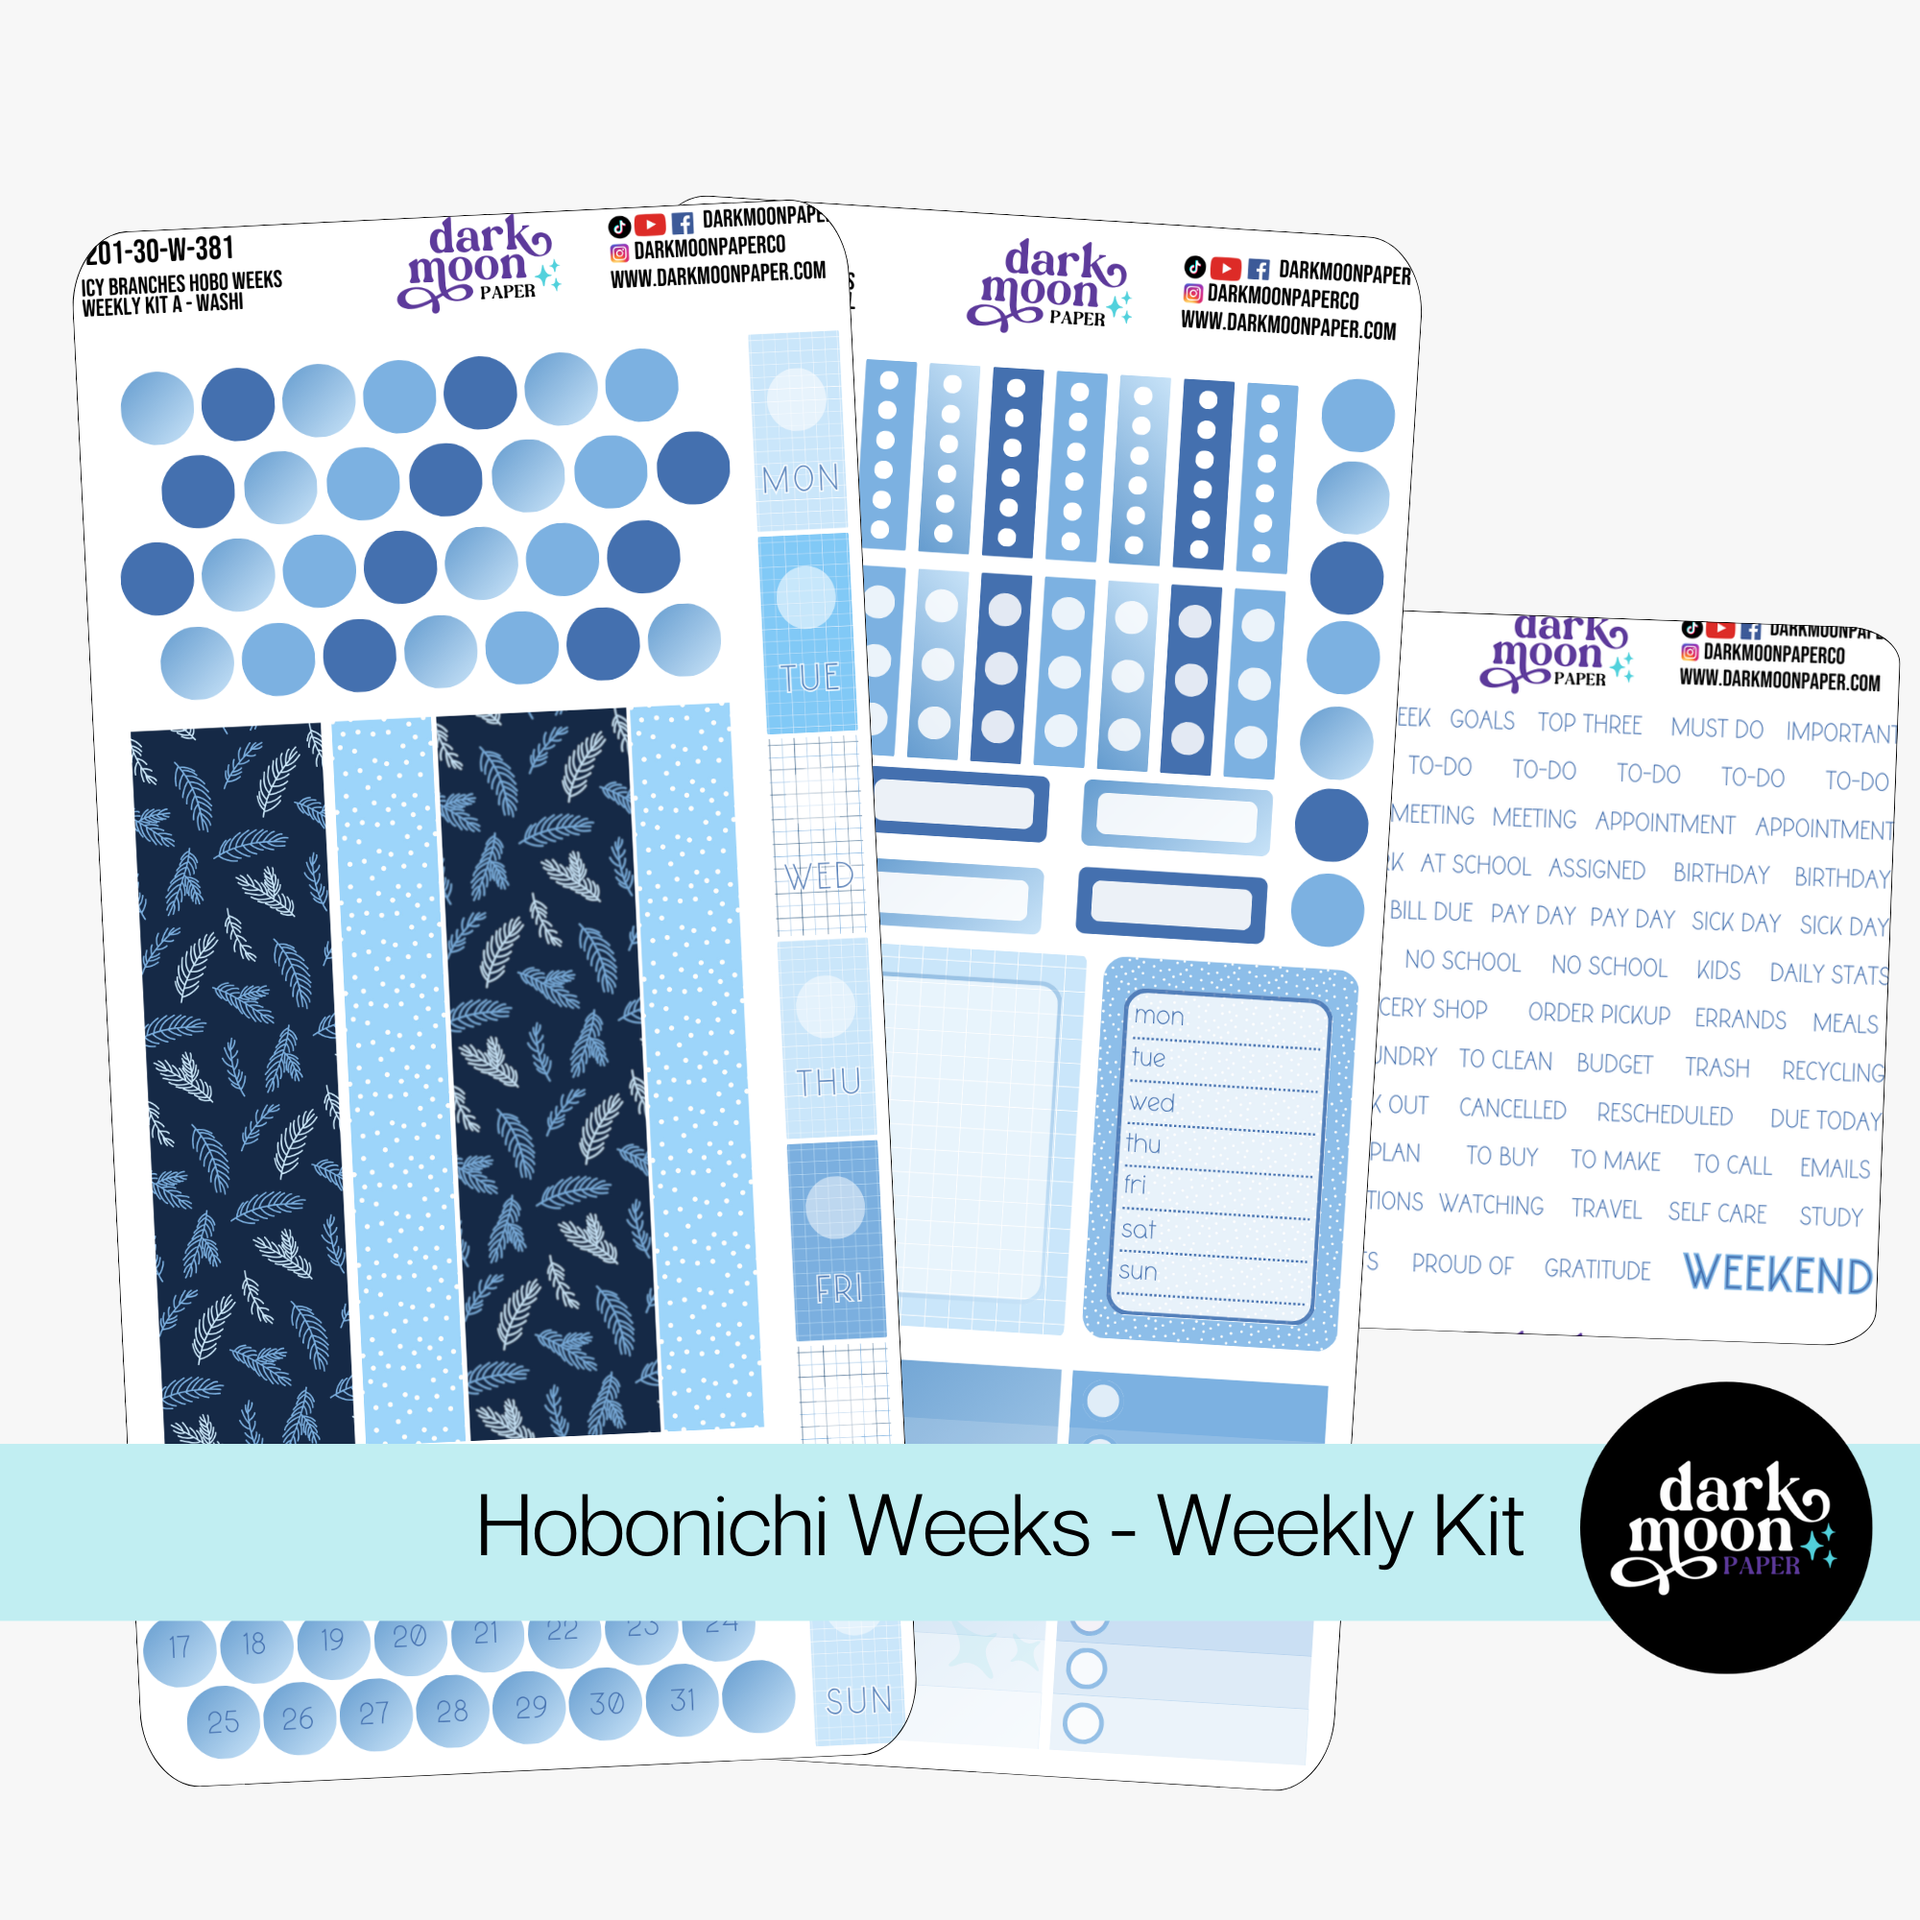
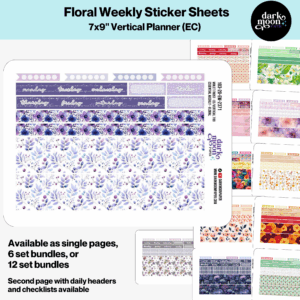
Add decorative flourishes that match the season or your mood (like the soft blues of Icy Branches or the romantic vibe of Love Letters). Hobonichi Weeks Weekly Kit | Icy Branches | 201-30-W
Keep important tasks visible and consistent across weeks, reducing decision fatigue.
But the rule? Don’t overthink sticker placement or feel like you need to use everything. Some weeks, just pop on a few functional boxes and go.
Set Goals that Feel Doable (and Forgiving)
Instead of cluttering your week with dozens of tasks, start with 3-5 clear goals. Break these up by category — like professional, personal, creative, or relationship goals. This keeps things focused and realistic. Jot these on your weekly spread, then use your daily sections to track the small actions that pile up into big progress. If you want more details on setting intentional goals and using stickers for habit tracking, our planner sticker goal-setting guide covers this in depth.
Easy Habit Tracking Without The Pressure
Add a small tracker in your notes column or use a sticker to mark habit days (it could be as simple as a checkmark when you complete a habit).
At week’s end, review your tracker—not to judge, but to gently notice patterns. If something’s not working, just tweak next week, no guilt necessary.
Build an Honest, Useful Review Routine
Every Sunday (or any evening that fits), spend five to ten minutes looking back. Did you meet your three main goals? What worked? What would you try differently? This is the heart of intentional planning, and it matters more than elaborate layouts. If you skip stickers for a while, don’t worry—skip the decor, but don’t skip your reflection.
Make the Weeks Your Own: Customizing for Joy & Utility
Planners should be flexible tools that reflect your style and needs. Some personalization ideas from our team include:
Pick 2-3 favorite colors and repeat them across the month—it creates visual calm without too much thinking.
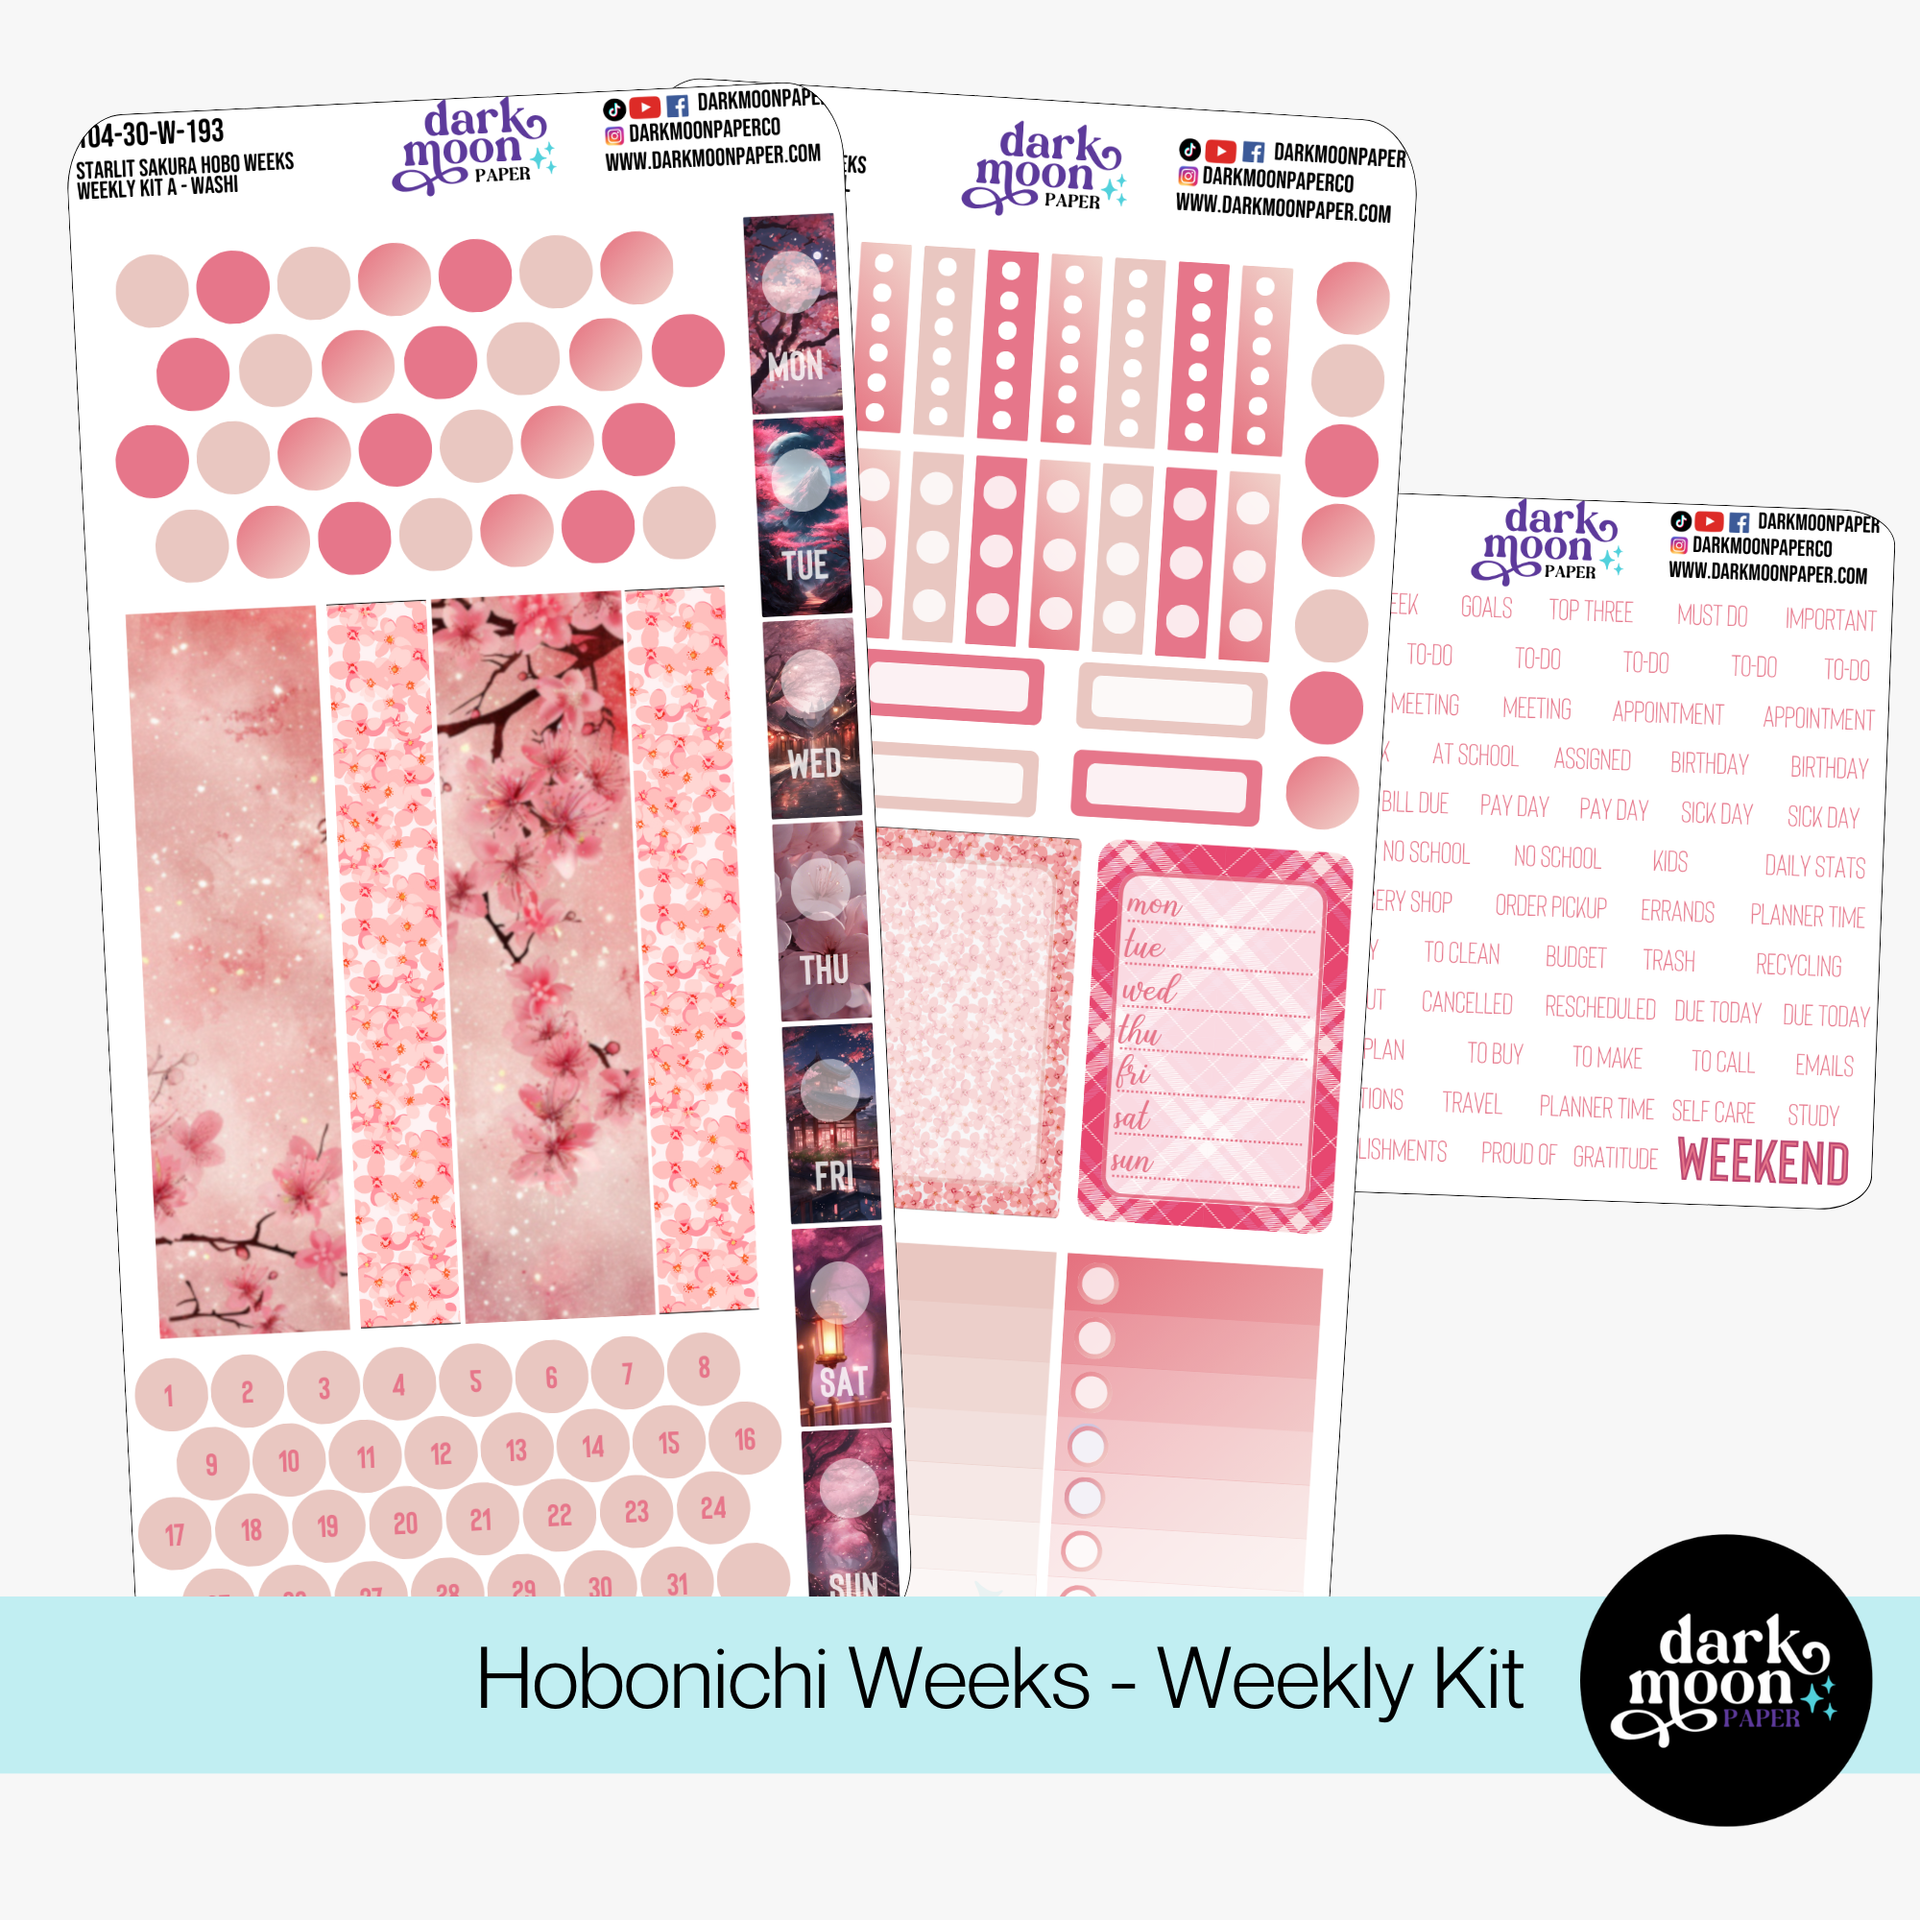
Rotate sticker kits seasonally or by vibe—maybe Starlit Sakura in early spring, then switch to cool tones like Icy Branches or gentle themes like Winter Hygge as seasons shift.
Embrace blank space. Don’t feel pressured to fill every inch—the emptiness itself is part of your story.
Over-researching setups: You don’t need every pen and sticker to start. Use what you have, and add more if it helps your process.
Feeling discouraged after your first awkward week: Your style and system will evolve as you use the book. Give yourself at least a month before you judge the journey.
Comparing your pages to Instagram layouts: Remember that social media spreads are staged. What matters is what works for you—progress, not perfection.
Skipping the weekly review: The magic is in the reflection and small adjustments, not in making your layouts “Pinterest perfect.”
Your First Month: What to Expect (Realistically)
Week 1: Experimenting, making mistakes, learning what feels natural.
Week 2: Most things start to click—your workflow finds its groove.
Week 3: Patterns and preferences emerge. You know which layouts you like, which stickers are helpful, and which are just for fun.
Week 4: Your planner feels like part of your routine. You’re not overthinking—you’re just living with it.
Jump In: Start Simply—Here’s How
Pick your Weeks: Start whenever—it doesn’t have to be January. If you need help, we covered detailed setup advice in our first month setup guide.
Choose one pen you like (if you’re trying to avoid ink smears or bleed-through, check our review of the best pens for Hobonichi).
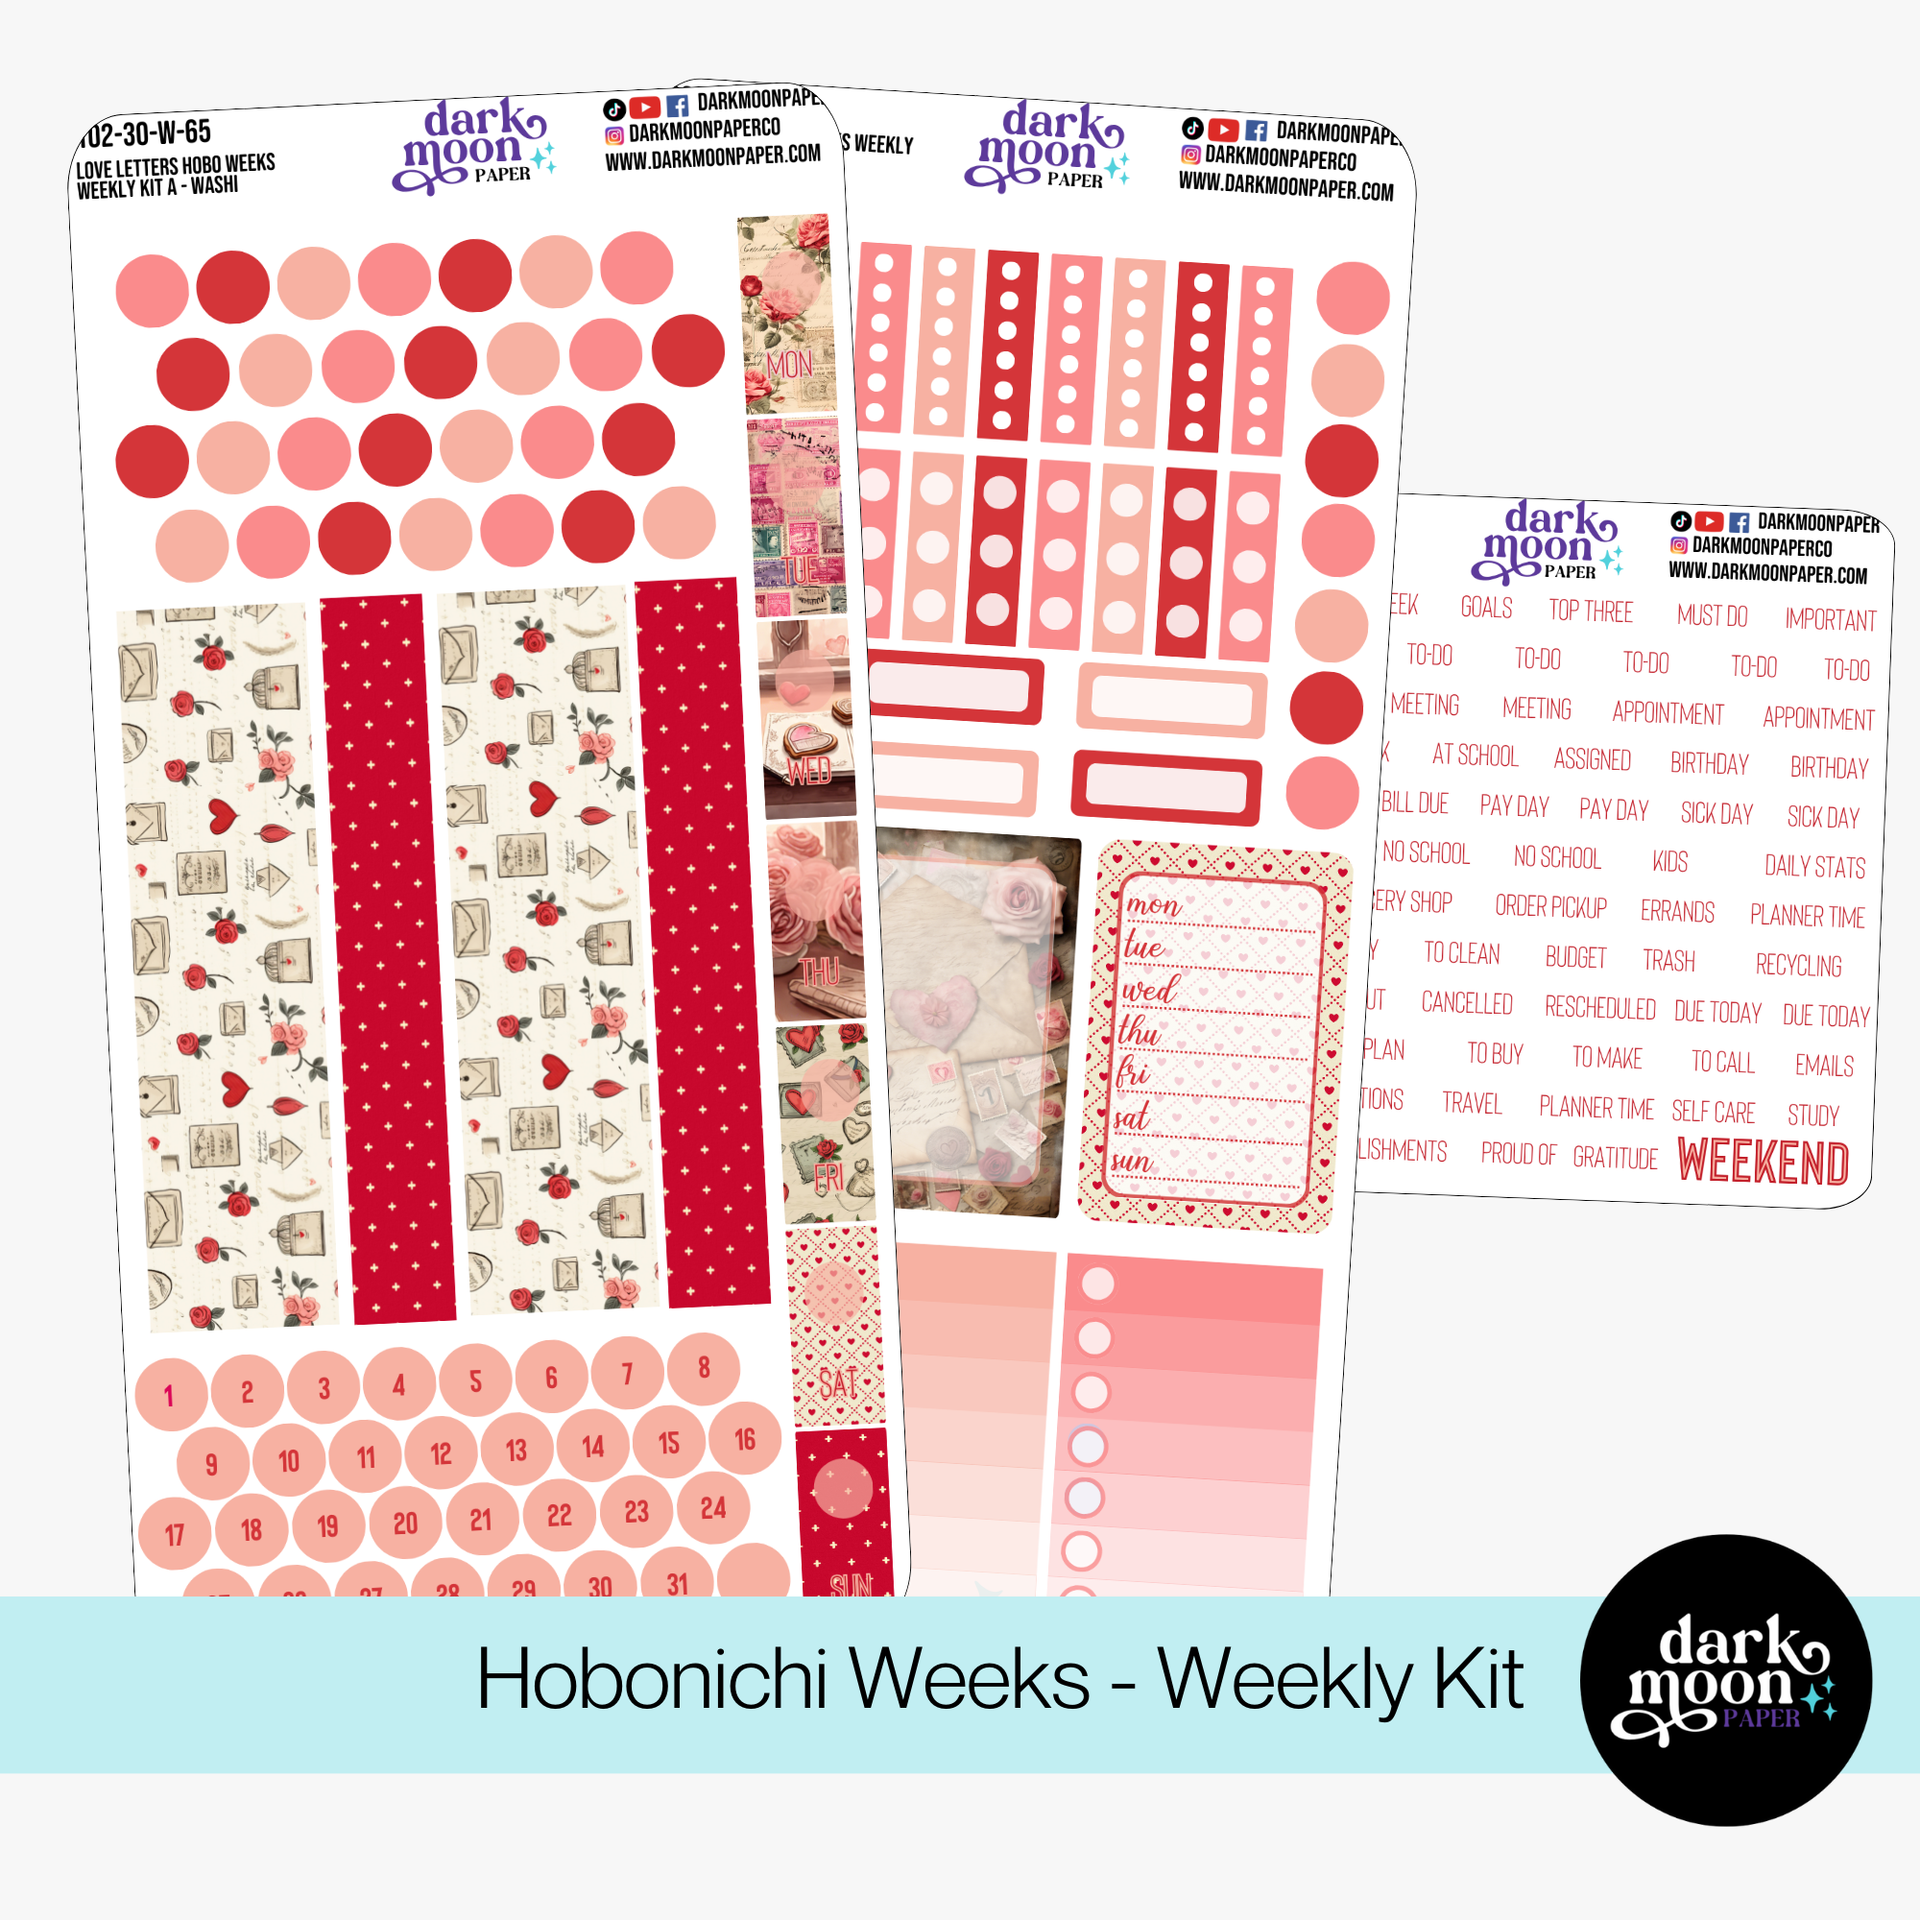
Grab a sticker kit if aesthetics help you. For a gentle start, the Love Letters or Winter Hygge Kits are popular with beginners who want a cohesive look without the stress of designing from scratch. Hobonichi Weeks Weekly Kit – Love Letters – 102-30-W
Open to this week’s date and just begin. That’s your only must-have start. Next week, you’ll adjust without stress.
Bonus: Extra Support, Prompts & Freebies
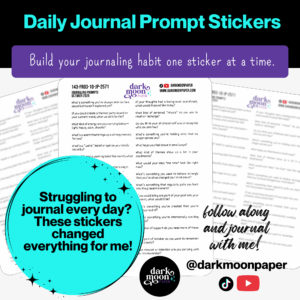
We post daily journaling prompts, planner advice, and ideas on TikTok and YouTube (search for Kat Spills The Ink). Come join our creative community for encouragement and fresh ideas tailored for Weeks users.
Get free printable handwriting worksheets, journaling prompts, and planner pages from our Freebies Library — all designed to mix and match with Hobonichi Weeks layouts. Signing up gives you monthly creative resources and fresh printables to download at any time.
Reflection: Making the Weeks a Kind Habit
There’s no right way. If simple lists help you, keep to those. If decorating or memory-keeping brings joy, let that be your thing. Adjust as your life shifts. Your Hobonichi Weeks should make your everyday more organized, gentle, and a little sparkly—not more stressful.
If you want planner supplies that are easy, creative, and genuinely made for Weeks enthusiasts, Dark Moon Paper has you covered. Our mission is to support creative planning and a no-pressure approach for every page you make. Happy planning!
Our custom stickers are a fuss-free way to brighten up your planner pages with perfectly-sized designs that add a spark of personality to every layout.
Planner stickers make organizing easy, fun, and personal! Add color, creativity, and structure to every page, transforming your planner into a tool that reflects you. Perfect for tracking, decorating, and staying inspired daily!
I’m Kat, the artist behind Dark Moon Paper. I started this studio to blend my love of art, handwriting, and the small rituals that make everyday life feel magical. My sticker kits and creative resources are made to set the mood, spark ideas, and give you a little escape from the ordinary.
I create from a cozy studio in the Oregon woods, surrounded by nature and a clear view of the stars.