There’s something special about preparing your Hobonichi Weeks for December—the final month of the year is always filled with anticipation, nostalgia, and the creative urge to make every page count. At Dark Moon Paper, we understand that setting up your December planner is about more than calendars and to-dos. It’s about establishing a ritual that blends self-expression, organization, and inspiration, helping you finish strong and set the stage for the new year ahead. This comprehensive, step-by-step guide will walk you through building a beautifully functional monthly kit layout, a purpose-driven dashboard page, and unique cover ideas to make your Hobonichi Weeks both practical and personal.
Step 1: Selecting Your December Monthly Kit
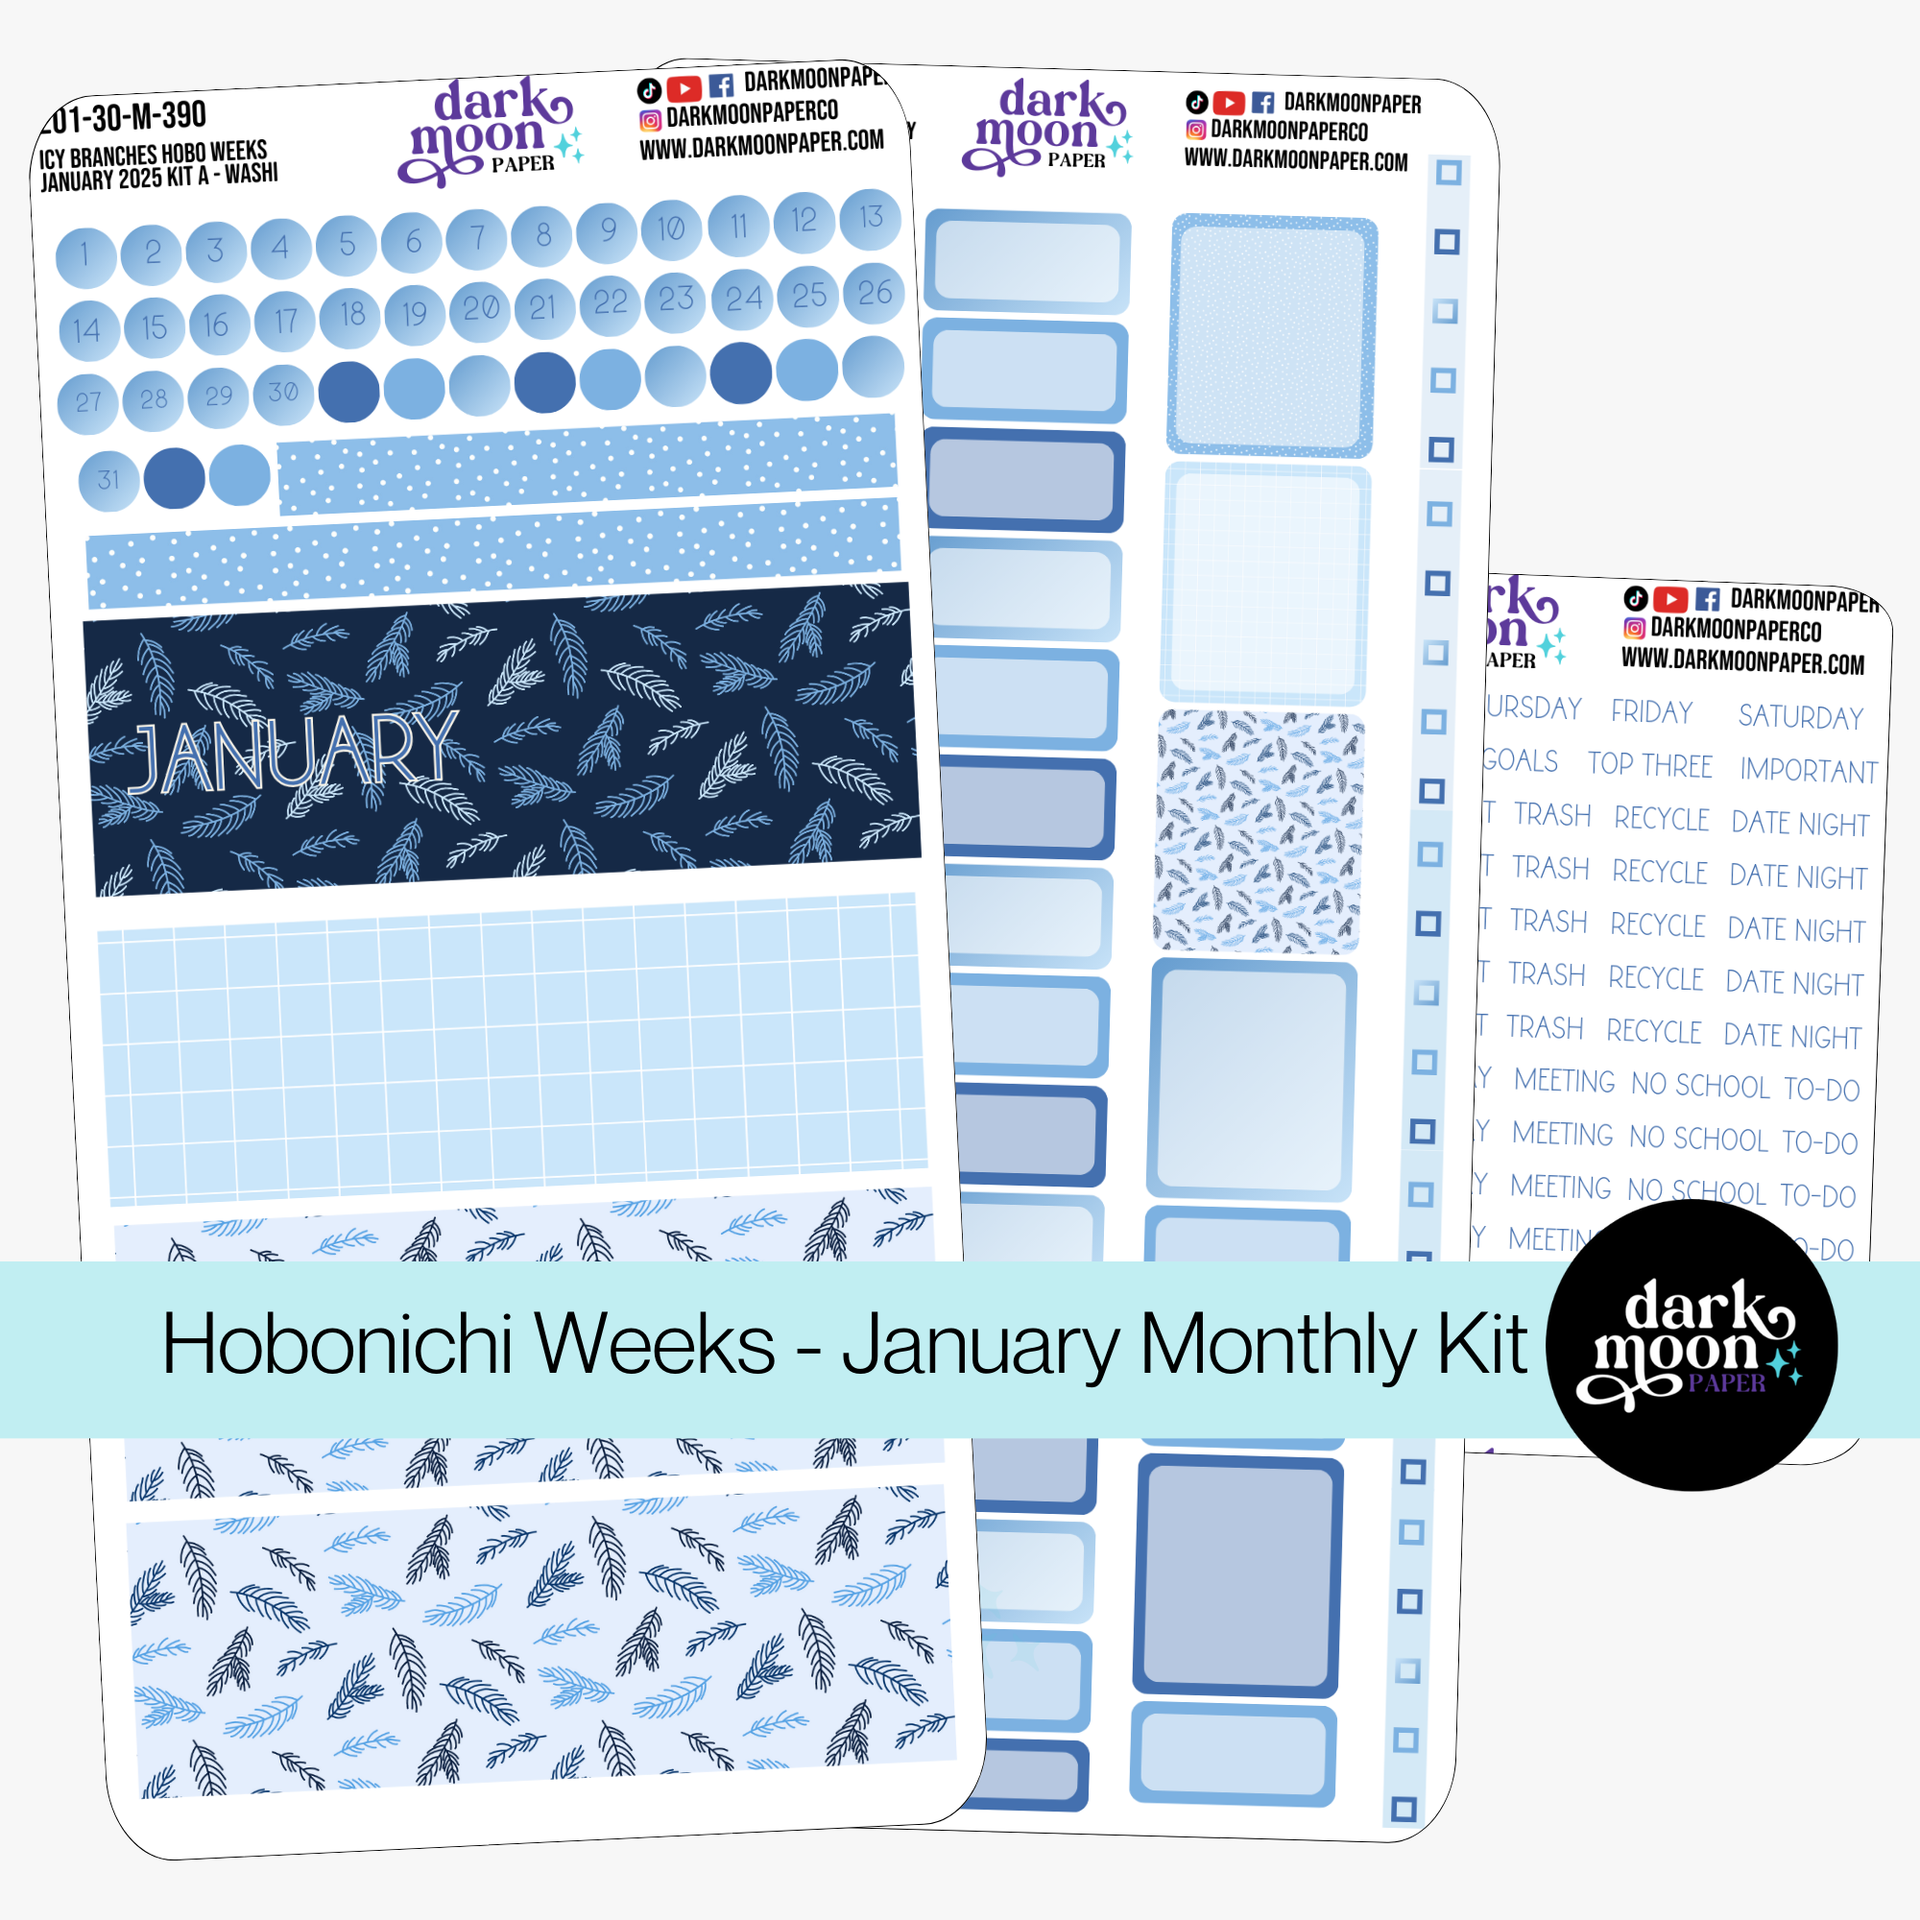
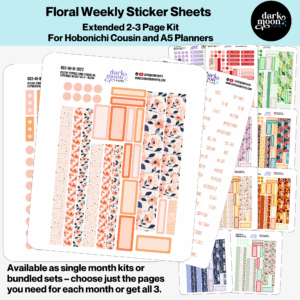
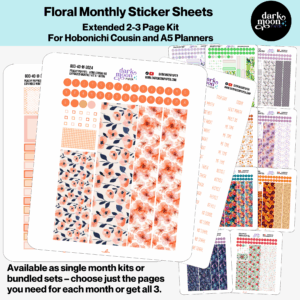
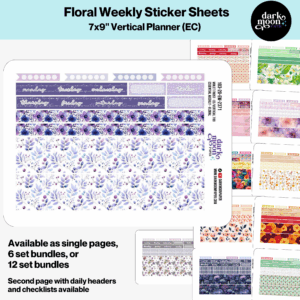
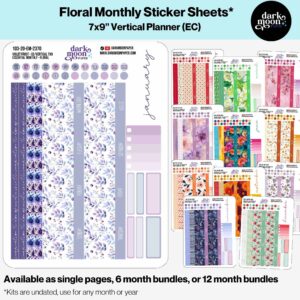
The right monthly kit transforms blank calendar pages into a visually stunning and cohesive spread. For December, we love leaning into serene winter themes and cozy color palettes. In our sticker shop, you’ll find monthly kits designed explicitly for Hobonichi Weeks, featuring thoughtfully coordinated washi strips, date covers, text boxes, and functional icons.
Consider a winter-inspired kit—think icy blues, muted silvers, and artistic branches—to match December’s frosty vibes.
Each kit typically offers three sheets: one with decorative washi, one with functional boxes and icons, and one with month titles and headers, all perfectly sized for Hobonichi Weeks.
Washi strips look best lining the top and bottom borders of your monthly calendar. Label holidays or key dates with text stickers to keep your spread organized and visually balanced.
Icy Branches Monthly Kit for Hobonichi Weeks
Pro tip: Mixing Functional and Decorative Elements
Plan ahead for busy holiday weeks by labeling deadlines, parties, or events with decorative boxes.
Use icon stickers for recurring monthly tasks, like bill due dates or reminders, to create structure without visual clutter.
If you’re new to using coordinated sticker kits for your monthly overview, check out our detailed guide on how to maximize your planner’s monthly overview using both functional and decorative elements.
Step 2: Creating a Functional Dashboard Page
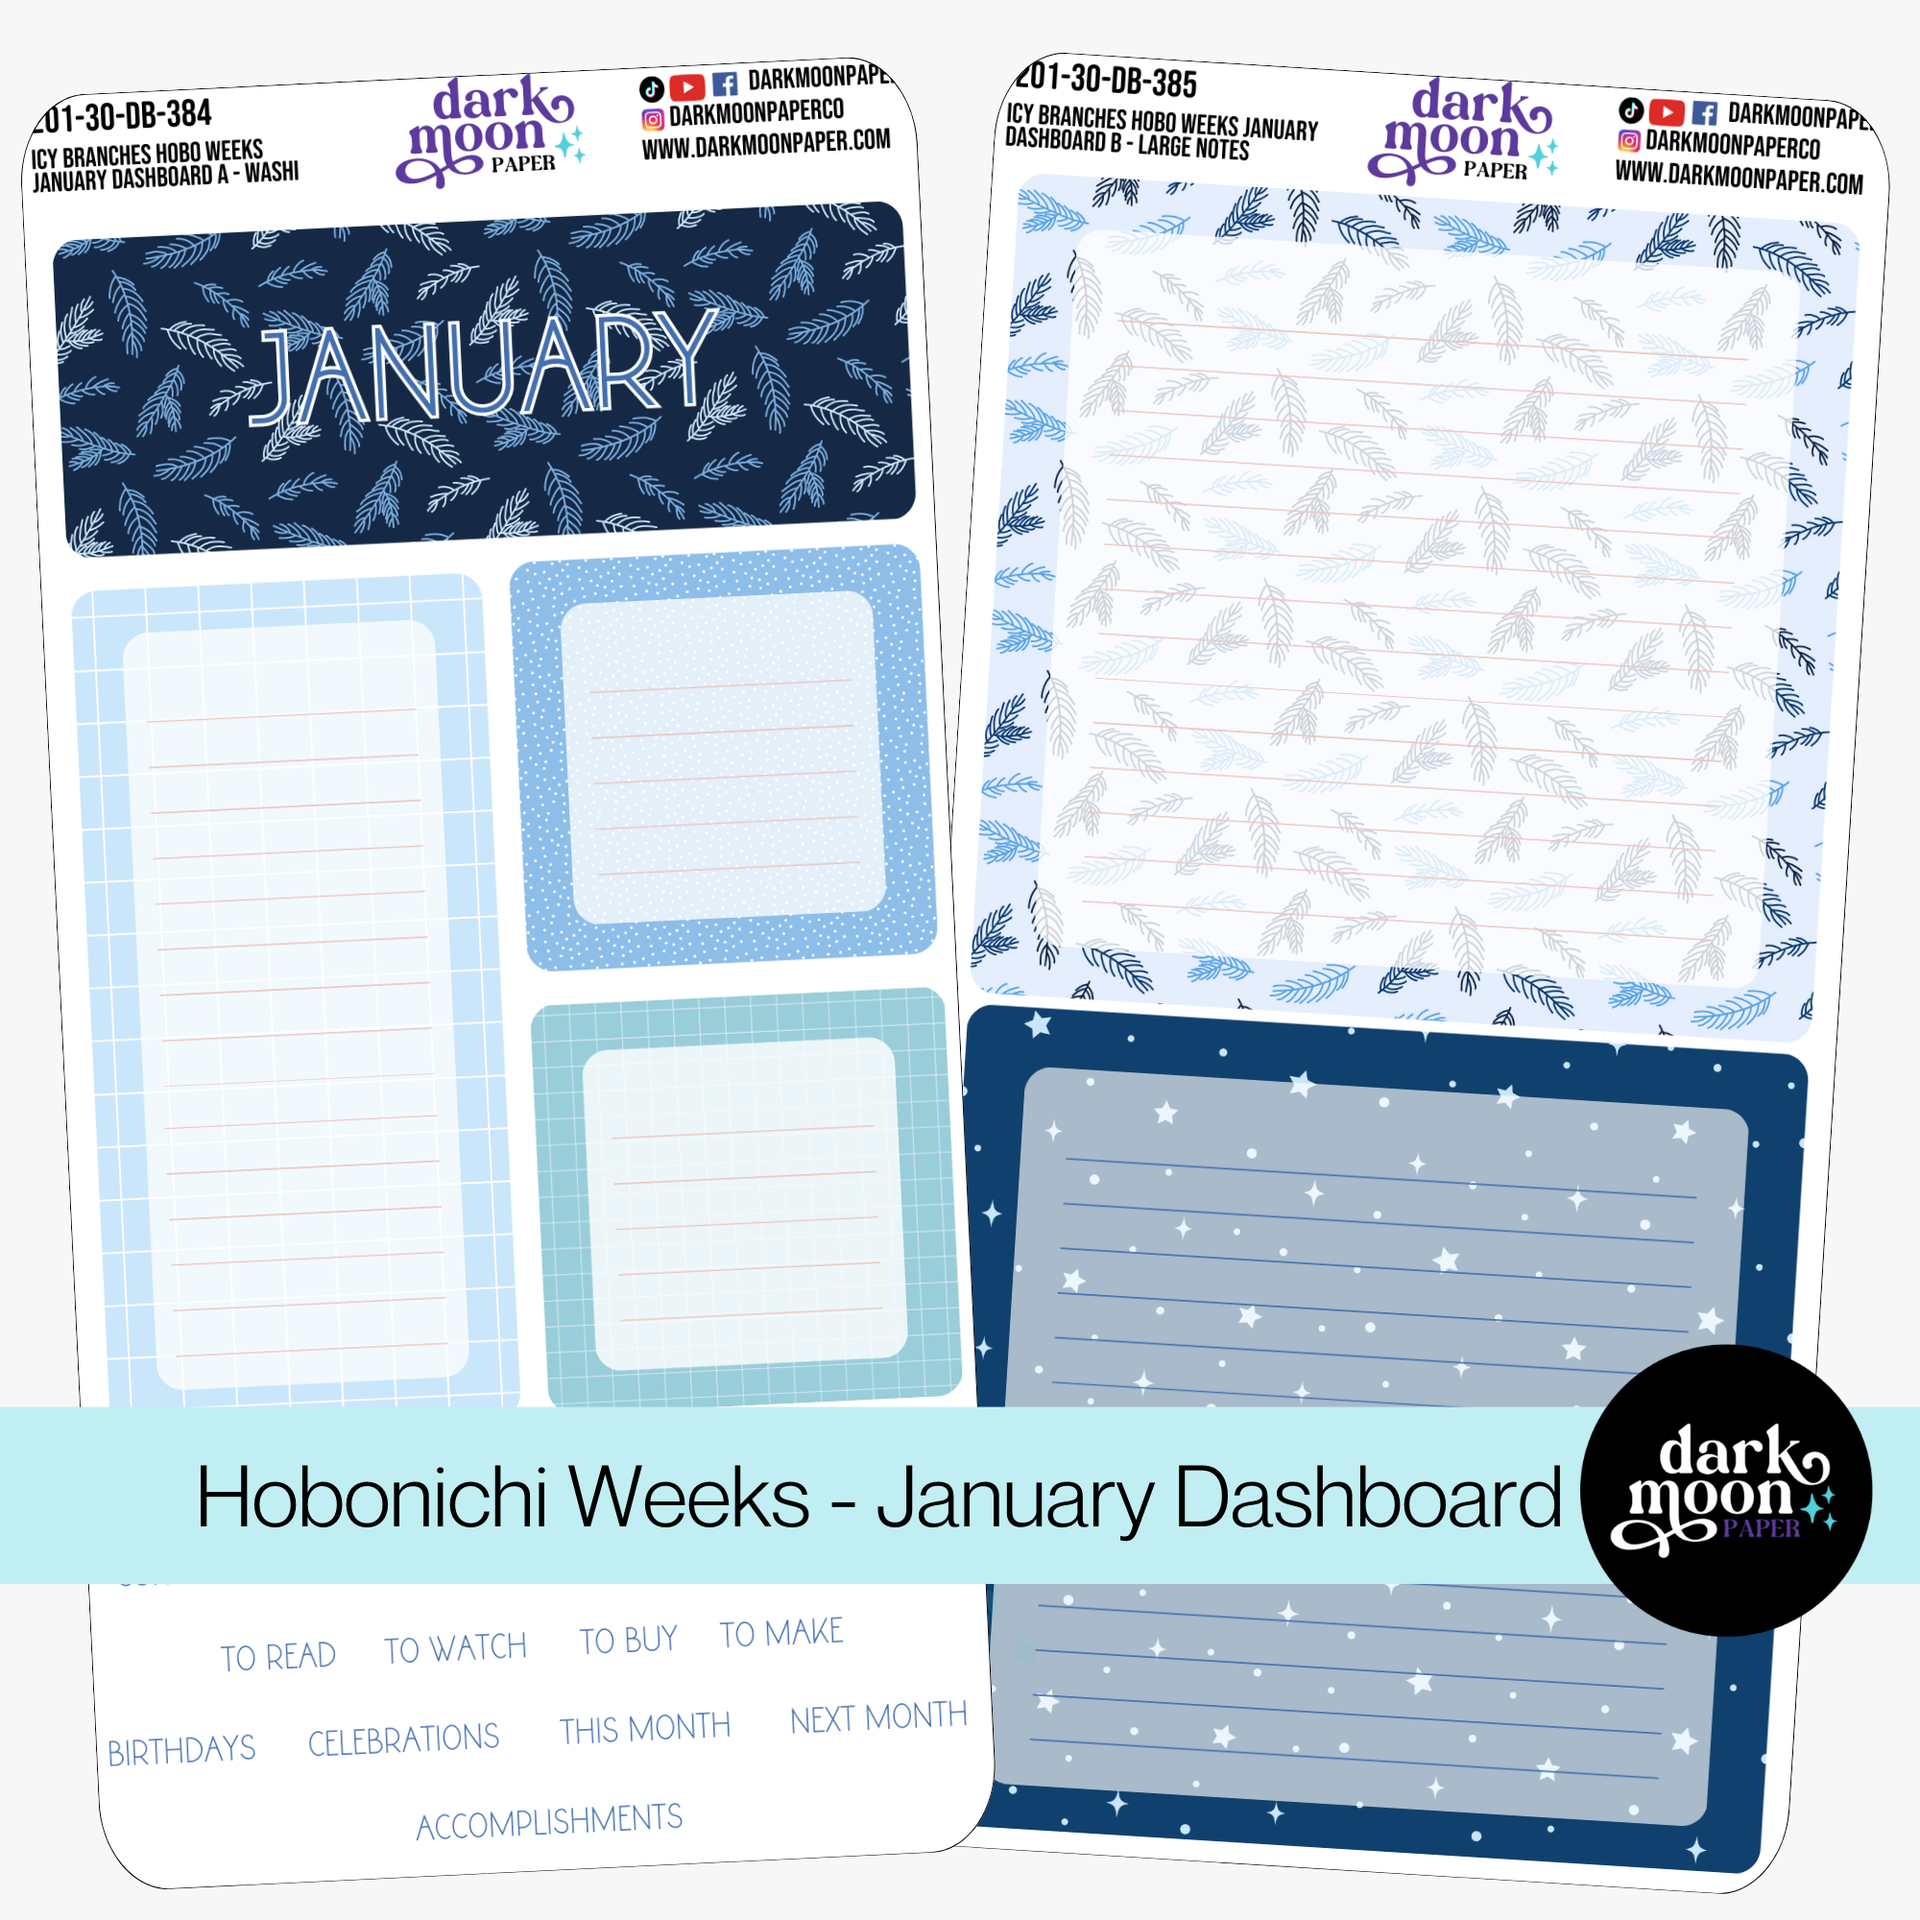
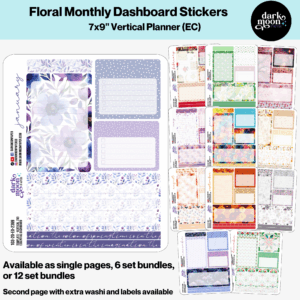
The dashboard page is your control center for December. It acts as a quick-glance hub for habit tracking, monthly goals, and important reminders. We love using this space on a grid or memo page just ahead of the monthly calendar in Hobonichi Weeks. Our dashboard sticker kits make building a clean, inspiring dashboard effortless, even if you’re not naturally artistic.
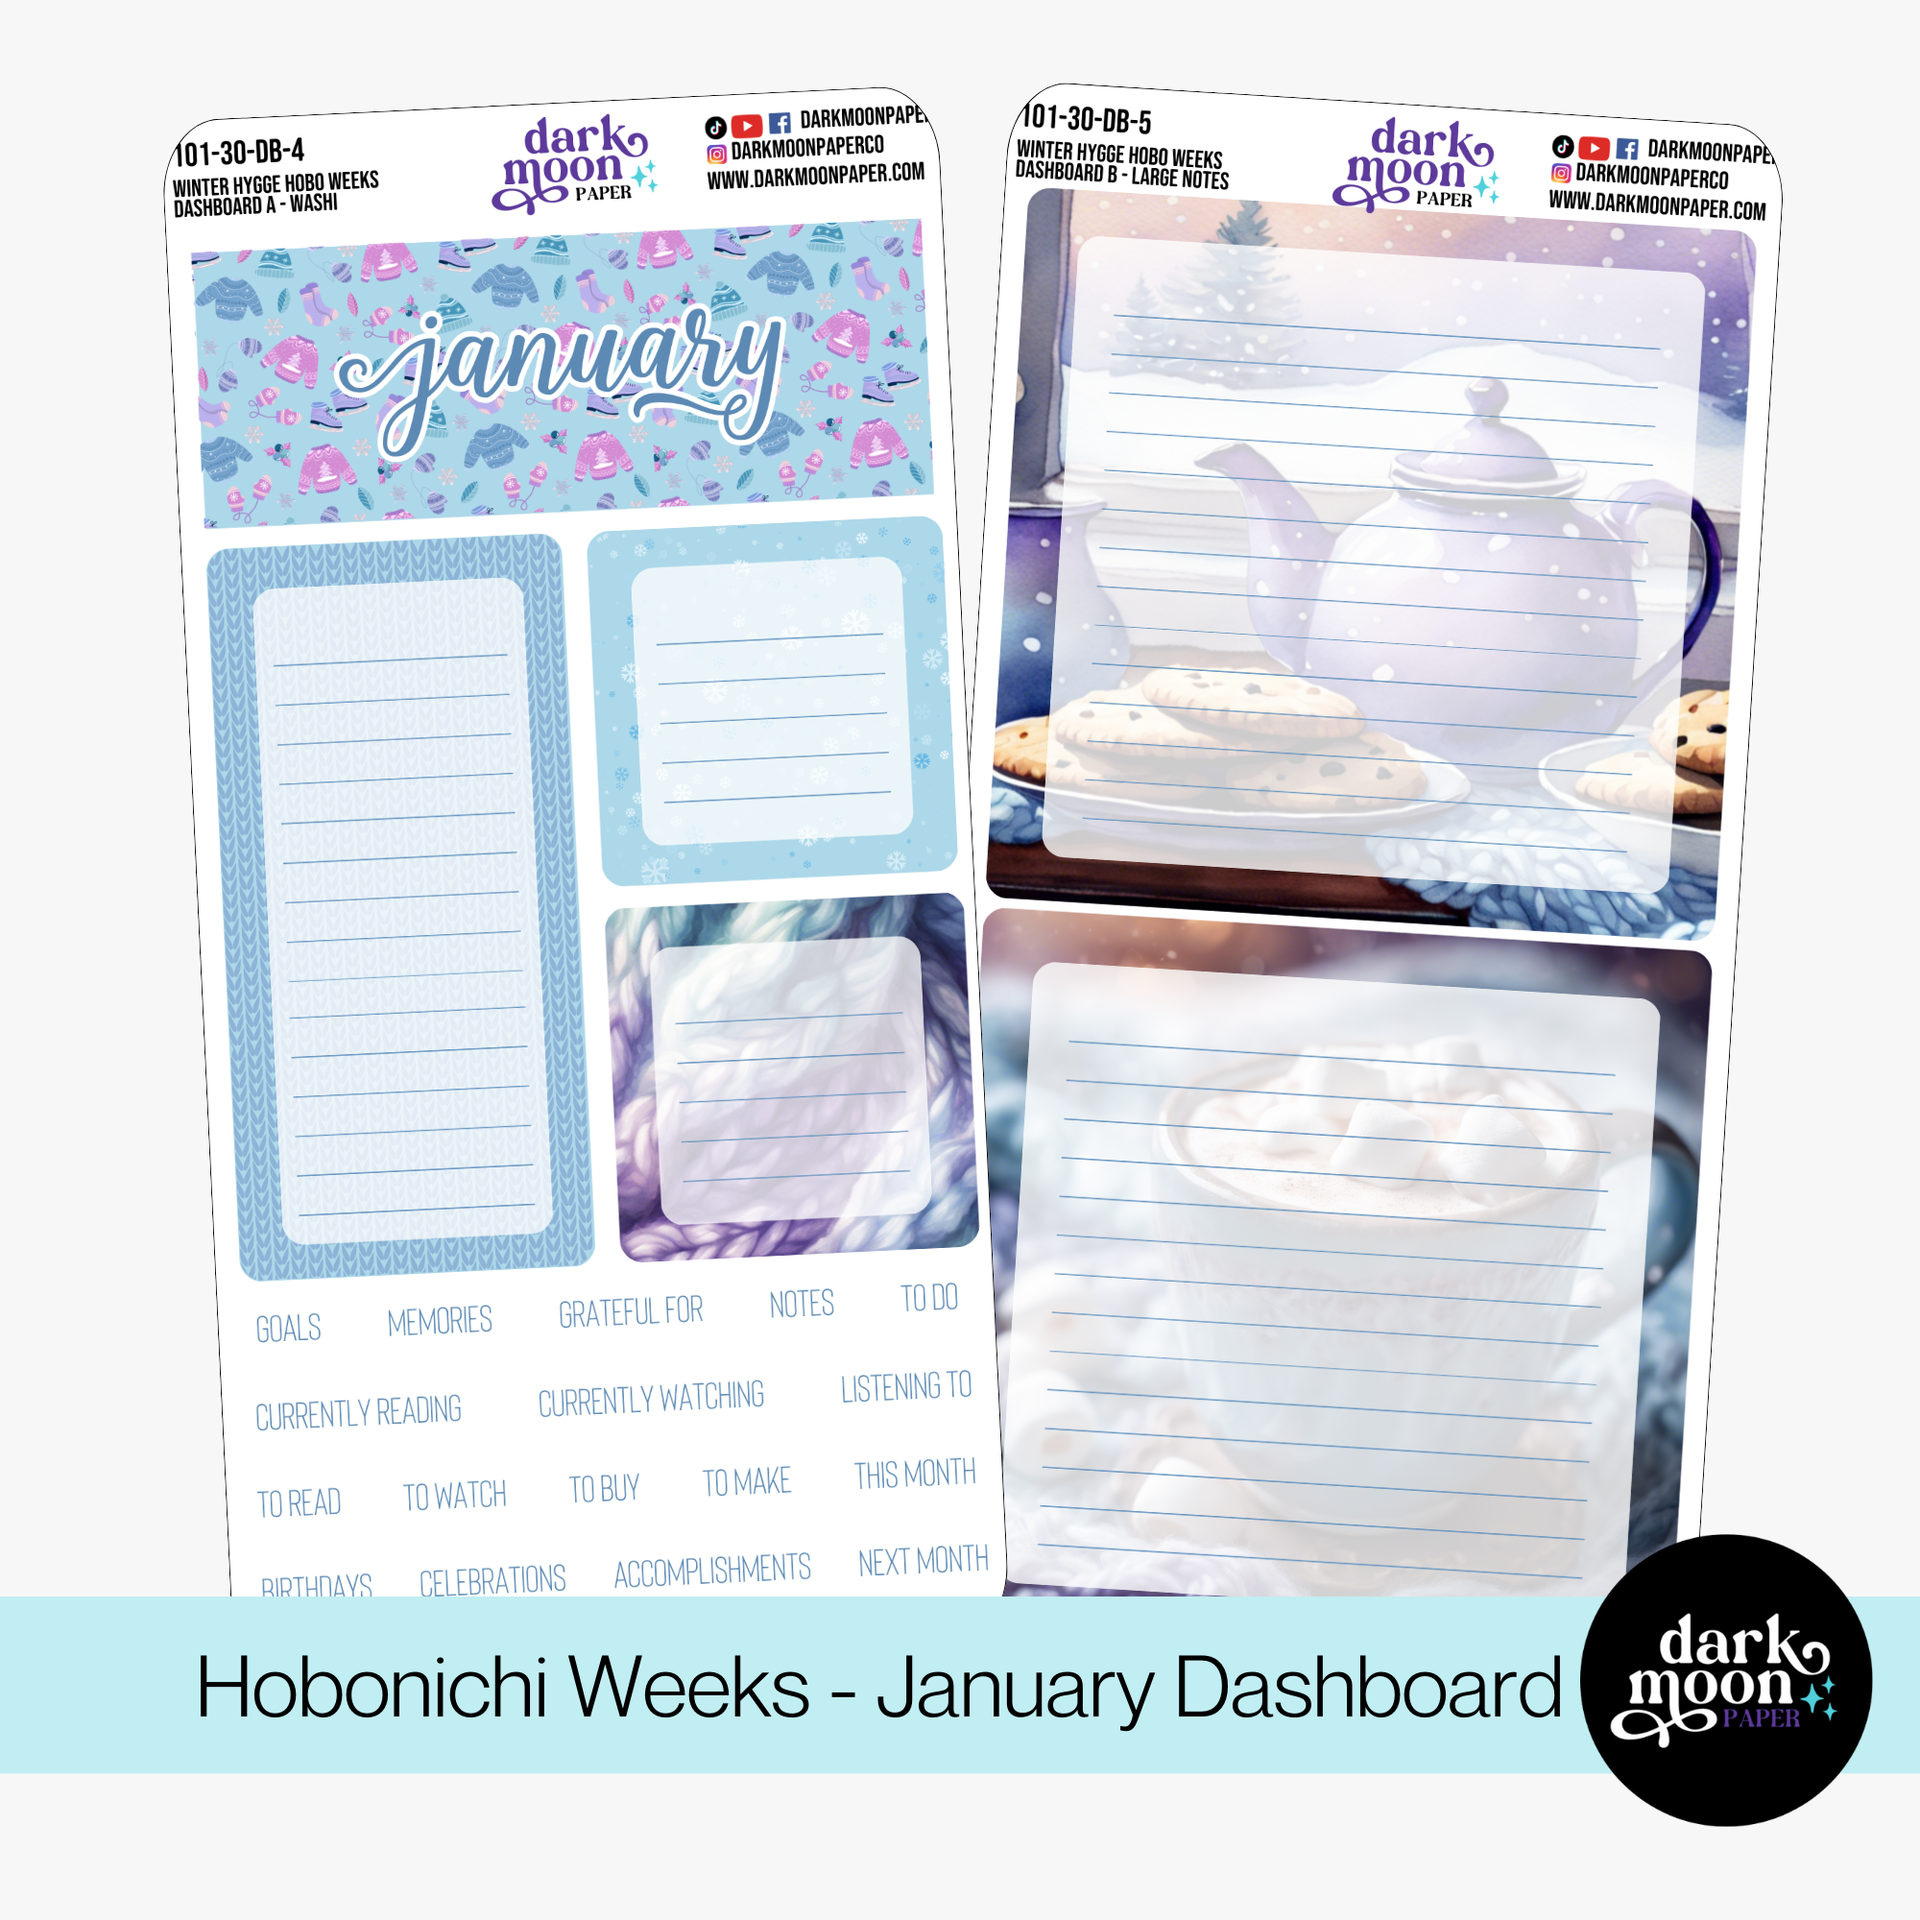
Select a dashboard kit that fits your winter aesthetic. Options like Icy Branches or Winter Hygge bring in cool, calming energy and coordinate seamlessly with monthly kits.
Dashboard kits contain boxes for tracking habits (think sleep, hydration, reading) and larger sections for setting intentions, jotting notes, or summarizing goals.
Layer stickers to split your dashboard into clear zones: trackers, priorities, meal-planning, or gratitude sections.
Decorative elements tie the visual theme together and make the page inviting enough that you’ll want to check in every day.
Icy Branches Dashboard Kit
Dashboard Set Up Tips
Dedicate 3–6 boxes for habit tracking. Label each for your chosen habits—sleep, water, mindfulness, exercise, etc.
Create a “top priorities” section for non-negotiable goals each month.
Leave a section for end-of-month reflections or big wins you want to remember.
Your December setup isn’t complete without a seasonal cover and carefully chosen planner accessories to keep everything protected and inspiring. A well-chosen cover is also a canvas in its own right—let your creativity shine with winter themes or minimal neutrals.
PVC clear covers are excellent for showcasing your stickered pages and dashboard artwork while providing protection from holiday-weather wear and tear.
Fabric or faux-leather covers with snowflakes or delicate woodland designs add warmth, and interior pockets give you a place to keep washi samples, sticky notes, or your favorite seasonal pens.
Install a simple pen loop or adhesive pen holder if you’re always on the go.
Many of us enjoy pairing our dashboard and cover theme for a consistent feel throughout December. Try displaying a dashboard page, like the ones from “Icy Branches” or “Winter Hygge,” as the first thing you see when you open your planner for a daily hit of creative motivation.
Winter Hygge Dashboard Kit
Step 4: Workflow—Putting It All Together
Gather Supplies: Start with your Hobonichi Weeks planner, Dark Moon Paper December kit, dashboard kit, pen, washi tape, and stickers. Keep tweezers for precise placement.
Prep Calendar: Lay down washi strips along the calendar’s borders, add month title and date covers, and highlight special events or deadlines with decorative boxes.
Layer Functional Elements: Use icon stickers to signal recurring bills, key routines, or appointments. Blank spaces let you add details later as your month evolves.
Build Dashboard: Arrange tracker boxes and header stickers. Place labels for goals, notes, or priorities to match your workflow. Add decorative stickers for winter cheer.
Accessorize: Slide the finished planner into your chosen cover, store stickers or washi in inner pockets, and prep a travel pouch with essential tools for busy, on-the-go weeks.
Personalize & Review: Step back and review the layout—move things around if you need to, and make sure the design feels both practical and joyful.
Cohesive Themes & December Planning Tips
Decide on a color scheme early. Icy blues, grays, and white for winter calm; golds and reds for a more festive pop; or muted neutrals for a calm, minimalist look.
Combine functional and decorative stickers to ensure utility doesn’t overwhelm your creative vision.
Reserve space each week for notes, journaling, or spontaneous reflections so you can honor the unpredictable flow of the holidays.
Dedicate time up front (30–45 minutes) to carefully layer and decorate your layout for a setup that you’ll actually want to revisit every day.
If you like detailed tracker layouts, take inspiration from past monthly spreads you’ve enjoyed. Feel free to try new trackers or goal layouts as the month progresses.
One of the most joyful parts of the planner community is sharing ideas and motivation. Tag us on Instagram with your December layouts to connect and get inspired. Our private newsletter also includes exclusive previews of new kits, community features, and planning tips tailored for the creative, detail-oriented planner lover.
Are you ready to build a December setup that’s as organized as it is inspiring? Explore our full selection of uniquely designed planner sticker kits and dashboards, crafted to help you turn your Hobonichi Weeks into a winter masterpiece. We can’t wait to see what you create this season!
Our custom stickers are a fuss-free way to brighten up your planner pages with perfectly-sized designs that add a spark of personality to every layout.
Planner stickers make organizing easy, fun, and personal! Add color, creativity, and structure to every page, transforming your planner into a tool that reflects you. Perfect for tracking, decorating, and staying inspired daily!
I’m Kat, the artist behind Dark Moon Paper. I started this studio to blend my love of art, handwriting, and the small rituals that make everyday life feel magical. My sticker kits and creative resources are made to set the mood, spark ideas, and give you a little escape from the ordinary.
I create from a cozy studio in the Oregon woods, surrounded by nature and a clear view of the stars.