If you’ve ever found yourself flipping through your Hobonichi Weeks searching for a stray to-do, a half-remembered appointment, or that quote you scribbled at midnight, you are not alone. We love the creative possibilities and compact beauty of the Hobonichi Weeks, but let’s be honest: with daily busyness and a flood of ideas, a system is everything. As creator of planner stickers and supplies for Hobonichi users, the most common challenge I hear is how to set up your weekly and notes pages so everything is discoverable. The right layout not only saves time, but it makes your planner genuinely joyful to open each day.
This simple, structured spread is what sets Hobonichi Weeks apart from bulkier planners. The real key? Picking a spot for every type of entry (to-dos, appointments, notes) and sticking with it until it becomes muscle memory.
If you always put to-dos in the same place, appointments in another, and notes somewhere else, you train your brain to find what it needs—fast. It might sound limiting, but in reality, this consistency acts as a launchpad for creativity, letting you layer colors, stickers, and doodles without losing track of important details.
Use those built-in dots on the left page to your advantage. Try dividing each day into three horizontal zones:
Add separation with a slim washi strip, colored pen, or a functional sticker. Vary it week-to-week—sometimes a gentle pastel divider, other times a bold header. Use whatever feels fun but still readable.
This is a favorite among creative planners and those with demanding work-life blends. The right grid page is perfect for larger lists or project tracking. Try this structure:
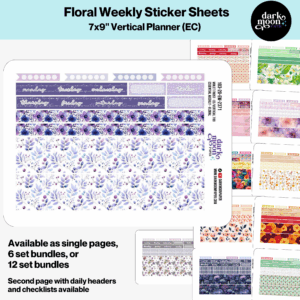
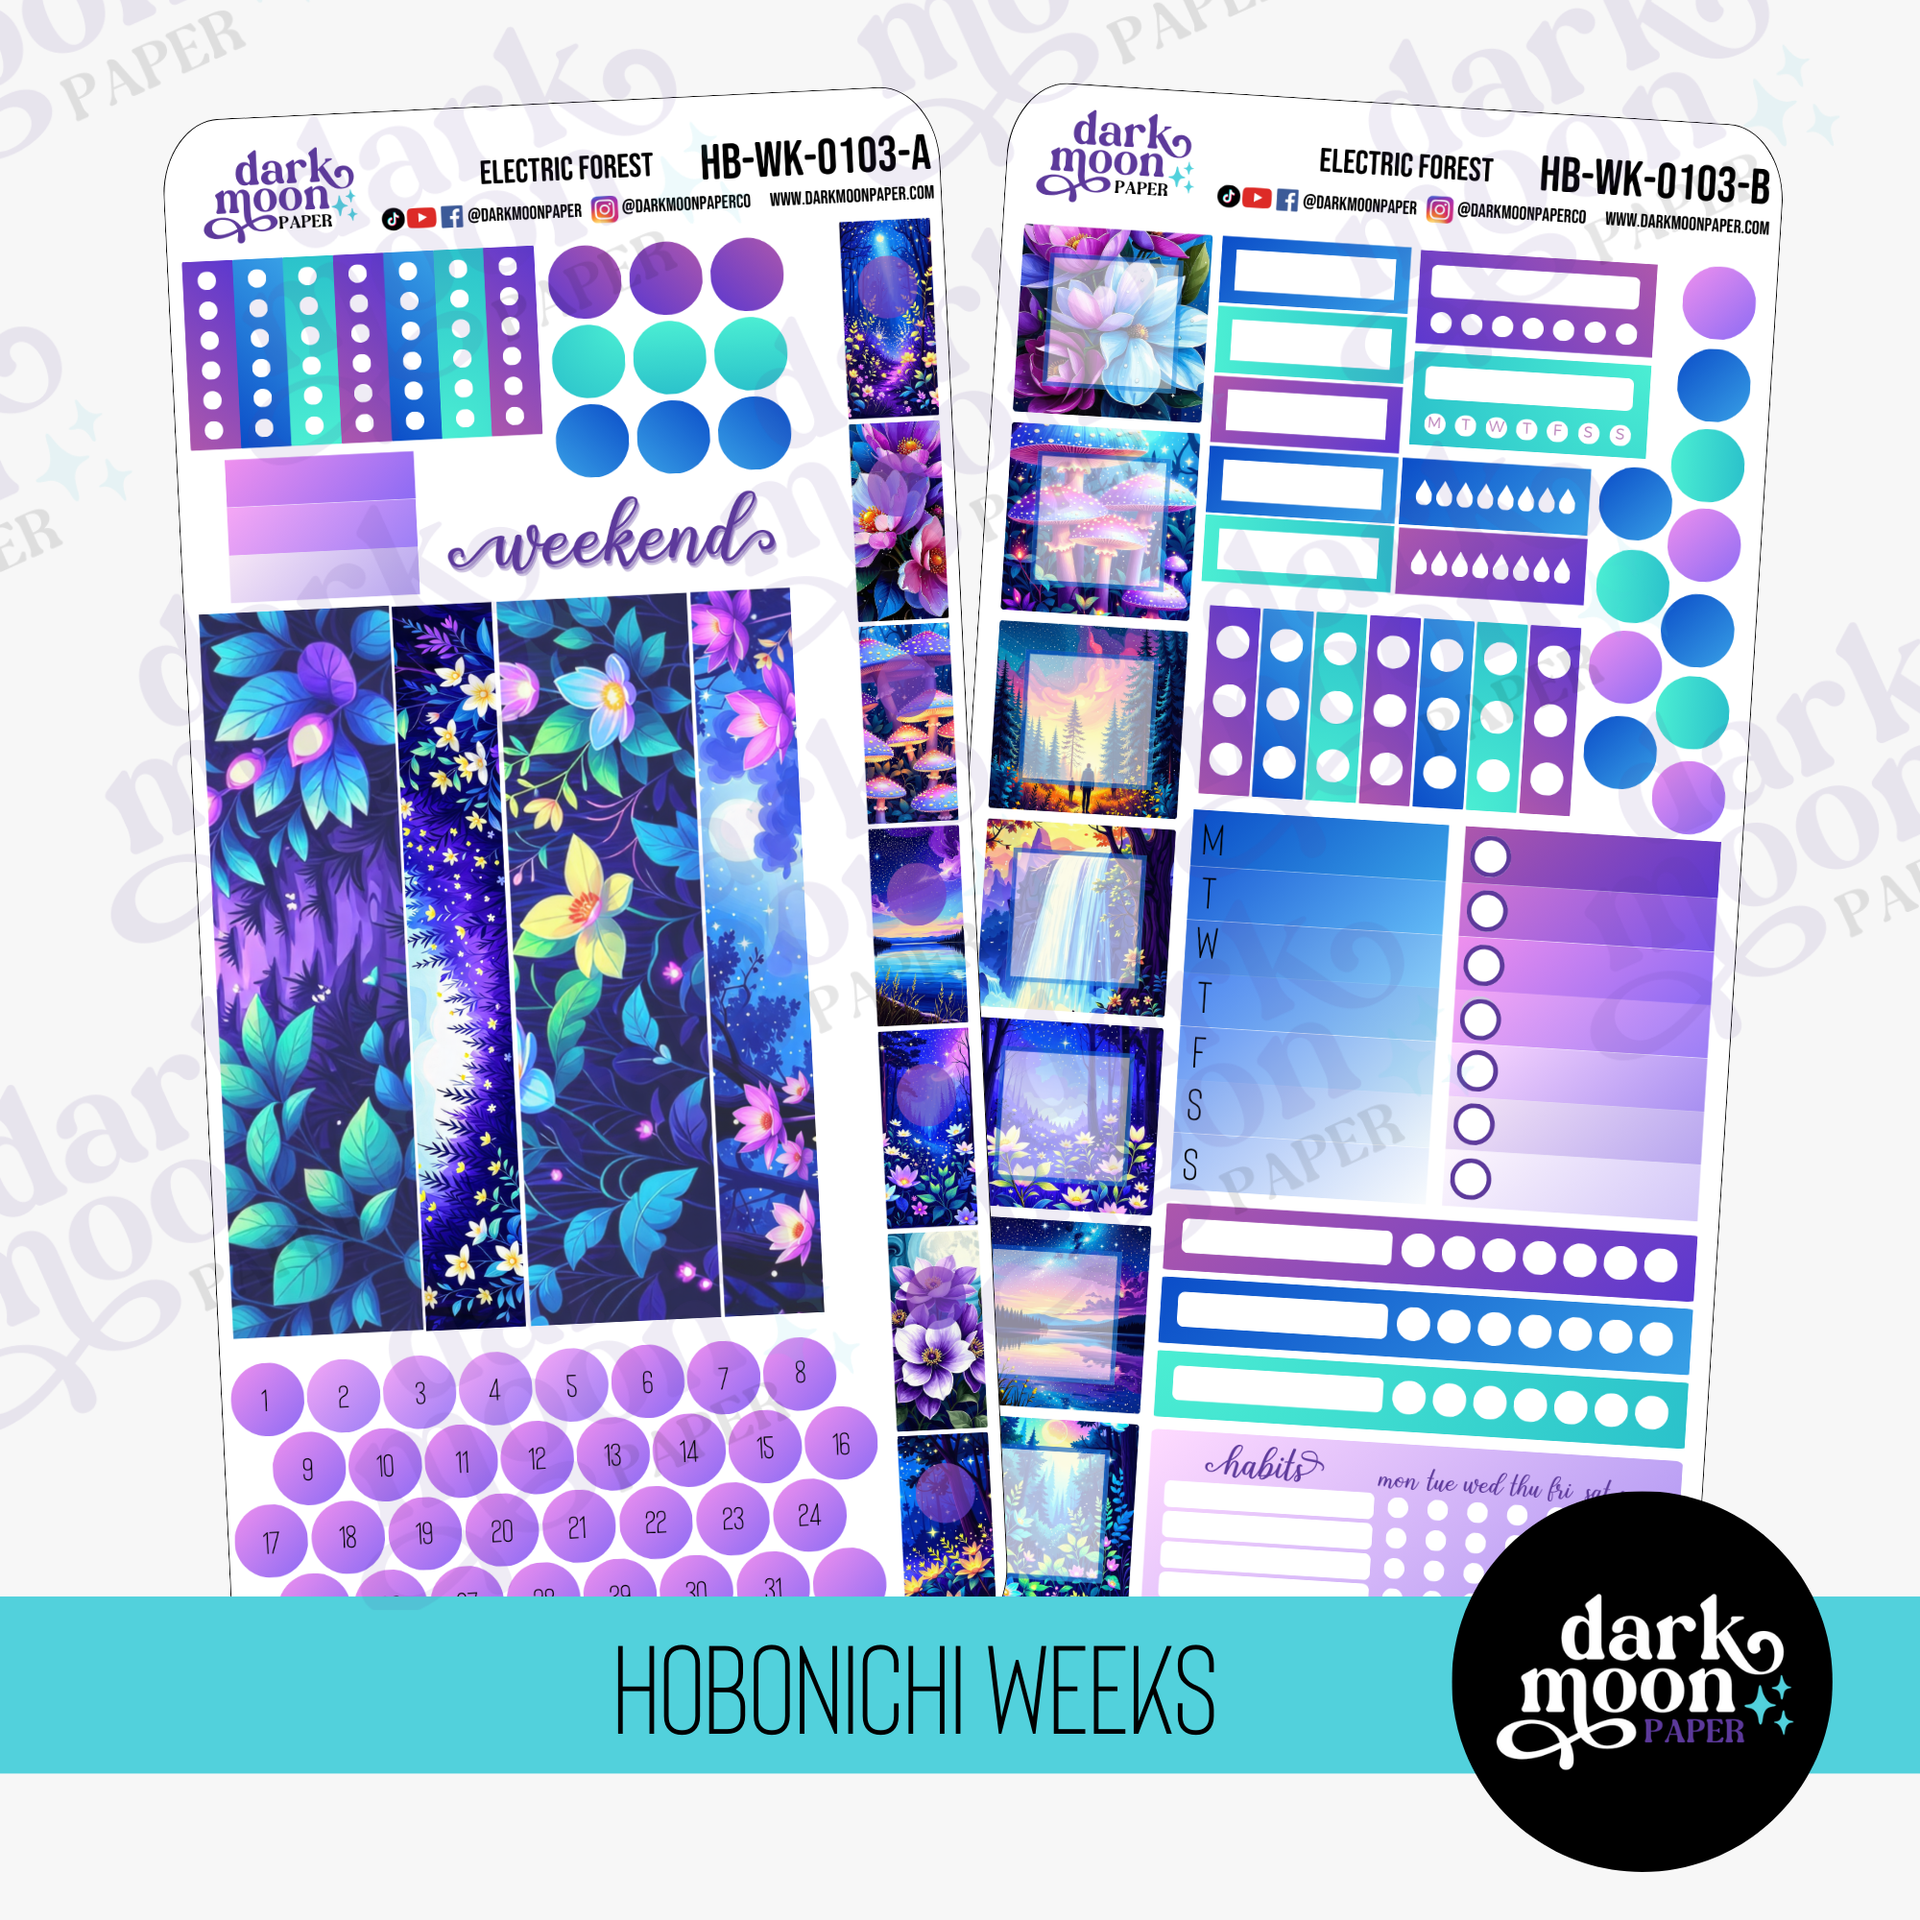
Enhance this system with headers from kits like Electric Forest or Lucky Clovers Weekly Kit for visual cues.
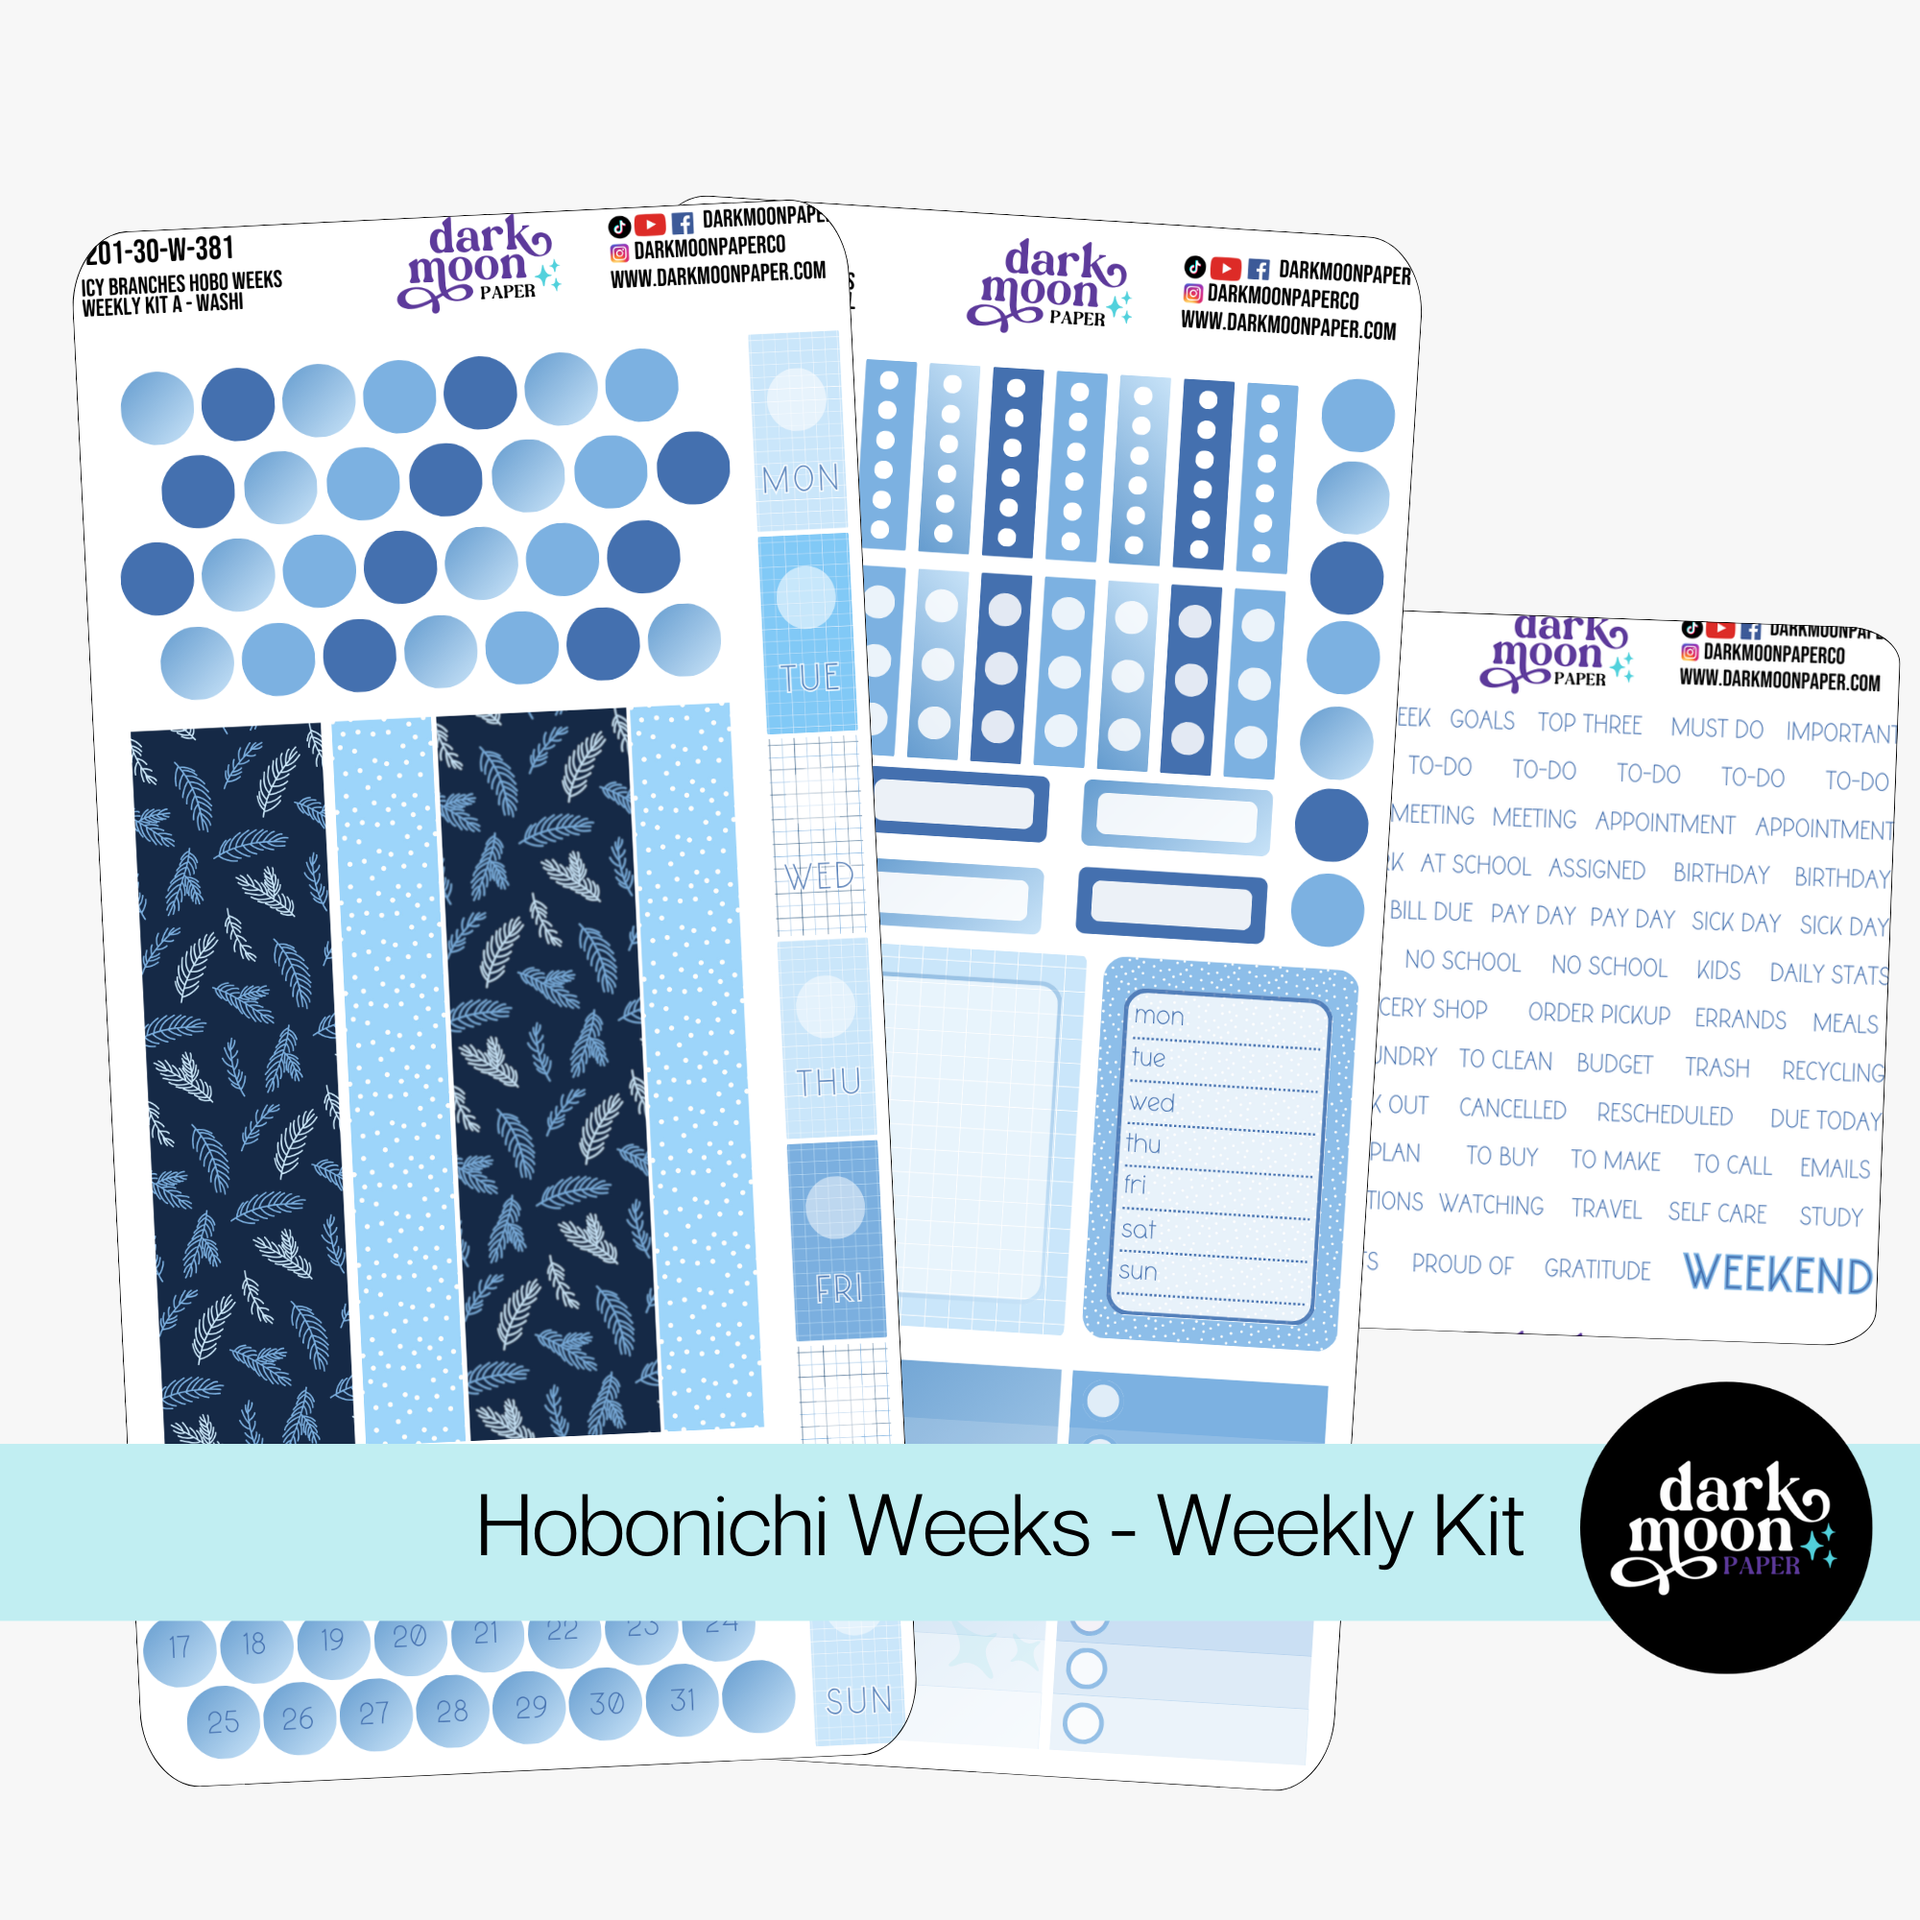
If your brain works better with vertical writing space, transform the spread by using columns instead of horizontal boxes. With a simple ruler or even washi tape, lightly divide both pages into 7 vertical columns (one for each day). This frees up tons of space for running notes, time-specific events, or simply more doodle room. Stickers from Icy Branches Kit add seasonal flair while keeping gray winter days bright and organized.
When you’re juggling multiple roles, a timed schedule on the left with a catch-all sidebar on the right works magic.
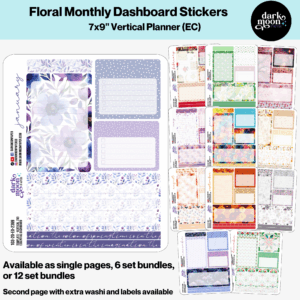
Don’t forget your grid pages that separate months, or the blank pages tucked in the back! Turning these into dashboards gives you a bird’s-eye view:
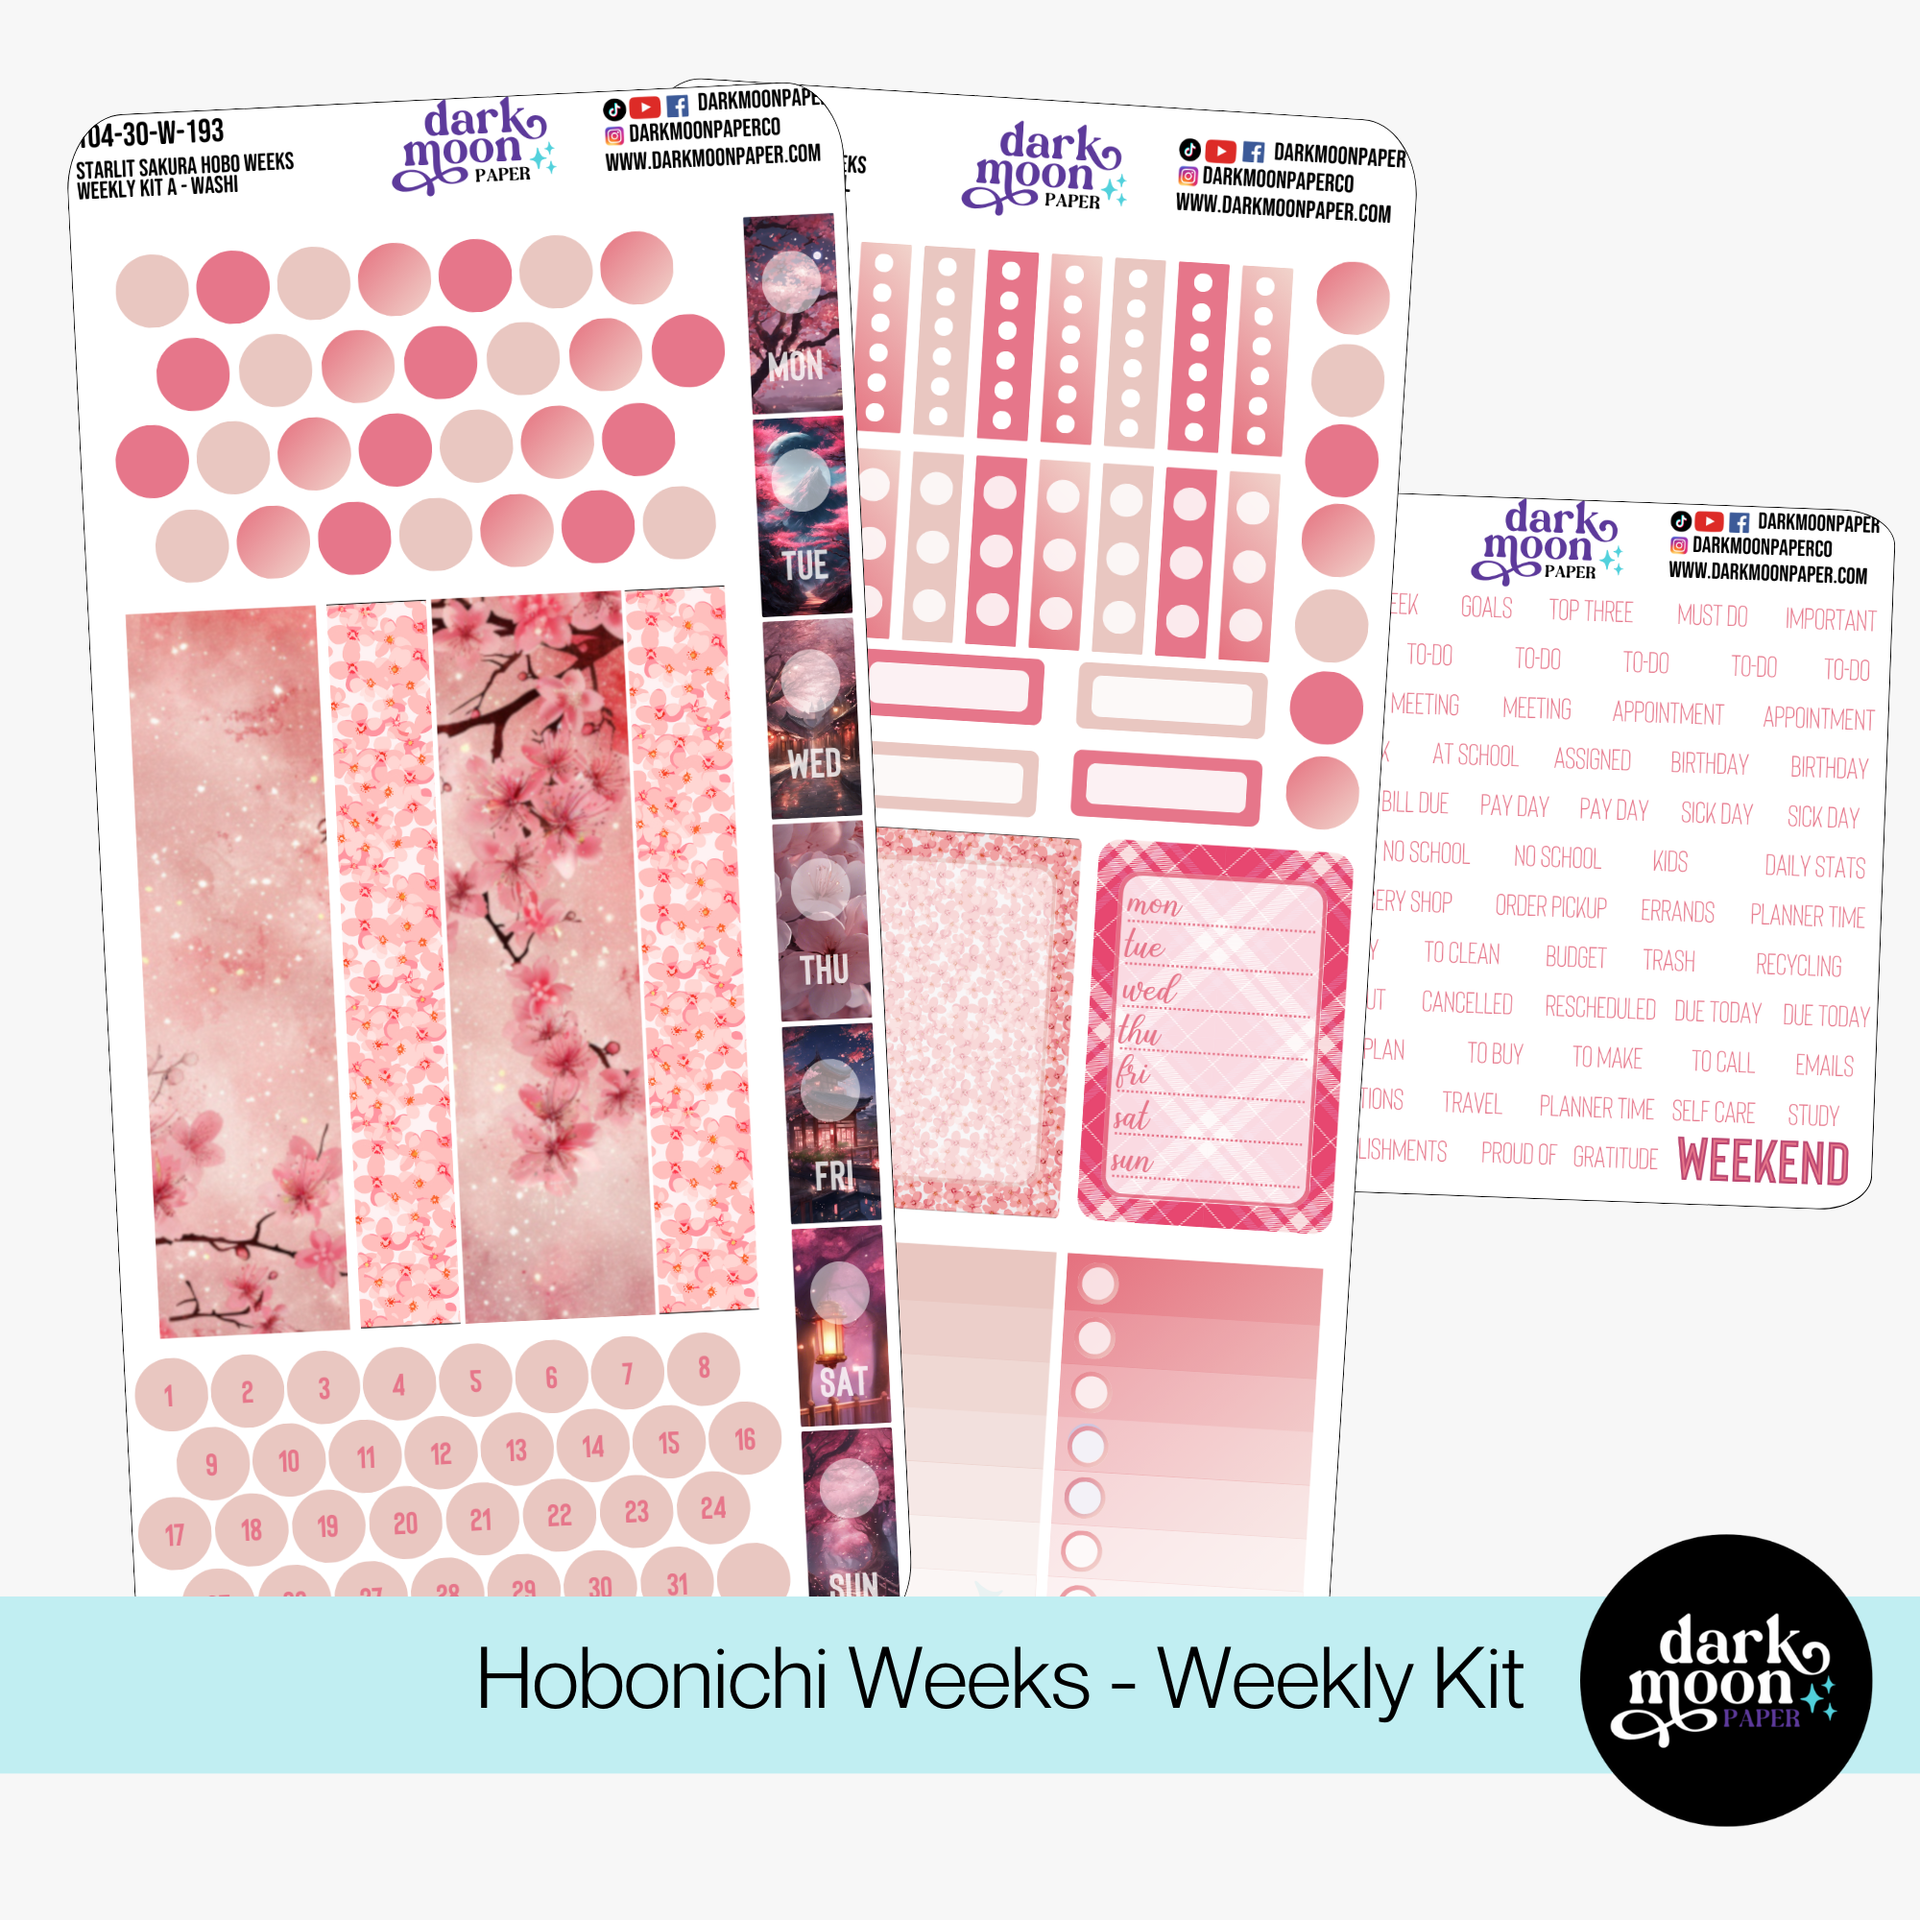
Monthly dashboard kits, like Starlit Sakura Dashboard, are perfectly sized for this, letting you keep everything cohesive and uplifting all in one spread.

Stickers aren’t just fun. They create visual anchors that your brain latches onto. Want a quick-glance spot for bills? Repeat the same icon in the same spot each spread. Need a habit tracker that stands out? Place a unique sticker or washi border at the bottom right each week.
Your life isn’t neat, and your planner doesn’t have to be either. Consider hybrid layouts:
If you’re hunting for more practical inspiration, our blog on 9 Hobonichi Weeks Layout Ideas for Busy People offers even more specific, no-fuss setups.
The secret sauce? Don’t get too rigid. We encourage our community to experiment—try two or three different configurations the first month, using stickers only after you know which layout fits your brain. Use the notes section in the back to mock up weekly spreads. Test handwriting, color palettes, and divider placements. Over time, your favorite layout will emerge naturally.
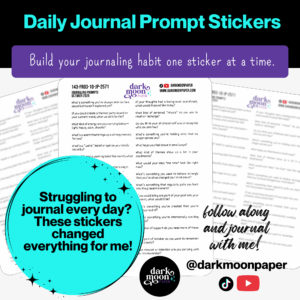
Need more hands-on guidance? We post daily planner tips, journaling prompts, and pen reviews as YouTube Shorts and TikTok videos (@darkmoonpaper)—perfect if you like learning visually or enjoy a creative community. Join the conversation and grab quick ideas you can try that very day.
We want your Hobonichi Weeks to feel like home—easy, inspiring, and never a source of stress. If you’re ready to add more beauty and order to your planning routine, explore our curated collection of sticker kits and free printables. And if you’re looking for exclusive deals, new releases, and a supportive group of planner enthusiasts, our newsletter is the perfect spot to start. Welcome to a world where organization and creativity belong together.