If you’ve ever flipped open your Hobonichi Weeks planner with a handful of stickers ready to go—but paused, uncertain where to place each decorative or functional piece for a truly polished result—you’re not alone! Perfect sticker placement isn’t just about making things look cute (though, of course, that’s part of the fun)—it’s also about understanding the unique measurements of the Hobonichi Weeks so you can make the most of every inch of those slim, elegant pages. At Dark Moon Paper, we design our sticker kits like Winter Hygge and Violet Frost for this planner specifically, and in this guide, we’re sharing our secrets and best practices to help you achieve flawless, frustration-free layouts.
Understanding Hobonichi Weeks Dimensions: The Foundation of Flawless Placement
The Hobonichi Weeks is iconic not only for its Japanese engineering and soft, thin Tomoe River paper, but also for its distinctive long-and-slim format. Here’s what you’re working with:
Page Size: 188mm x 94mm (7.4” x 3.7”)
Planner Thickness: 9mm for the standard Weeks; slightly more for the Mega version
Grid Structure: Each weekly spread features a vertical column layout on one side (with days of the week) and a gridded notes section on the opposite page.
Margins & Usable Area: About 10mm spine margin; practical width for stickers is approximately 85–90mm, especially if you want the page to lay flat.
Having these dimensions in mind ensures you won’t accidentally cover up important sections or end up with crooked headers. Our kits are precisely measured to complement these confines, but knowing your own planner’s real estate lets you get creative with layering and positioning!
Stickers Tailored for the Weeks: What Makes Winter Hygge & Violet Frost Kits Unique
Anyone can throw a sticker on a page, but optimal placement, especially with collections like Winter Hygge and Violet Frost, demands thoughtful sizing and engineered flexibility.
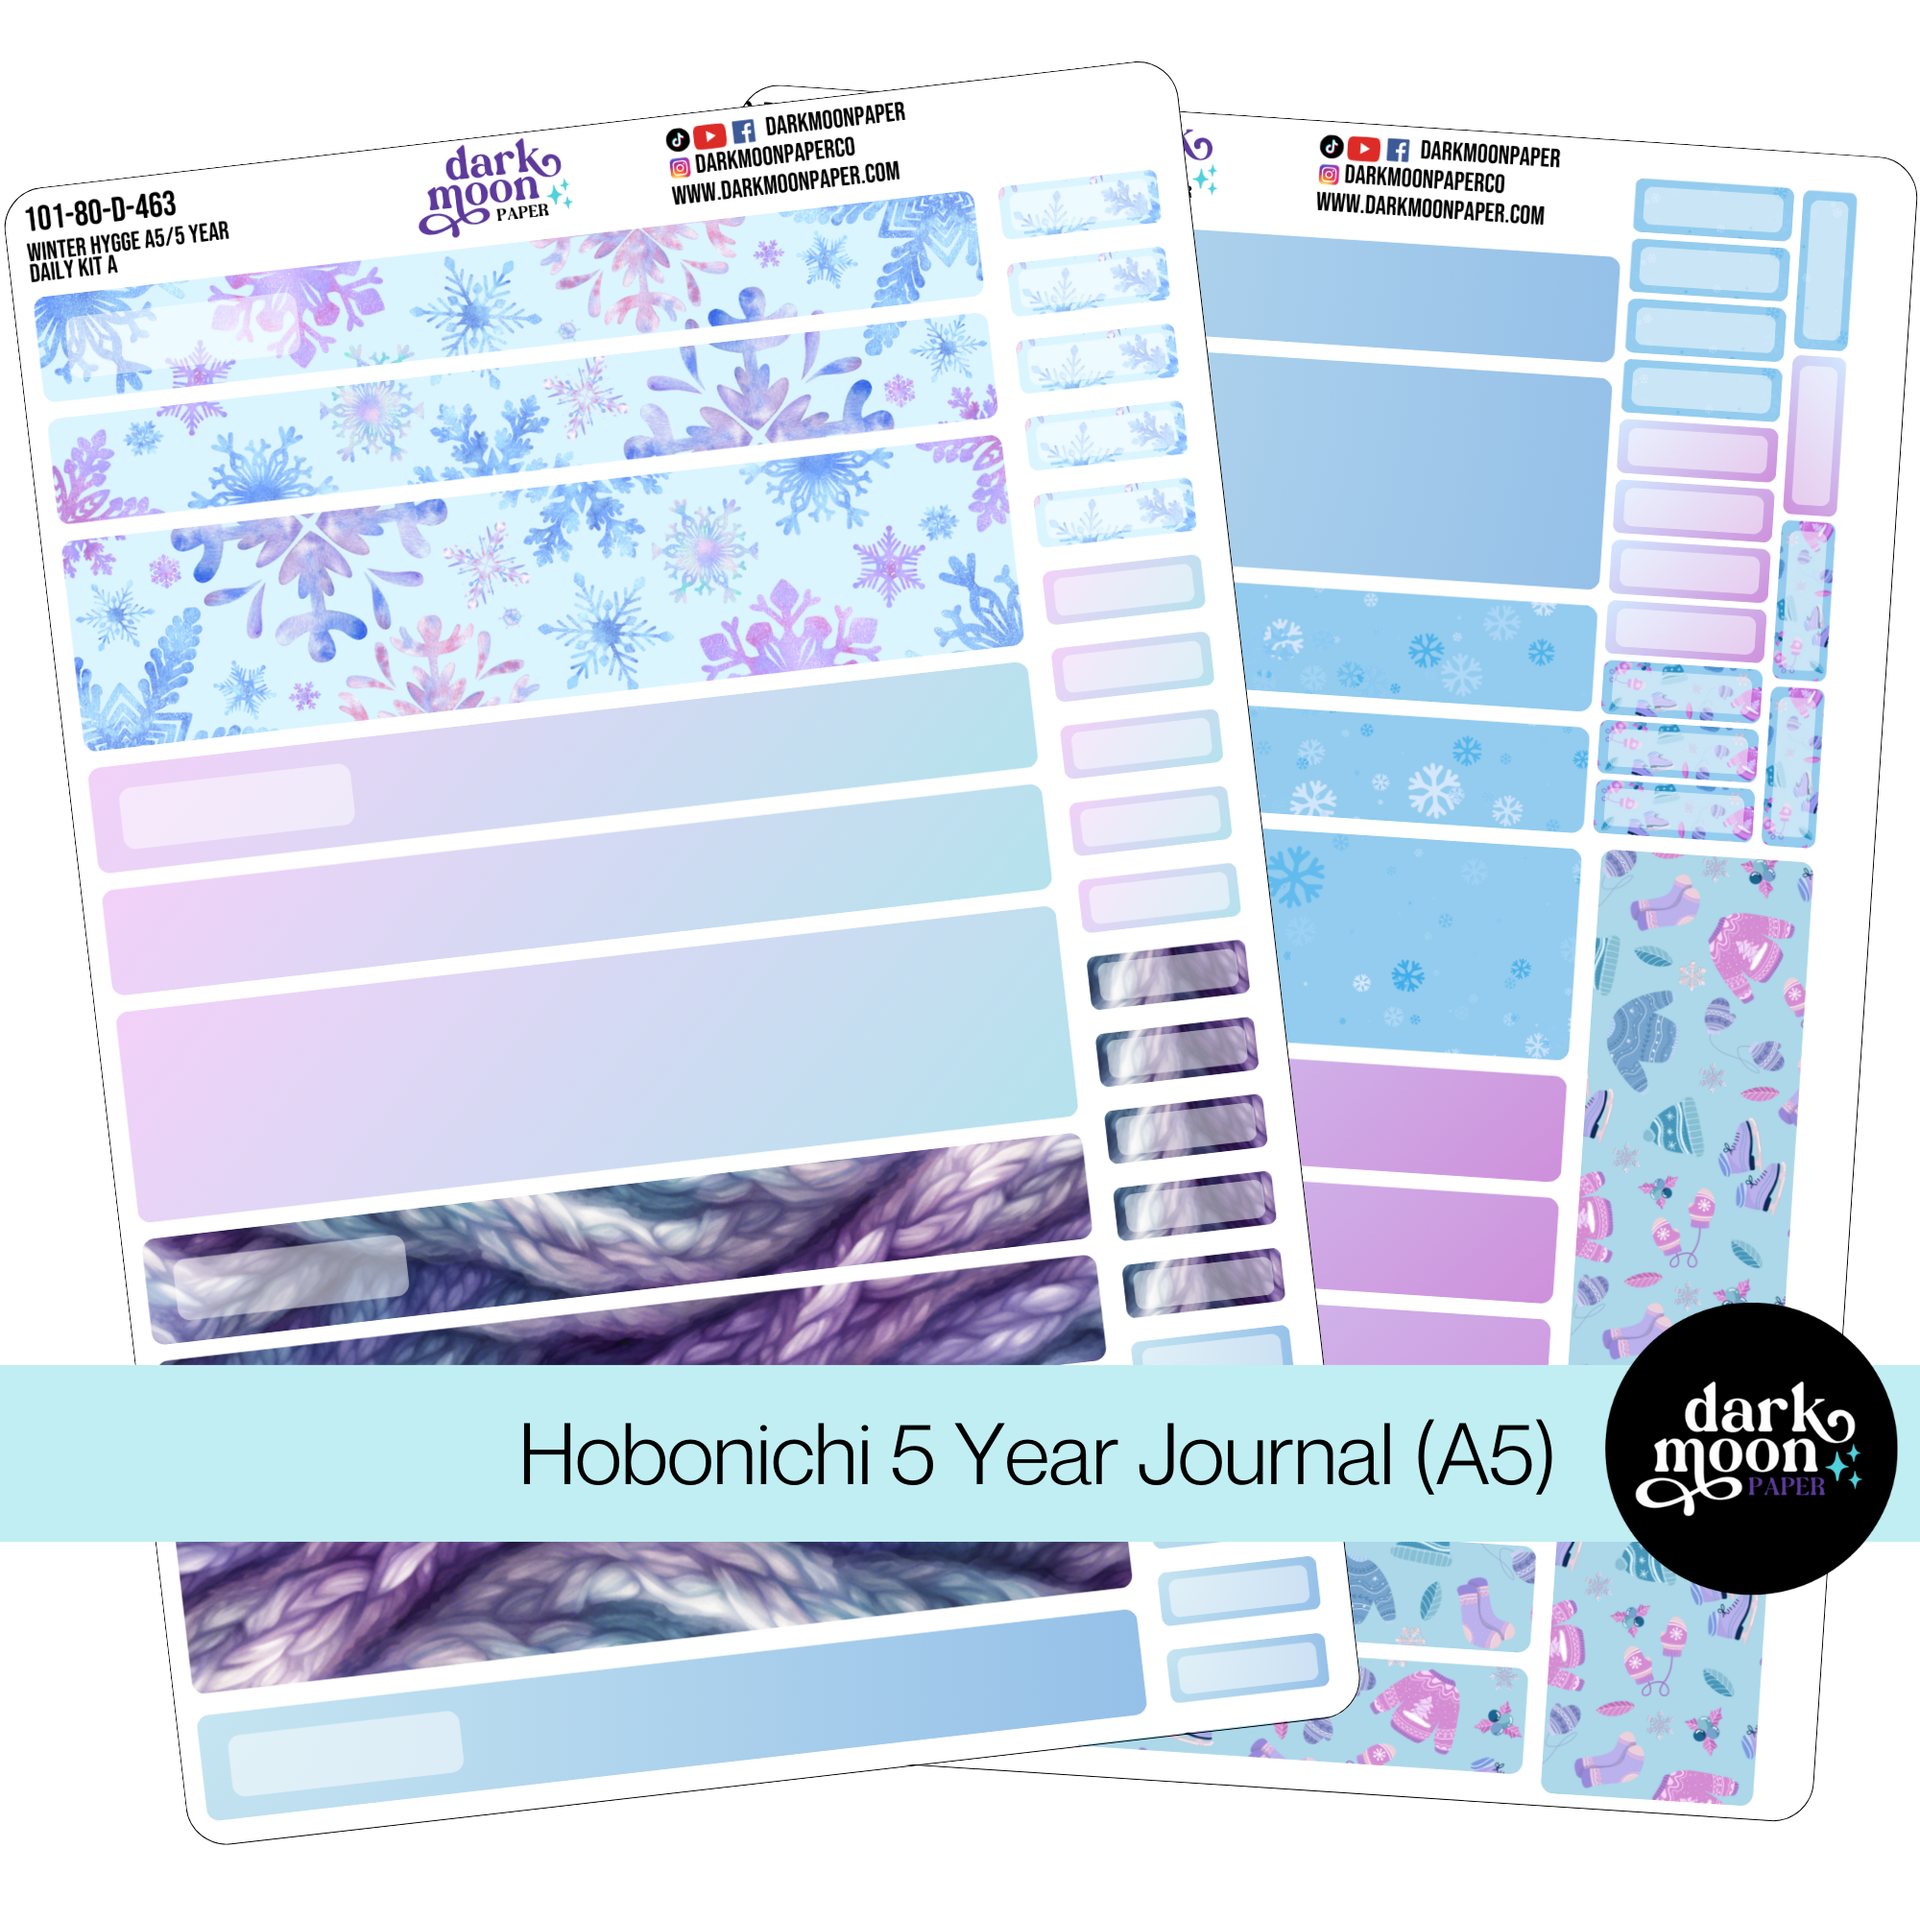
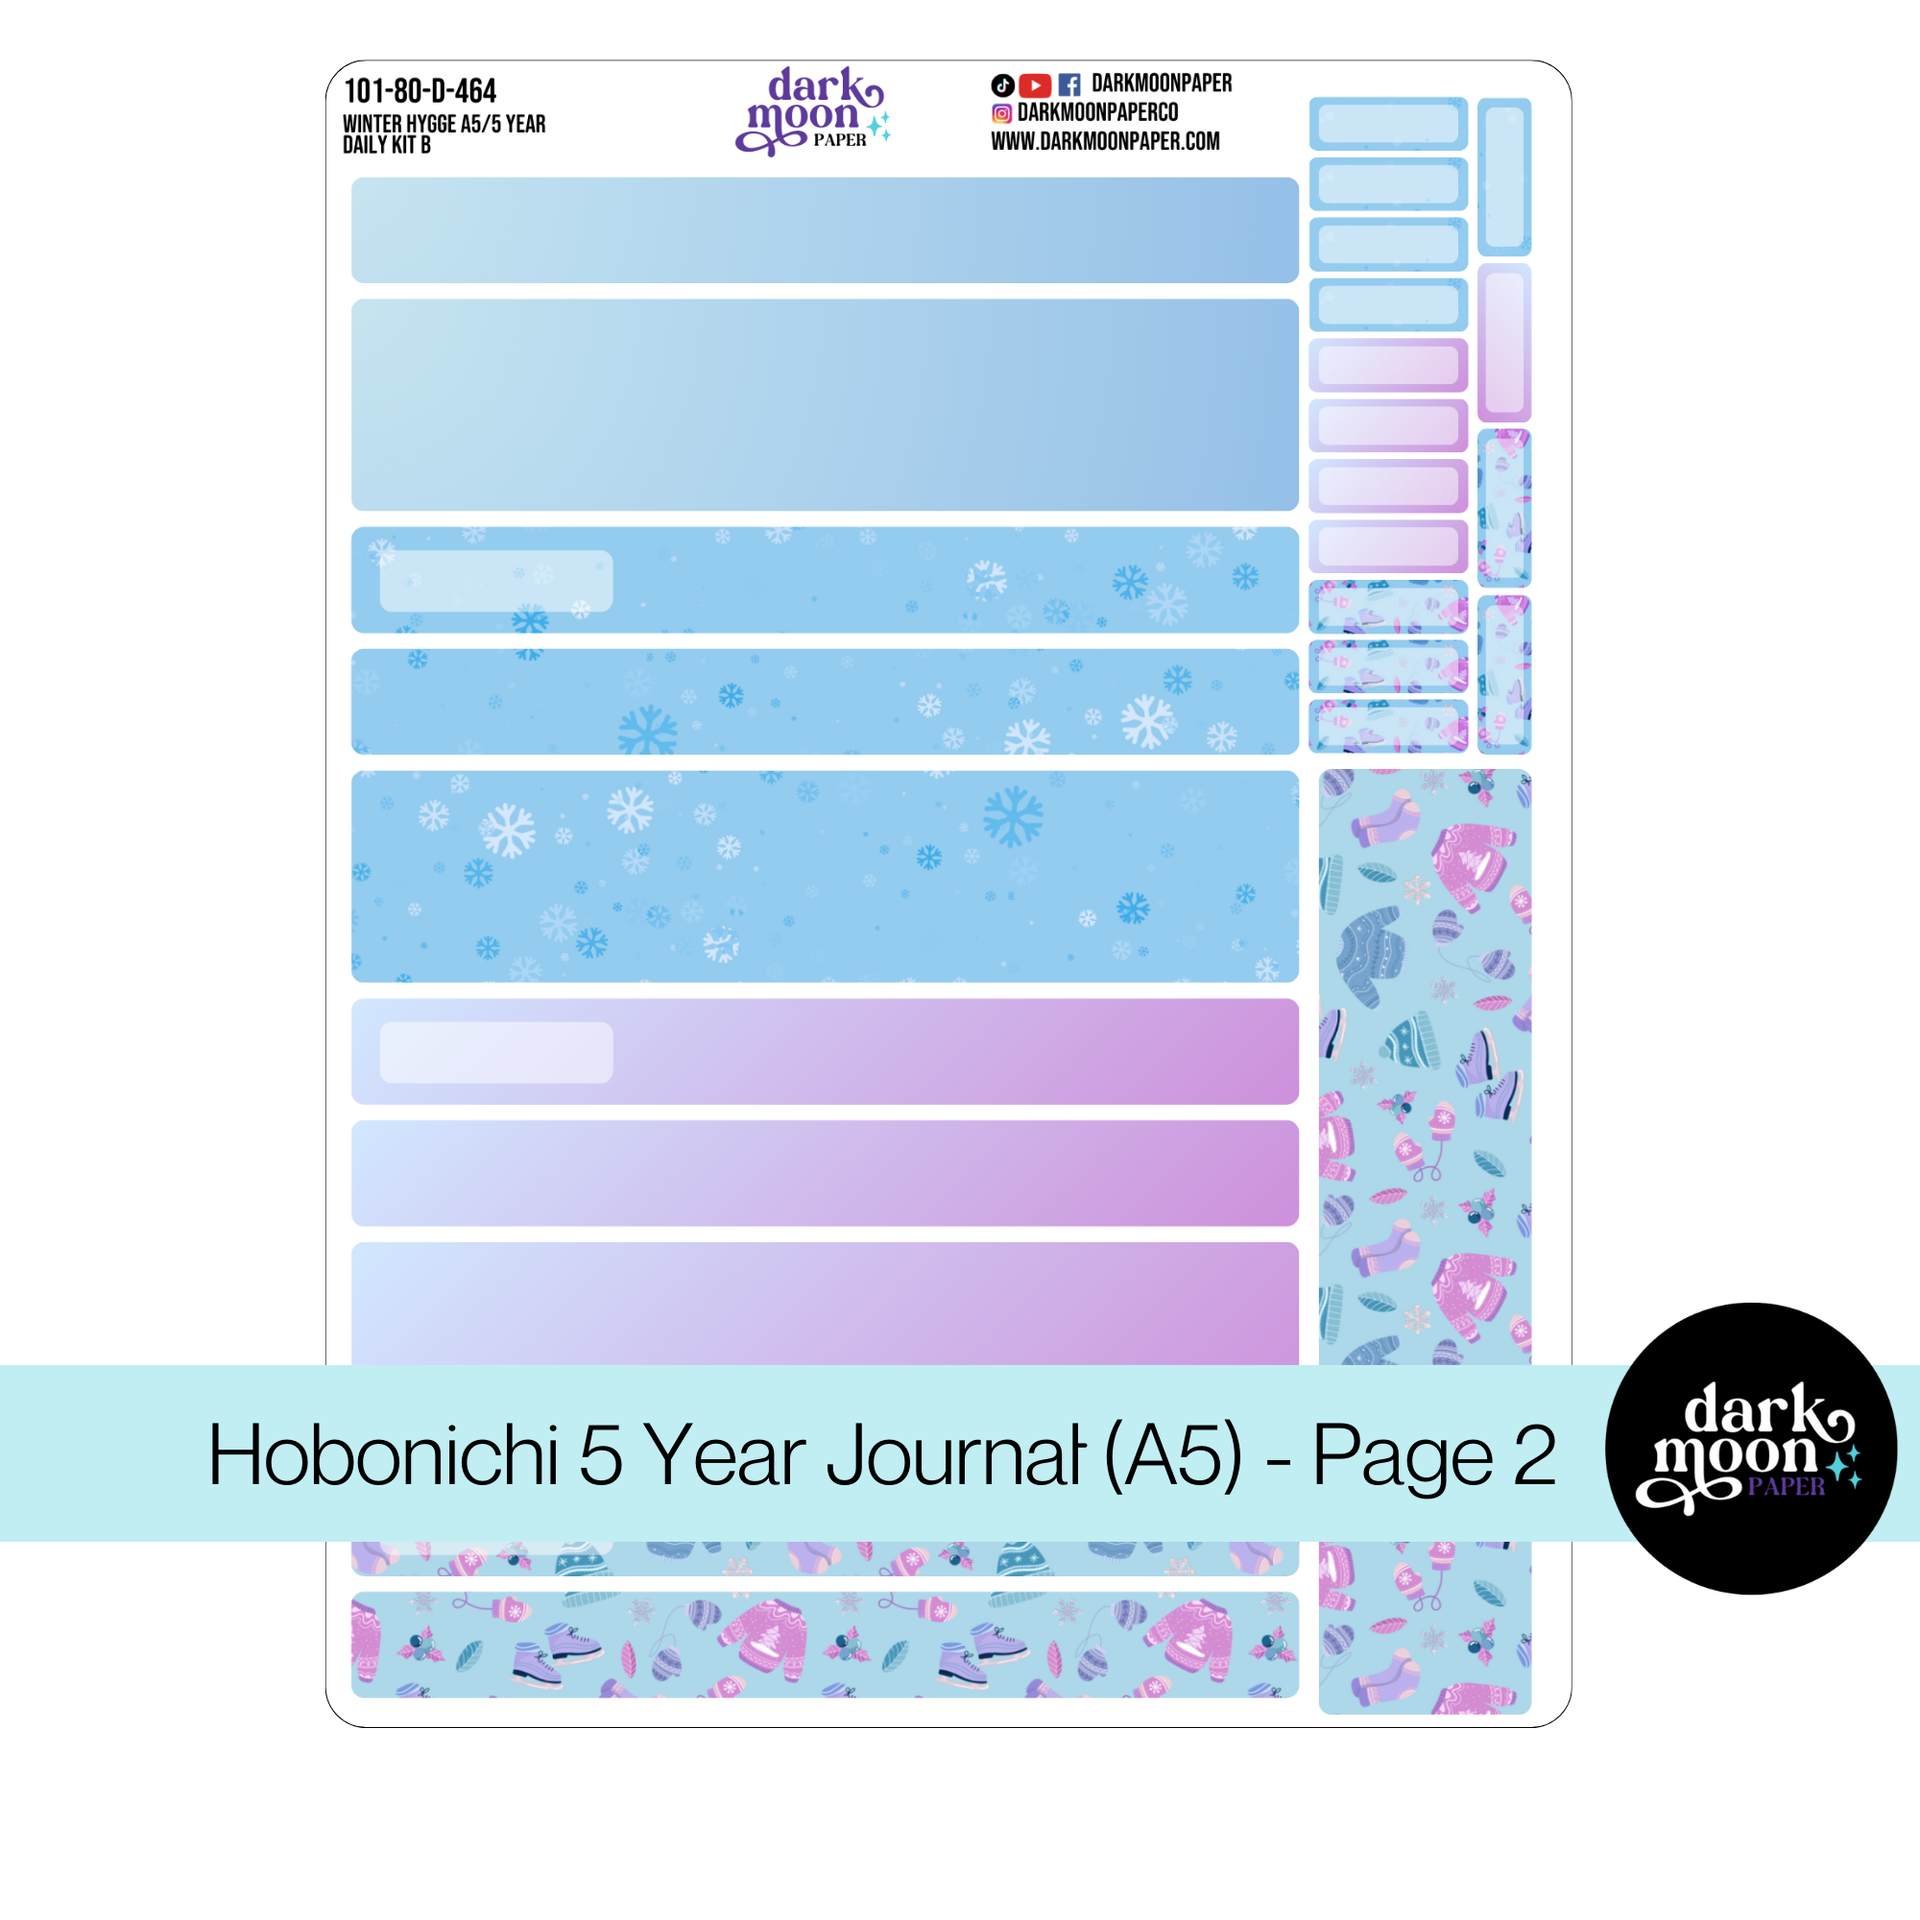
Winter Hygge includes washi strips, functional headers, decorative icons, and full-box stickers. Each element is tailored to fit the gridded sections or columns perfectly—no awkward overhanging edges!
Violet Frost features translucent layering icons and accent pieces that harmonize with both the narrow columns and open grid, letting you build up visual interest without sacrificing writing space.
Winter Hygge – A seasonal sticker kit designed to fit Hobonichi Weeks with cozy charm.
How to Measure and Place Stickers in Your Hobonichi Weeks
With the right approach, you can achieve perfectly aligned, effortlessly beautiful layouts every time. Here’s our step-by-step strategy:
1. Identify Key Anchor Points
Column Width: Standard columns for each day are approximately 16mm wide—ideal for slim checklist strips, date covers, or daily headers.
Grid Size: The small 3.55mm gridded squares on the memo page help you line up boxes, icons, or decorative flags without guessing.
Header Space: The top row over the calendar columns and the notes page can be used for slim banners or full-width washi, up to 90mm wide.
2. Plan Your Layout Before Peeling
Lay out your stickers on the page (without peeling the backing) to experiment with layering and spacing.
Snap a quick photo of your ideal arrangement for reference while you stick.
3. Apply Larger Foundations Before Detailed Accents
Start with full-width washi strips or large header banners. In our Winter Hygge kit, these are sized about 7” (approx. 180mm), fitting nearly edge-to-edge for seamless coverage.
Layer on functional boxes in the daily columns—they’re measured to nest within each space with a slight border, preserving that signature Hobonichi minimalist feel.
4. Fill In with Decorative and Functional Icons
Accent the lower corners of columns, grid notes, or margins with mini icons and decorative flourishes from the Violet Frost kit for visual interest without clutter.
Place checklist circles, flags, or habit trackers along the outer margins, keeping the whole grid usable for writing plans and memories.
Violet Frost – Perfect for layering translucent accents on the Hobonichi grid.
Insider Tips: Getting the Most from Seasonal Kits
Mix & Match: Try using a Winter Hygge washi strip at the top, then mix in Violet Frost translucent icons on the memo page for a dreamy, textured look.
Maximize Writing Area: Our stickers are thin and precisely cut, avoiding unnecessary bulk—so your planner stays flat and light even when fully decorated.
Align with the Grids: Use the built-in grid to perfectly align smaller stickers, or to keep checklists straight and tactilely satisfying.
Use Washi as a Guide: Place a strip of washi slightly off the paper edge as a temporary “ruler” for lining up banners or boxes—then peel it away without disturbing your stickers below.
Sticker Placement for Weekly, Monthly, and Special Dashboard Spreads
Different spreads present different challenges and creative opportunities. Here’s how we approach each one:
Weekly Layouts
For weekly setups, anchor your days with date covers and slim weekday headers along the top (up to 90mm wide for cozy but clean coverage).
Keep the left-side memo page open for to-dos, mood tracking, or journaling blocks—use narrow decorative or functional stickers that won’t dominate the space.
Monthly Overviews
Cover page stickers—like the Winter Hygge monthly covers—fit the start of each new month, giving you room to add a seasonal accent or quick goals list. These measure just under the full page width to avoid sticking into the gutter.
Use decorative corner stickers to highlight special dates while keeping the primary grid available for appointments.
Monthly cover page from the Winter Hygge kit—fit for a festive new chapter.
Dashboard Pages
Dedicated dashboard stickers (such as those in our dashboard kits) transform blank grid pages into creative overviews—with boxes and banners custom-sized to nestle into the available real estate, so information remains easily accessible.
Frequently Asked Questions About Measurements & Placement
Will stickers make my Weeks planner too bulky? Nope! Our stickers are thin enough for layering, and the total spread thickness is minimal—so the famous Hobonichi lay-flat design is preserved even with maximal creativity.
Can I reposition stickers if I need to? Absolutely. If you’re experimenting or unsure, use washi tape as a “training wheels” holder until you love your arrangement. Our premium sticker paper also allows gentle repositioning soon after applying.
Do I need to trim stickers for the Weeks? Not with Dark Moon Paper kits—everything is measured to fit seamlessly! But of course, you can always customize for your own unique look.
Bring Your Pages to Life (and Stay Organized!)
With a solid understanding of Hobonichi Weeks measurements—and thoughtfully designed sticker kits like Winter Hygge and Violet Frost—your planner can be both highly functional and beautifully expressive. We created our products specifically to help fellow enthusiasts like you bridge the gap between simple lists and visually stunning, personality-filled journals. Don’t be afraid to experiment, layer, and make your layout distinctly yours—after all, planning should be as joyful and unique as your everyday life!
If you’re ready to try these perfect-fit stickers yourself, browse our full range of Hobonichi Weeks kits and let your creativity take center stage.
Our custom stickers are a fuss-free way to brighten up your planner pages with perfectly-sized designs that add a spark of personality to every layout.
Planner stickers make organizing easy, fun, and personal! Add color, creativity, and structure to every page, transforming your planner into a tool that reflects you. Perfect for tracking, decorating, and staying inspired daily!
I’m Kat, the artist behind Dark Moon Paper. I started this studio to blend my love of art, handwriting, and the small rituals that make everyday life feel magical. My sticker kits and creative resources are made to set the mood, spark ideas, and give you a little escape from the ordinary.
I create from a cozy studio in the Oregon woods, surrounded by nature and a clear view of the stars.