Personalizing your Hobonichi Weeks monthly calendar isn’t just about making your planner look pretty—it’s about creating a system that works with your life while sparking creativity every time you open it. At Dark Moon Paper, we believe that blending functionality and artistic flair through decorative sticker kits can truly elevate your monthly planning experience. Let’s explore a step-by-step, detailed approach to organizing a monthly calendar layout in your Hobonichi Weeks, maximizing both productivity and joy.
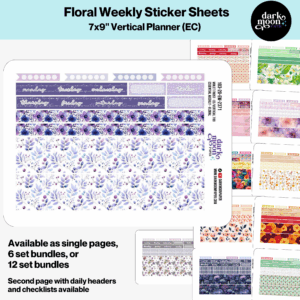
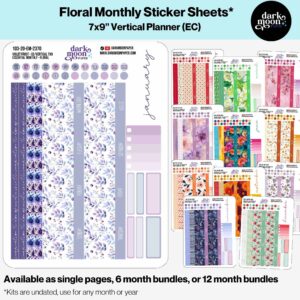
The monthly pages in the Hobonichi Weeks planner offer a clear, grid-based view where you can visualize your entire month at a glance. With light graph paper, margin space on the left and bottom, and built-in checkboxes, the structure is purposefully flexible—waiting for you to personalize it according to your needs and style.
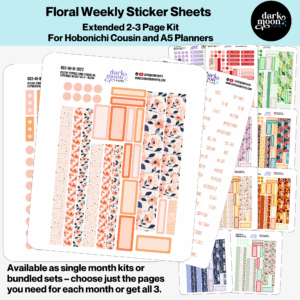
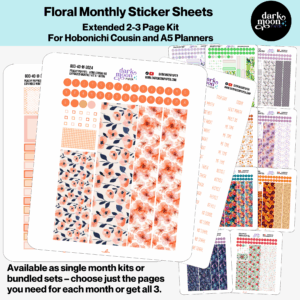
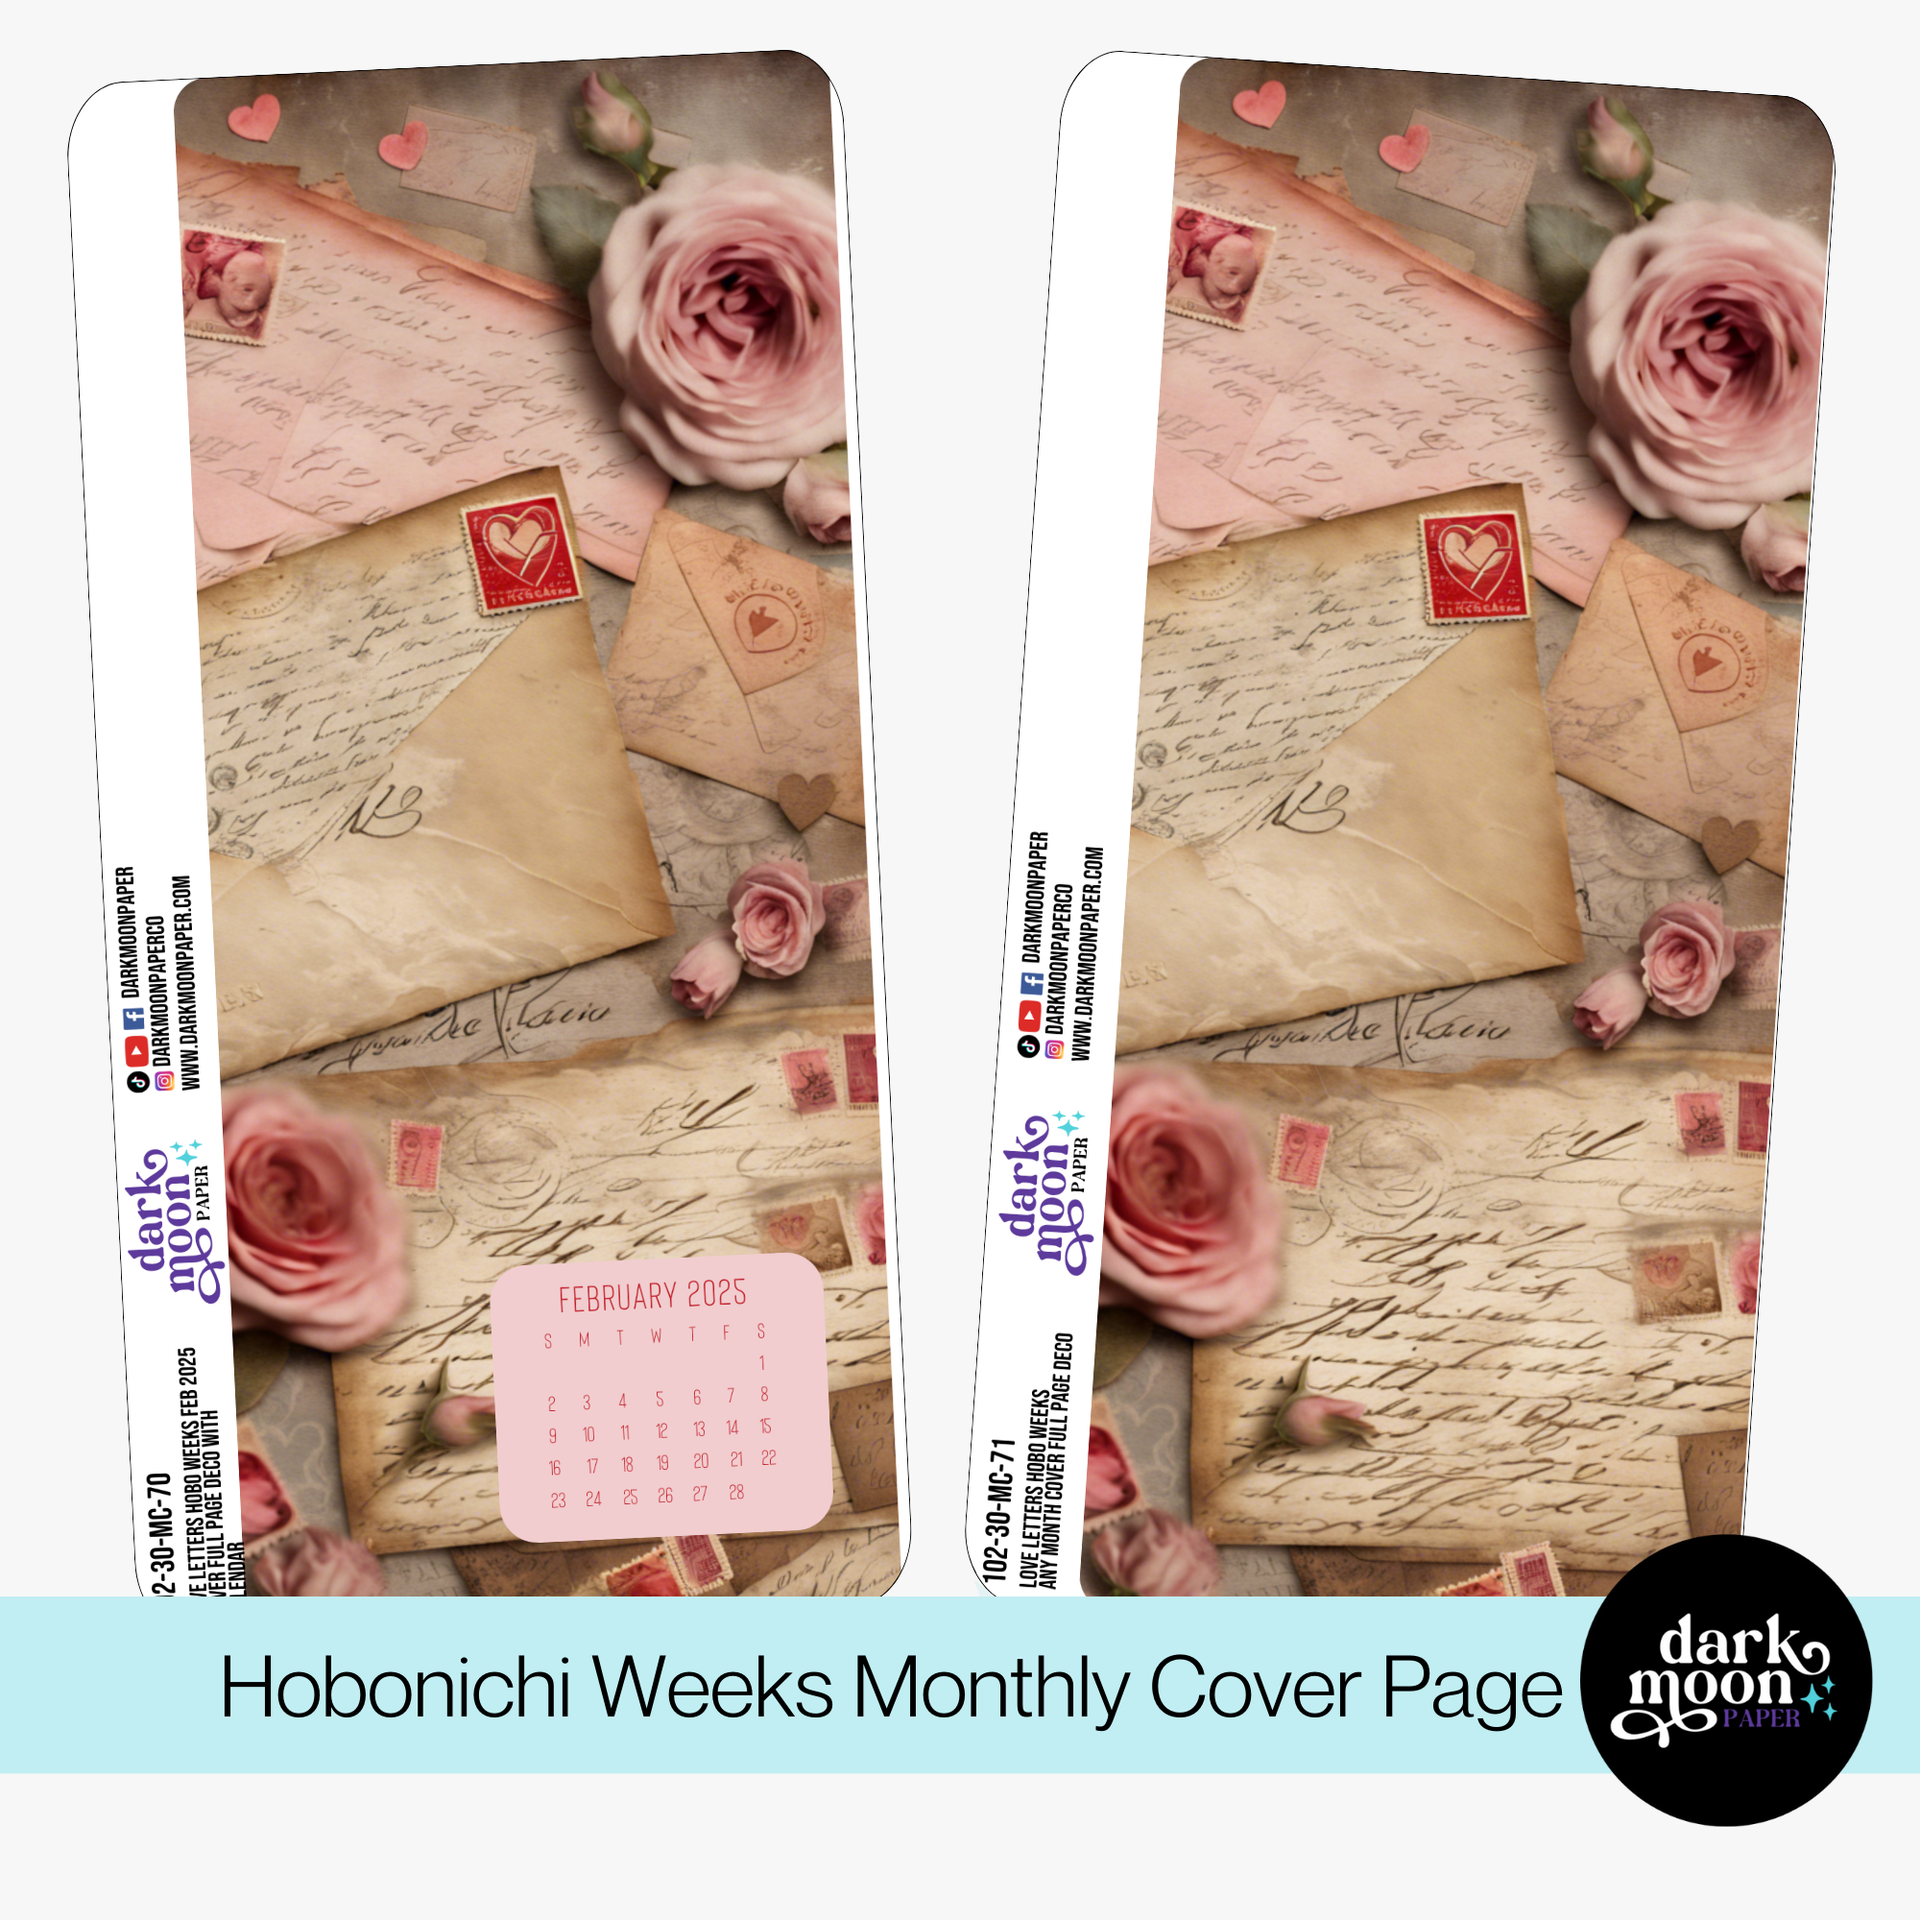
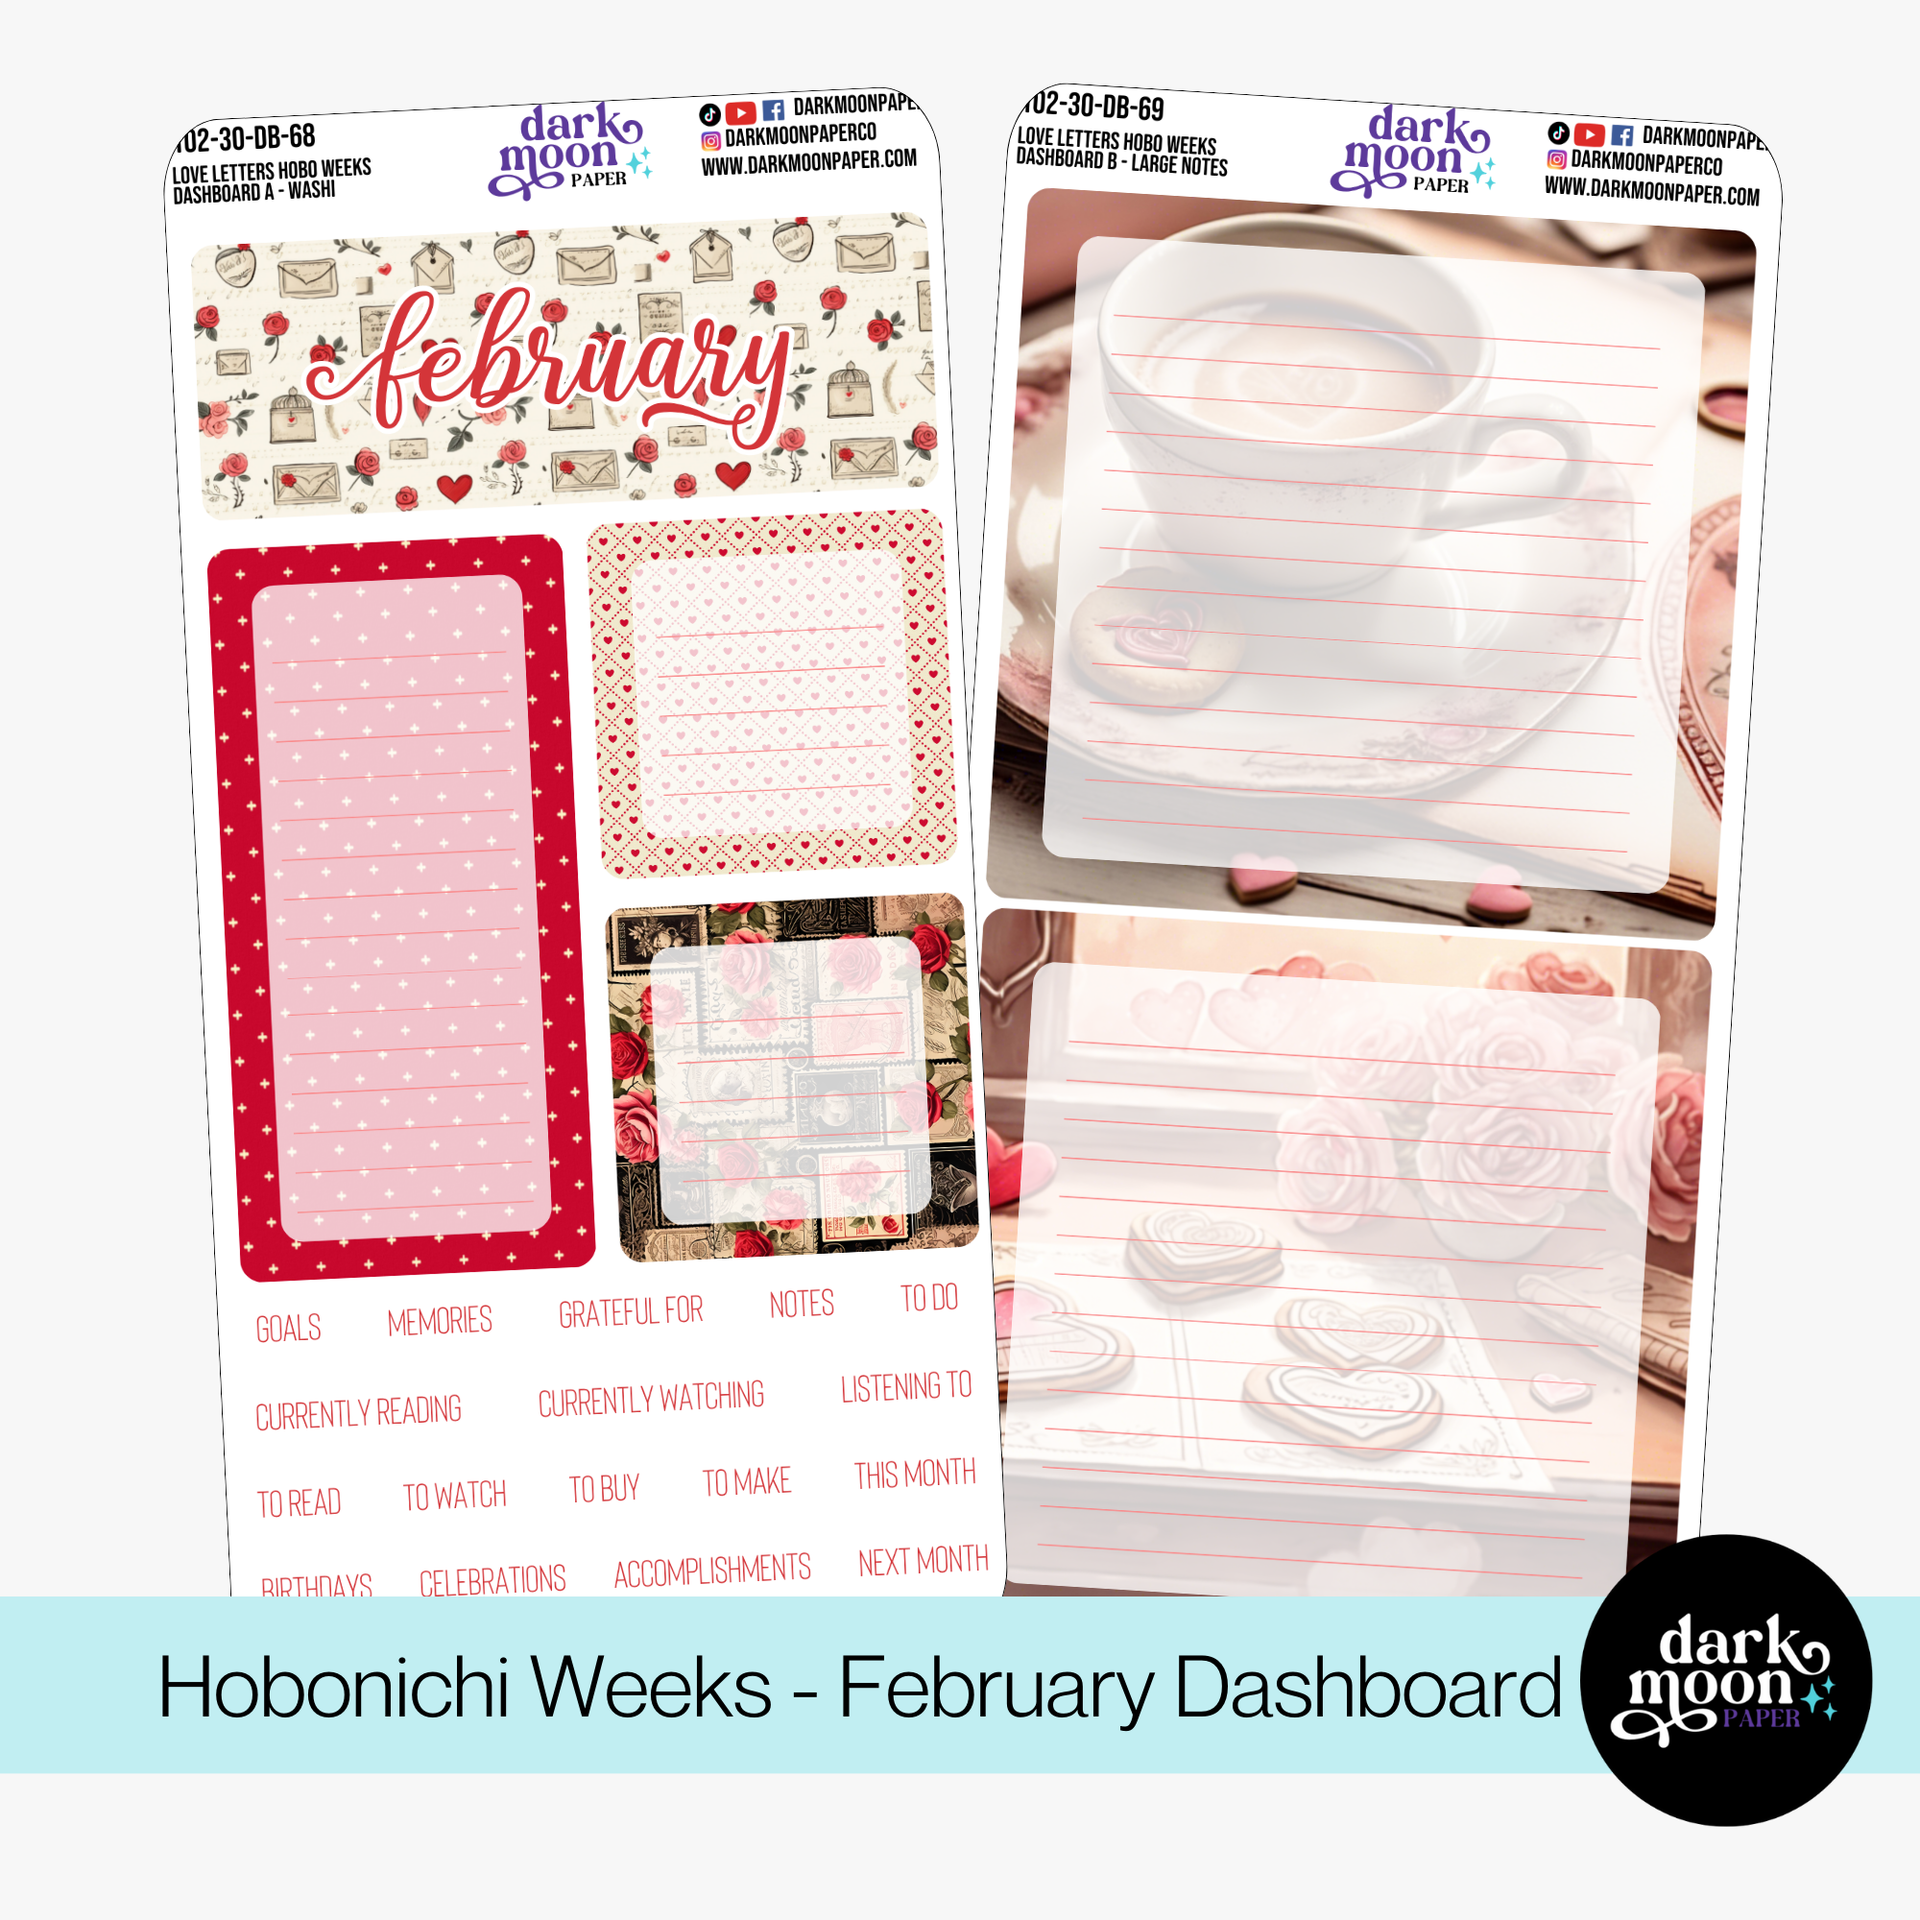
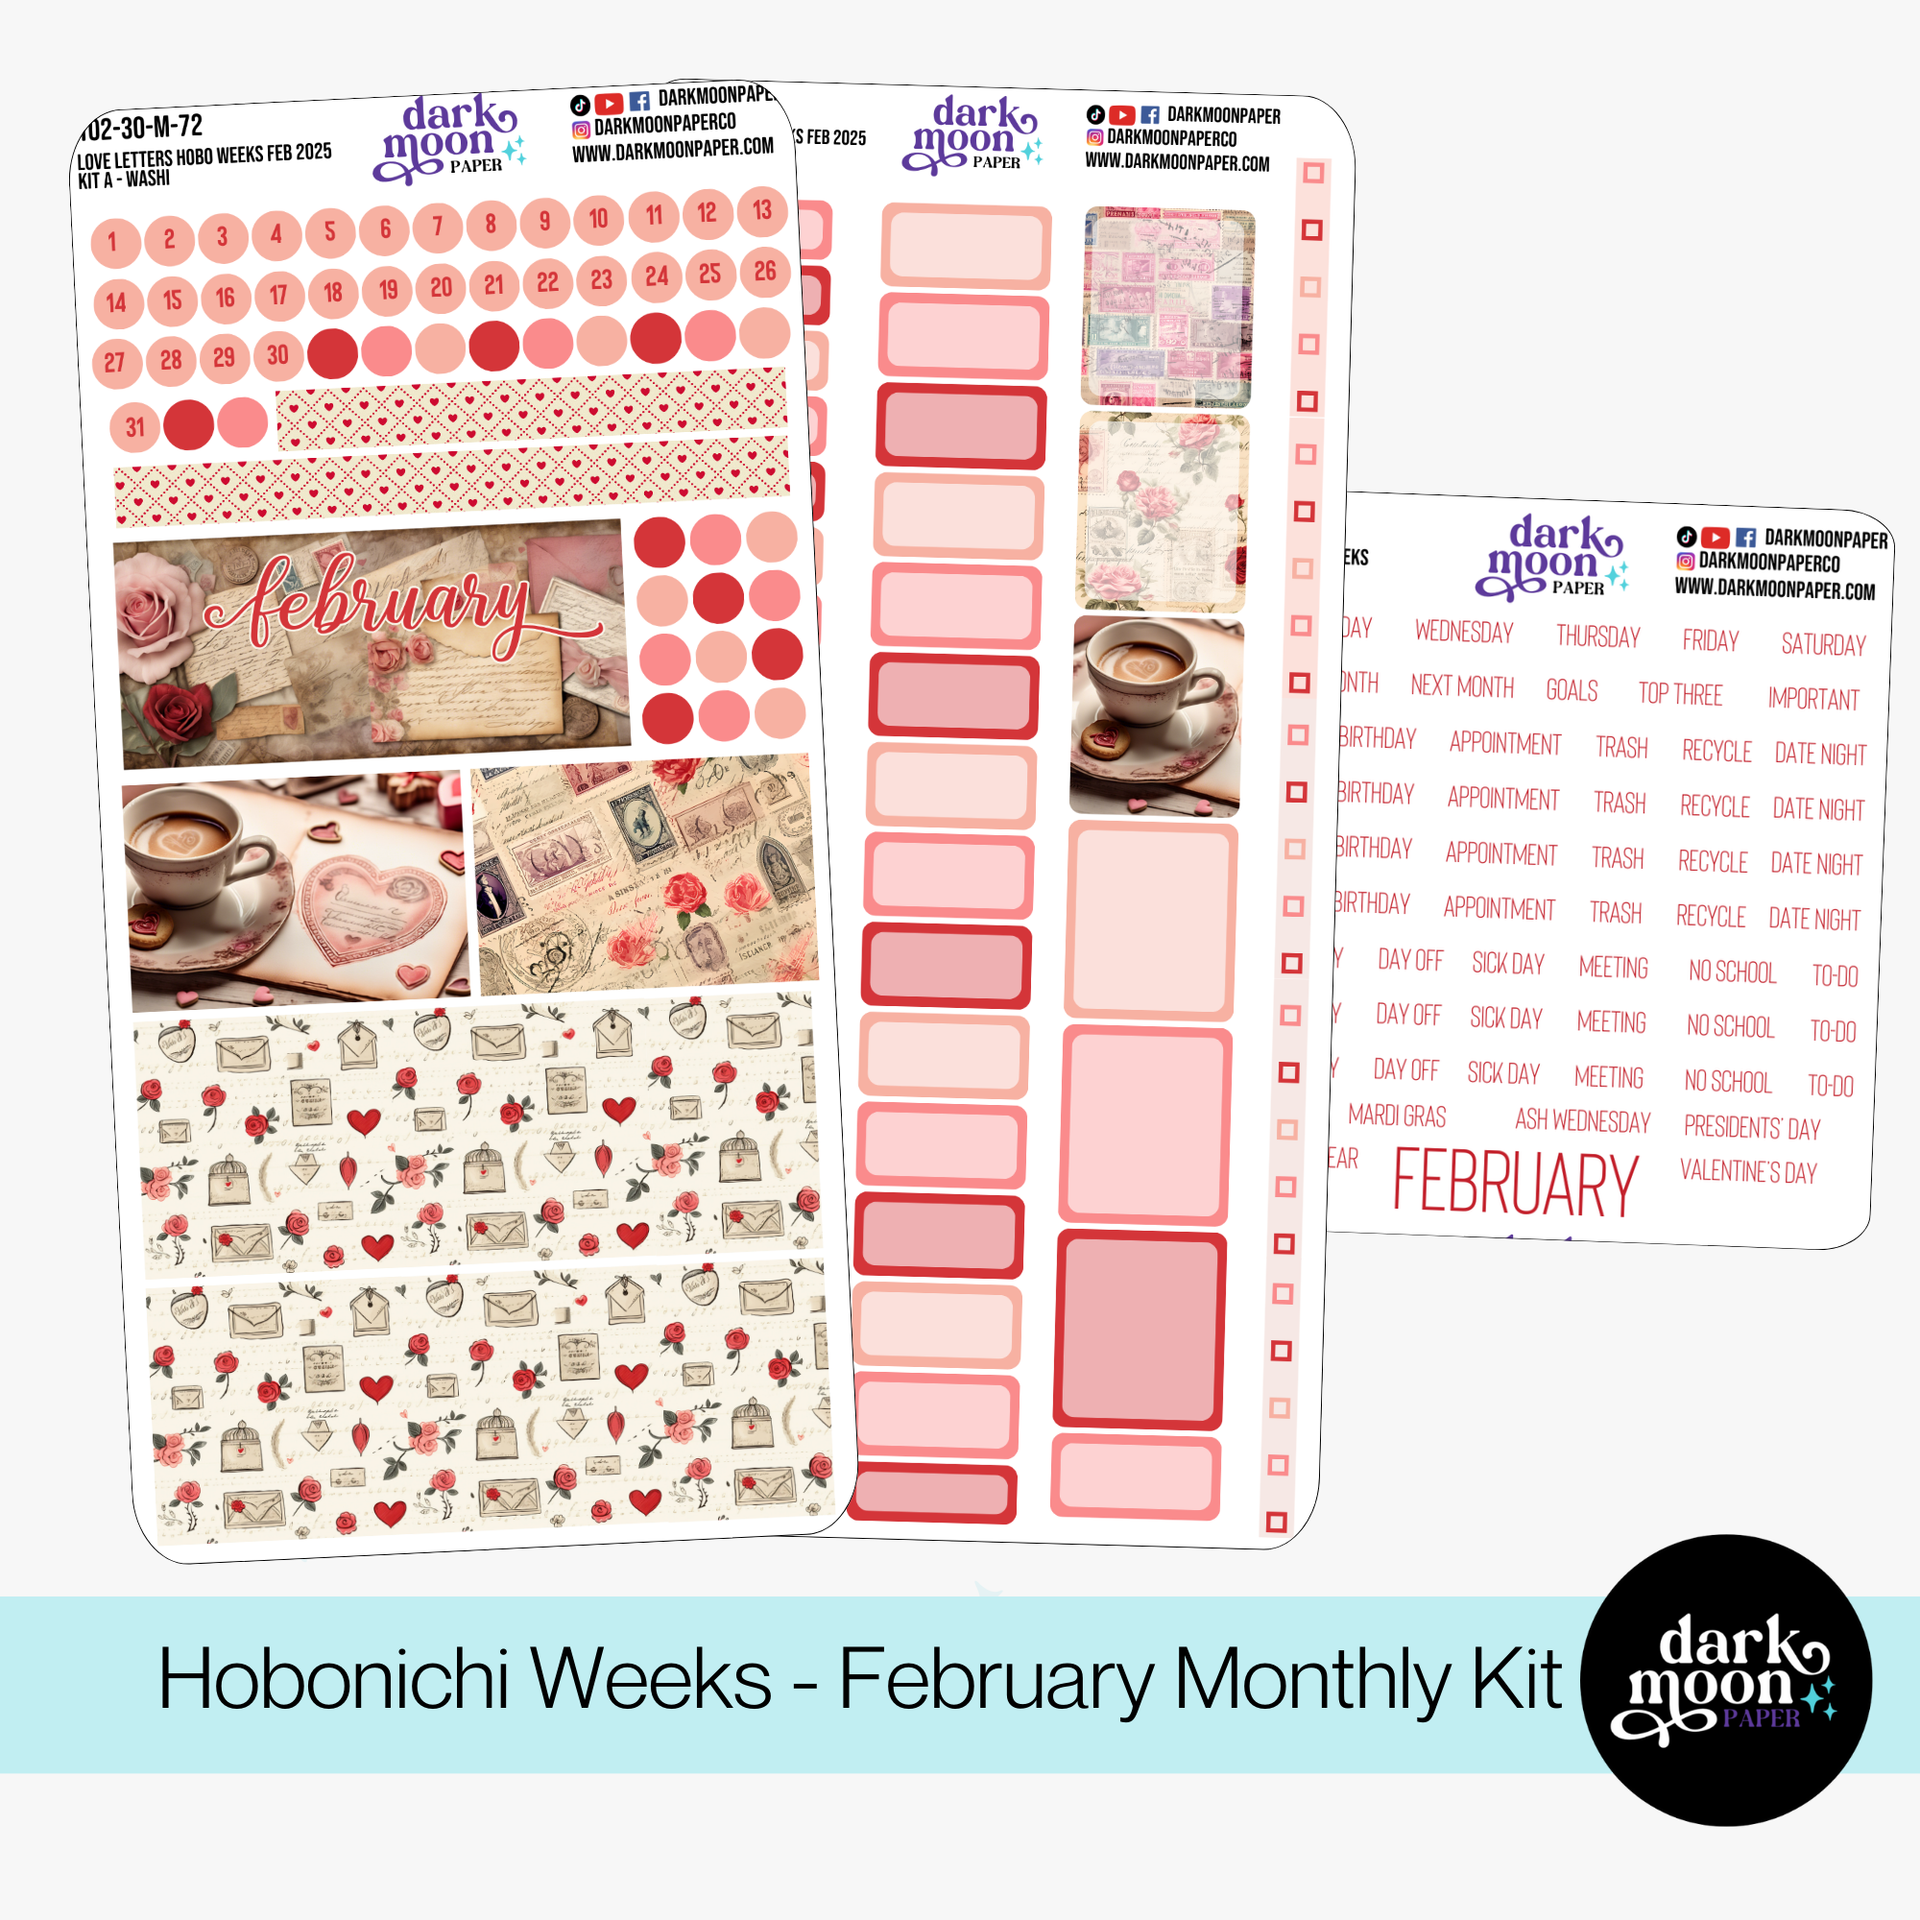
Starting out with a cohesive sticker kit designed specifically for the Hobonichi Weeks ensures everything fits perfectly and coordinates beautifully. For a seasonal, whimsical approach, consider our Love Letters Any Month Monthly Kit or our cozy Winter Hygge Kit.
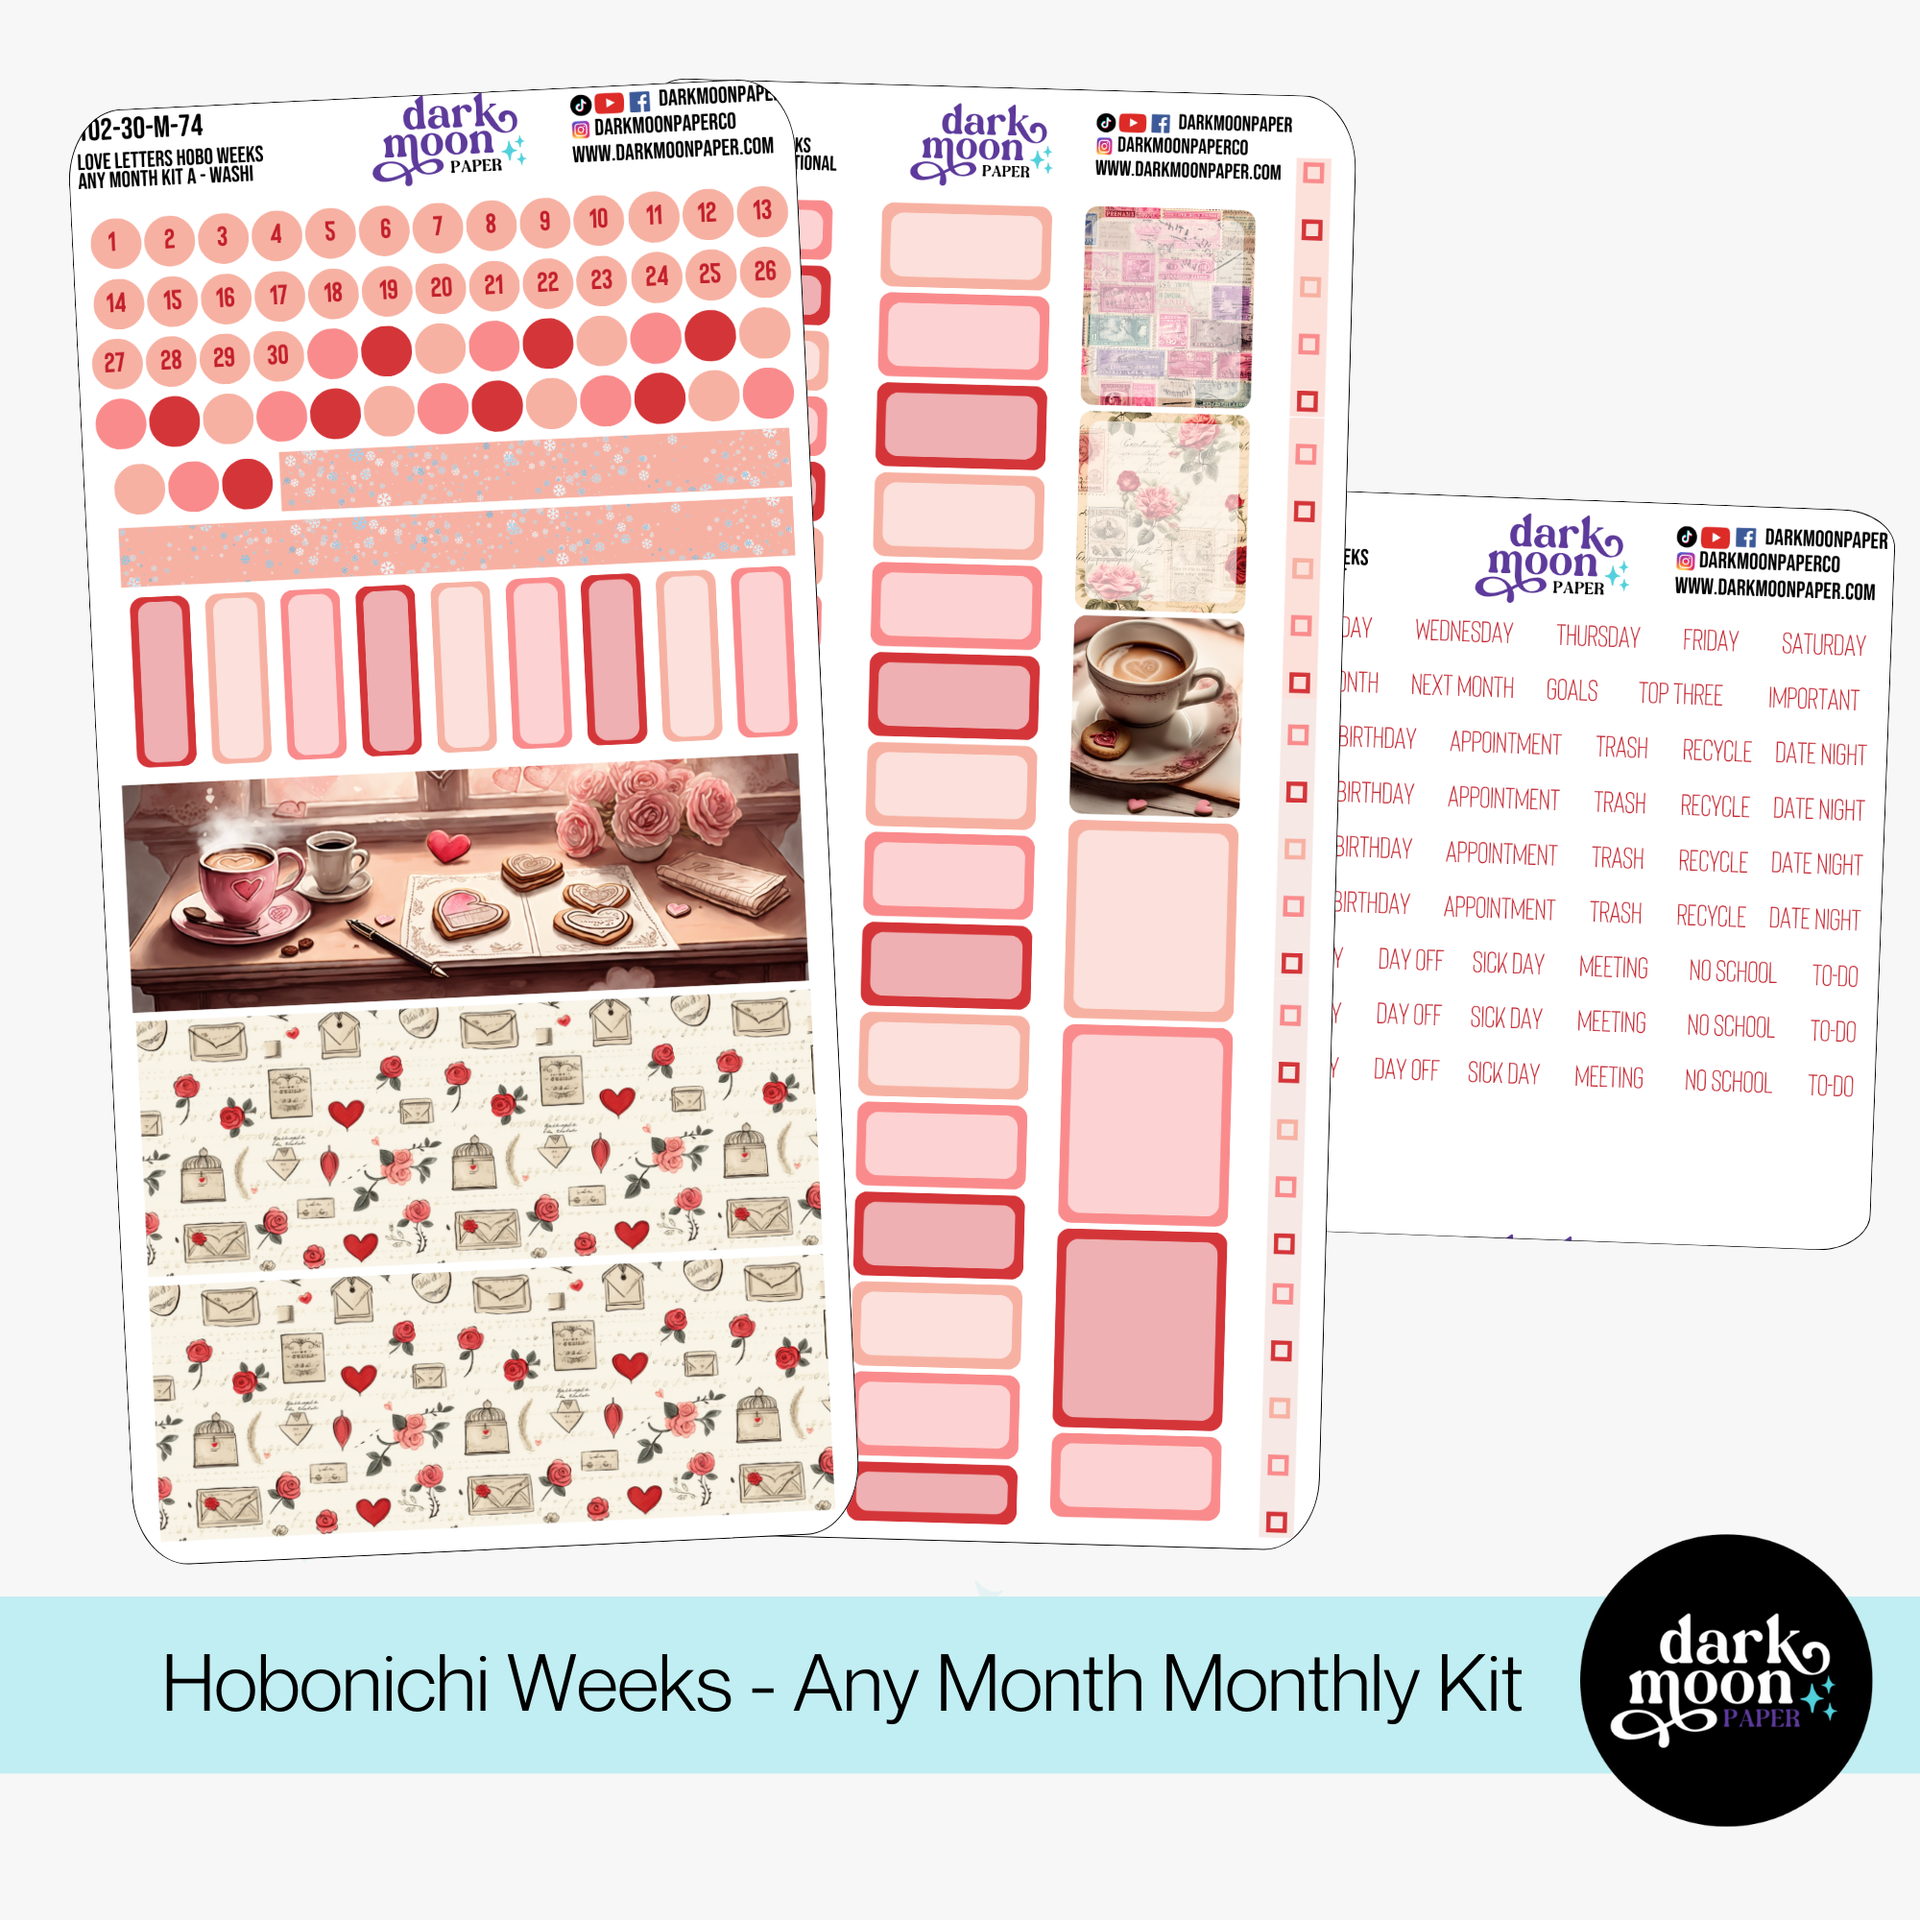
Each kit typically includes:
Start your setup by defining a theme for the month. This helps anchor your intentions and sets an inviting tone every time you flip to your calendar. Place a washi strip or a decorative sticker along the top margin to instantly give the spread cohesion.
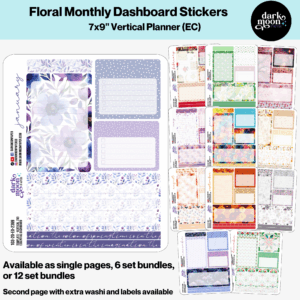
Use sidebar or dashboard kits to create space for your monthly focus—such as affirmations, high-priority to-dos, or important notes.
Now it’s time to fill the calendar grid. Use functional stickers—like small event boxes or icons—to highlight:
Accent special days with decorative stickers (think hearts for Valentine’s week or cozy mugs for a winter theme) to make them easy to spot and remember.
Make the most of the left margin and bottom checkboxes—it’s prime real estate for lists, trackers, and flexible planning. Consider:
Headers from your sticker kit can help separate and label these areas so your layout stays clear and uncluttered.
The fun of sticker kits is in the details—but the magic is in knowing when to stop! Keep your monthly spread functional and easy to read:
At the end of each month, pause and review:
Once you spot trends in your planning style, adjust your sticker usage accordingly. Maybe you want to swap out a side tracker for a gratitude log next month, or try a new seasonal theme to refresh your mood.
Designing a functional monthly calendar layout in your Hobonichi Weeks using beautifully curated sticker kits is about so much more than aesthetics—it’s about nurturing productivity and creativity in equal measure. Whether you lean into cozy winter themes or playful love notes, your planner can reflect not just your schedule, but your personality and goals.
Ready to level up your planner game? Explore our full range of Hobonichi Weeks sticker kits and accessories for even more inspiration, and don’t forget to subscribe to our newsletter for exclusive content, sneak peeks, and special offers—your most organized, artful months are just ahead!