If you love making the most of your monthly planner, you’ve probably struggled with keeping your reflections and goal setting both meaningful and easy to revisit. Dashboard stickers offer a solution that’s both beautiful and practical, transforming an overwhelming blank page into a clear, intentional space for reflection and goal setting each month. In our own creative journeys at Dark Moon Paper, we’ve found that a thoughtfully designed dashboard does more than just keep you organized—it sets the tone for your month, fuels creativity, and helps ensure your goals and well-being stay in focus. Let’s walk through how you can leverage dashboard stickers to simplify your monthly reflection and goal setting (with detailed steps, personal insights, and practical tips you can use right away).
Before diving into the process, it’s worth clarifying what a dashboard spread is: it’s a curated overview page—typically at the start or end of a month in your planner—that serves as your anchor for the four weeks ahead. These pages can hold your monthly goals, reminders, priorities, self-reflection prompts, and inspiration. Dashboard stickers are specially designed sticker sheets that help you format these sections quickly and stylishly, so you spend less time fussing with your layout and more time reflecting and planning.
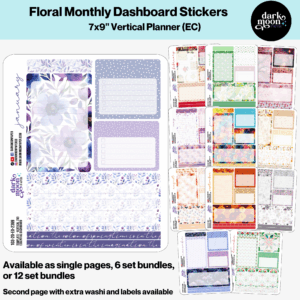
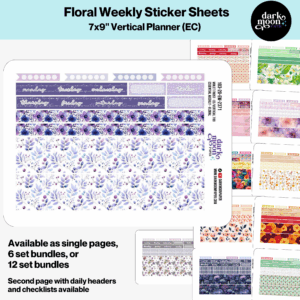
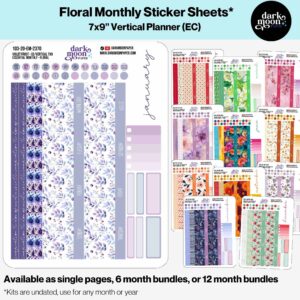
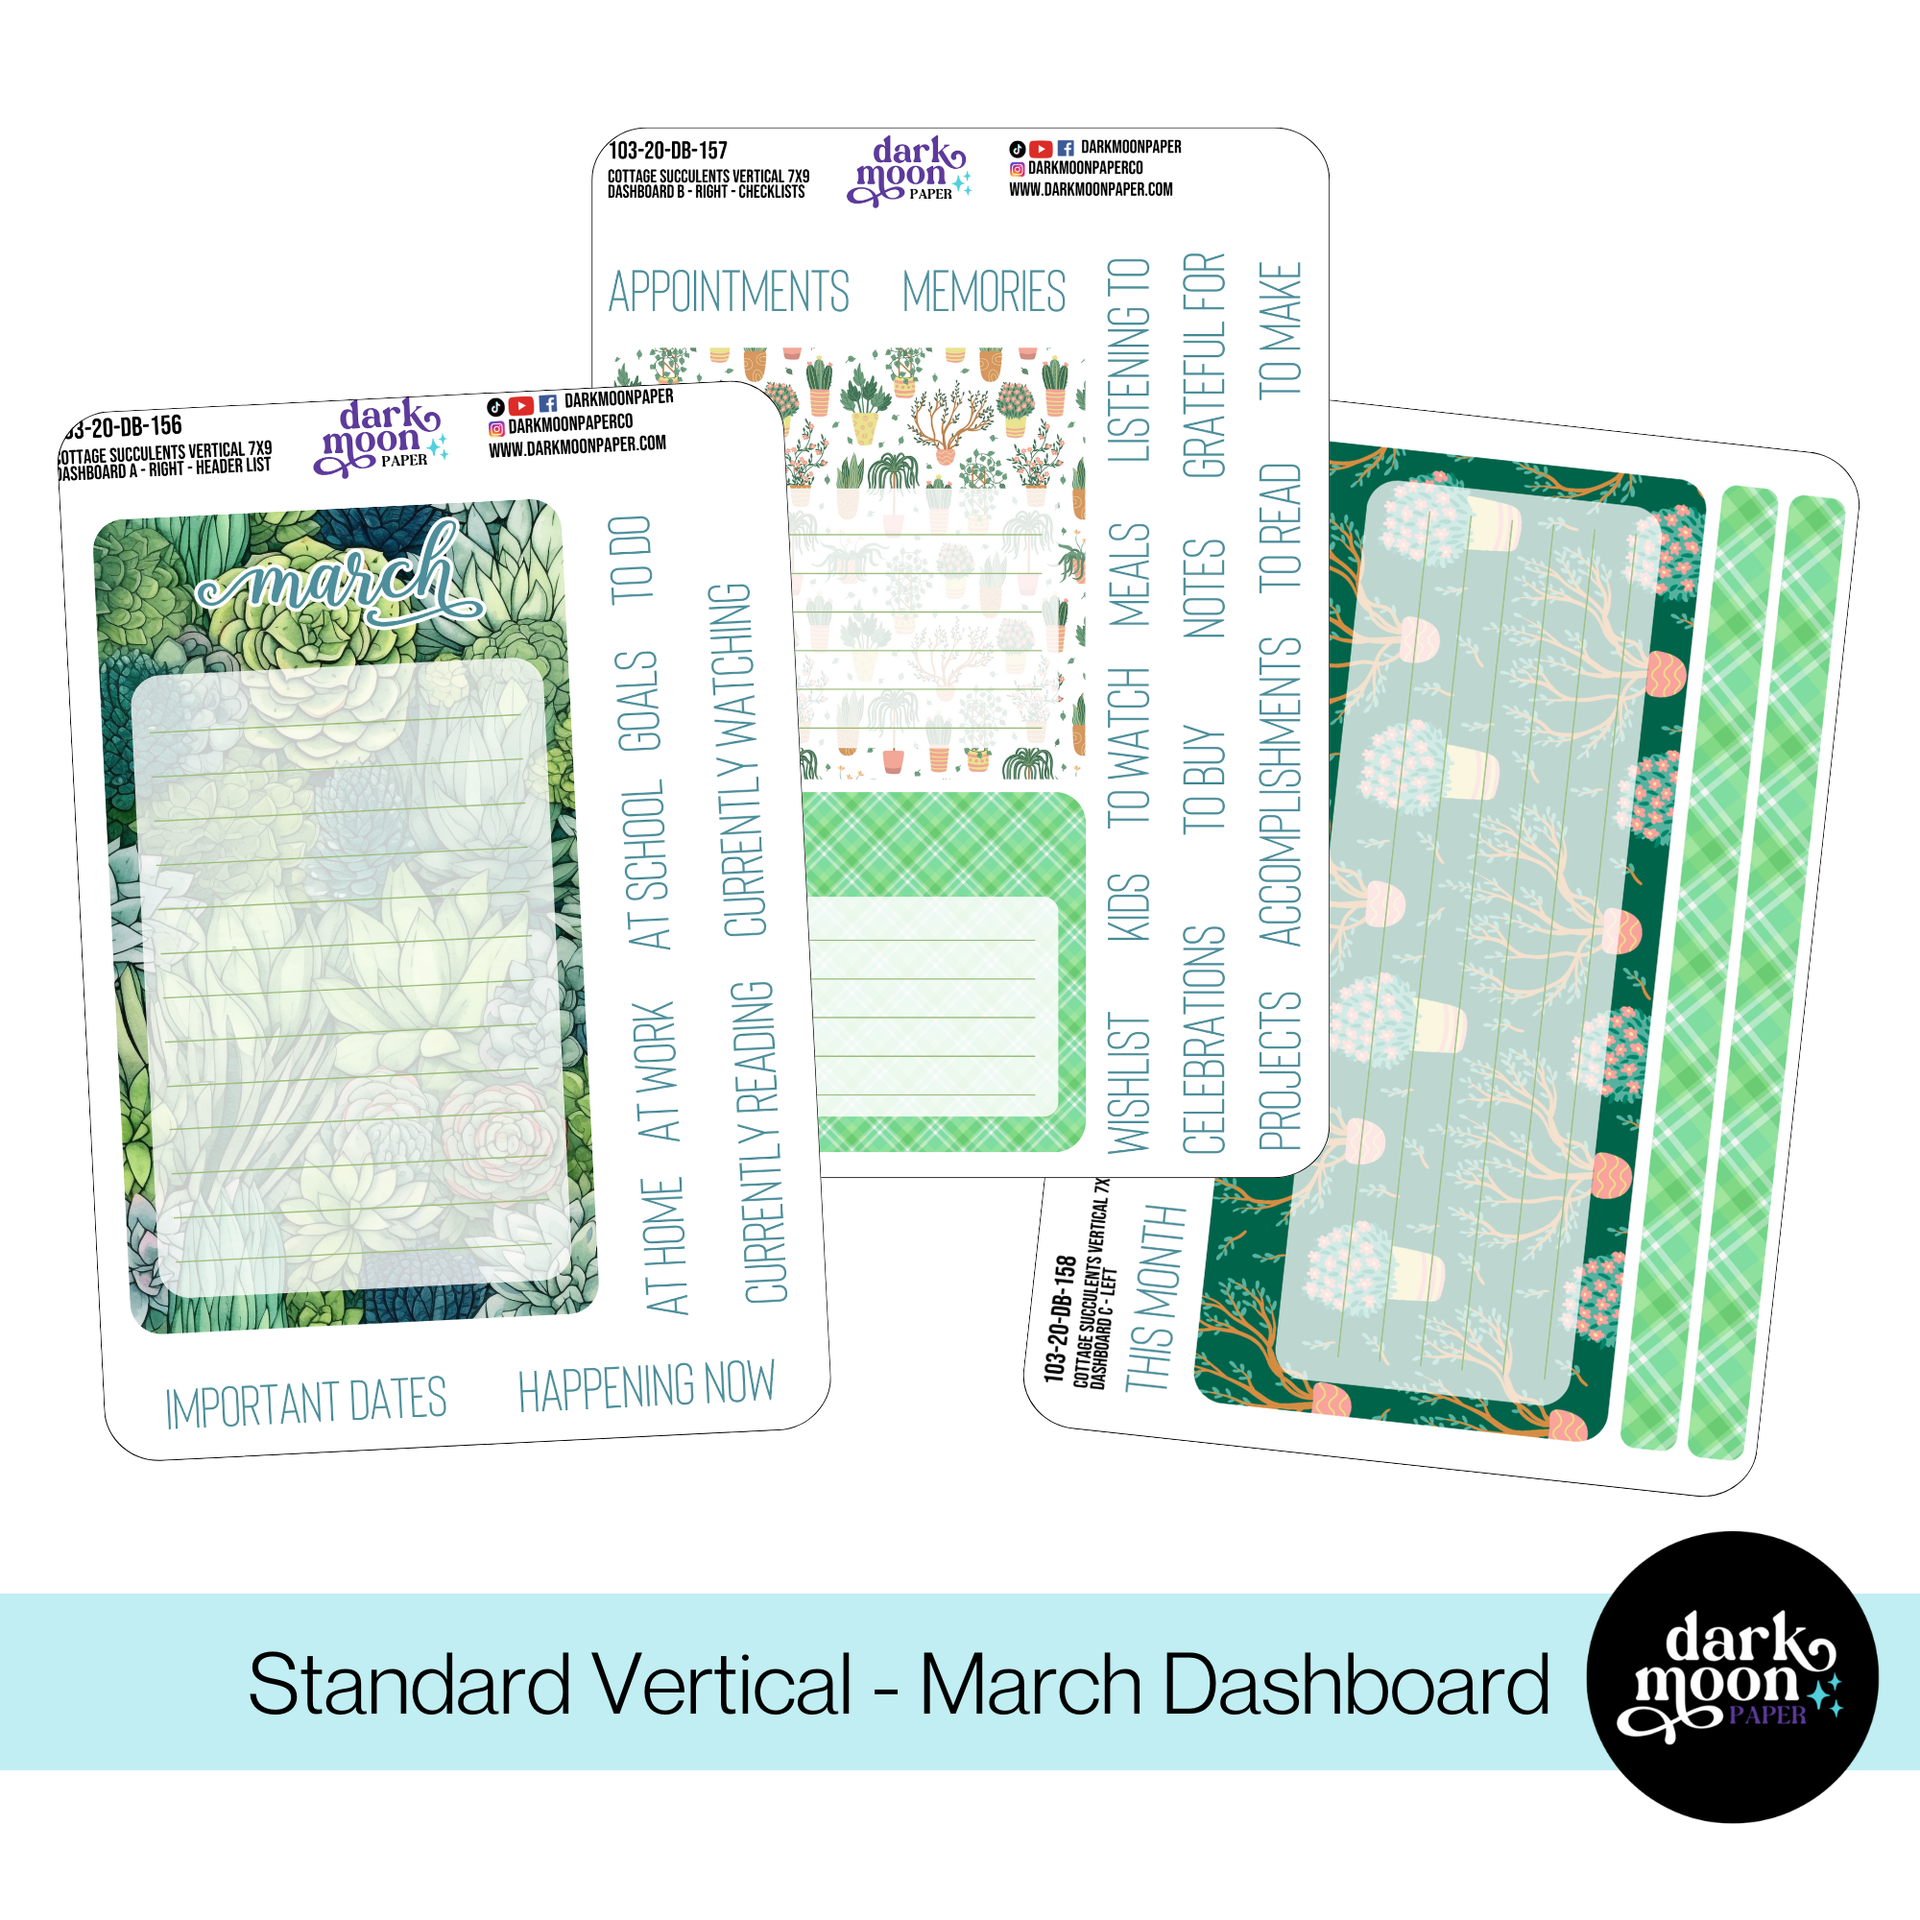
Start by selecting planner dashboard stickers tailored to your planner and personality. At Dark Moon Paper, we offer dashboard kits sized for popular planner types such as Hobonichi Weeks, Hobonichi Cousin, and standard 7×9 vertical planners. Some themes, like the tranquil Starlit Sakura and botanical Cottage Succulents, blend decorative washi and headers with space for weekly, monthly, and reflective prompts.

We recommend choosing a kit that gives you both structure and freedom: look for functional boxes (for goals, top priorities, to-dos) alongside decorative headers and space for quotes or doodles. Having a cohesive kit makes each month’s dashboard familiar and inviting, which encourages consistency with your review routine.
Now let’s get practical. Peel off those sticker headers and start building sections that help you see your month at a glance. Here’s how we break down a typical dashboard at Dark Moon Paper:
You’ll find that kits like our Starlit Sakura Dashboard for Hobonichi Weeks have different sheet options so you can build out sections to fit your planner.

Goal setting without reflection is just wishful thinking. When setting up your dashboard, leave a spot each month to answer prompts like:
Using stickers to visually highlight closed tasks, successes, or even setbacks (think icon stickers for wins and for areas to work on) makes your dashboard a record of growth, not just a to-do list. For more on structuring your reflections, see our guide on building a monthly review routine—it offers more detailed reflection prompts you can adapt to your dashboard.
Once you’ve processed last month, pick your focus for the new month. Use your planner dashboard stickers to break these goals into digestible, actionable chunks—think small habit trackers, checklists, or numbered lists. Place them in a specific box so your intentions are clear and easy to check each week. If it helps, use color coding for types of goals: blue for personal, green for work, pink for creative, etc. This visual separation makes it easy to see where your month is headed, at a glance.
You can further boost motivation by adding a favorite seasonal or inspirational sticker for the month. For instance, the artful cherry blossoms in our Starlit Sakura Dashboard Kit can set a gentle tone, while succulent themes can signal a focus on growth and nurturing your goals.
Successful planners revisit their dashboards throughout the month—not just at the beginning. Make your dashboard interactive by:
If your dashboard lives at the front of your planner, it’s easy to flip back weekly for a quick check-in, adjust plans, and stay on track. We recommend including a weekly review checklist, even if simple, to remind yourself how you’re doing—see more about this in our planner organization guide.
We’ve found at Dark Moon Paper that seeing a dashboard fill up with accomplishments is incredibly satisfying. Make the planner dashboard stickers themselves part of your reward system. Each task finished, each milestone reached gets a celebratory sticker. By the end of the month, your dashboard won’t just be a tracker, but a visual record of what you’ve achieved and learned.
Because our stickers are designed to be beautiful and tactile, they encourage you to actually look forward to this process. Many planner fans tell us this small ritual helps connect intention to action more powerfully than digital lists ever could.
If you’re ready to streamline your monthly review and goal setting, experiment with these popular dashboard kits curated by and for planner fans:
Simplifying your monthly reflection routine is about more than saving time—it’s about creating a system you look forward to returning to, one that helps you set better goals, adjust with compassion, and grow a little every month. Dashboard stickers are simply one of the most effective, enjoyable tools for this, combining function, inspiration, and a bit of creative play.
If you want more tips and design inspiration, explore some of our most popular articles on dashboard layouts, such as The Beginner’s Guide to Setting Up a Cohesive Monthly Dashboard. And if you’re ready to try a new dashboard approach, browse all our curated sticker kits at Dark Moon Paper—designed by planners, for planners who want their monthly pages to feel truly their own.