Creating a cohesive monthly dashboard in your planner can transform your planning routine from chaotic to purposeful, while also sparking creativity every time you turn to that page. Whether you’re new to paper planning or just getting into decorative journaling, a thoughtfully designed dashboard is more than a pretty spread—it’s your monthly command center. At Dark Moon Paper, we’re passionate about blending style with functionality so you can truly enjoy the process while staying on top of your priorities.
Why a Monthly Dashboard Is a Game-Changer
Centralizes Important Information: Get a clear overview of birthdays, deadlines, bills, and special events at a glance.
Boosts Motivation: Set the tone for your month with a layout that inspires you, blending both practical and decorative elements.
Encourages Consistency: With habit trackers and goal sections, you’re more likely to stick to your monthly intentions.
Sparks Joy in Planning: A beautiful dashboard makes you want to return to your planner, turning organization into self-care.
Step 1: Gather Your Tools & Supplies
By starting with the right supplies, you’ll ensure the process feels smooth, intentional, and fun. Here are some essentials for a cohesive setup:
Quality pens in coordinating colors (gel pens or fine liners for details)
Highlighters or mildliners to emphasize sections
Sticky notes for tasks that may shift throughout the month
A ruler for drawing crisp section lines
Washi tape to create neat borders or highlight specific blocks
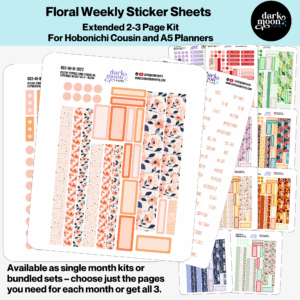
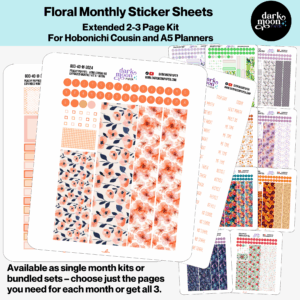
Themed planner sticker kits – designed for your specific planner type
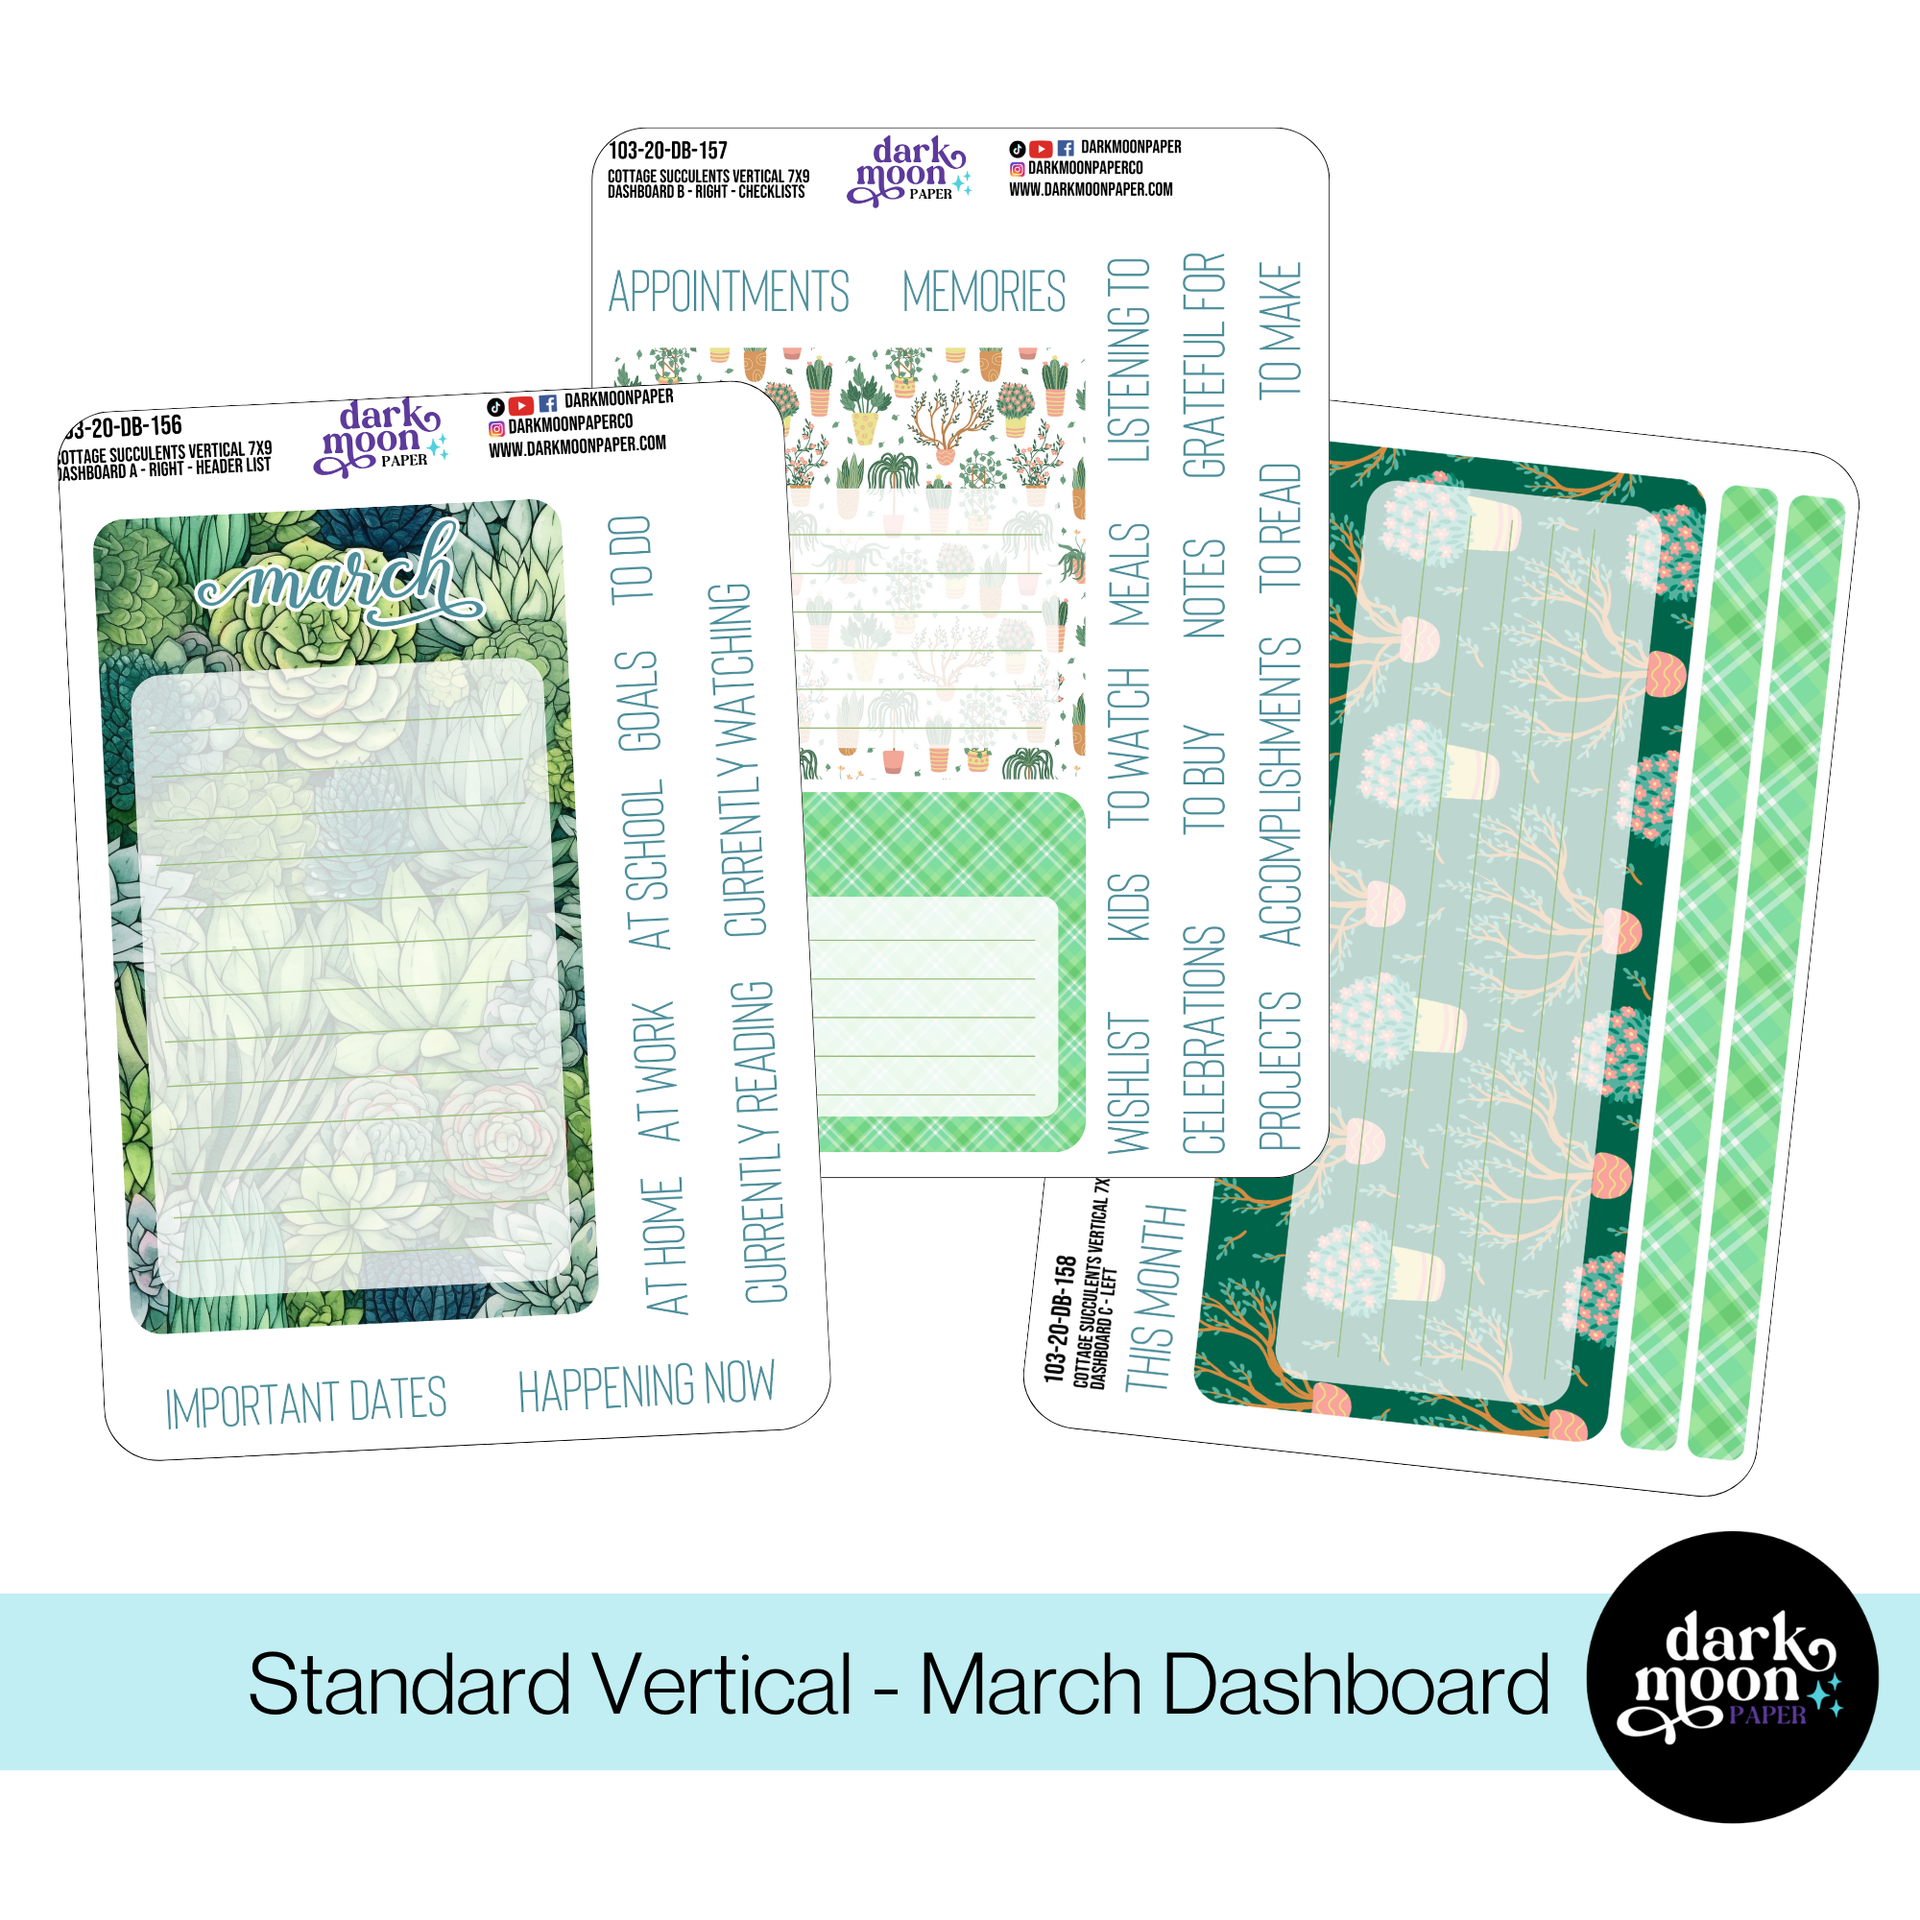
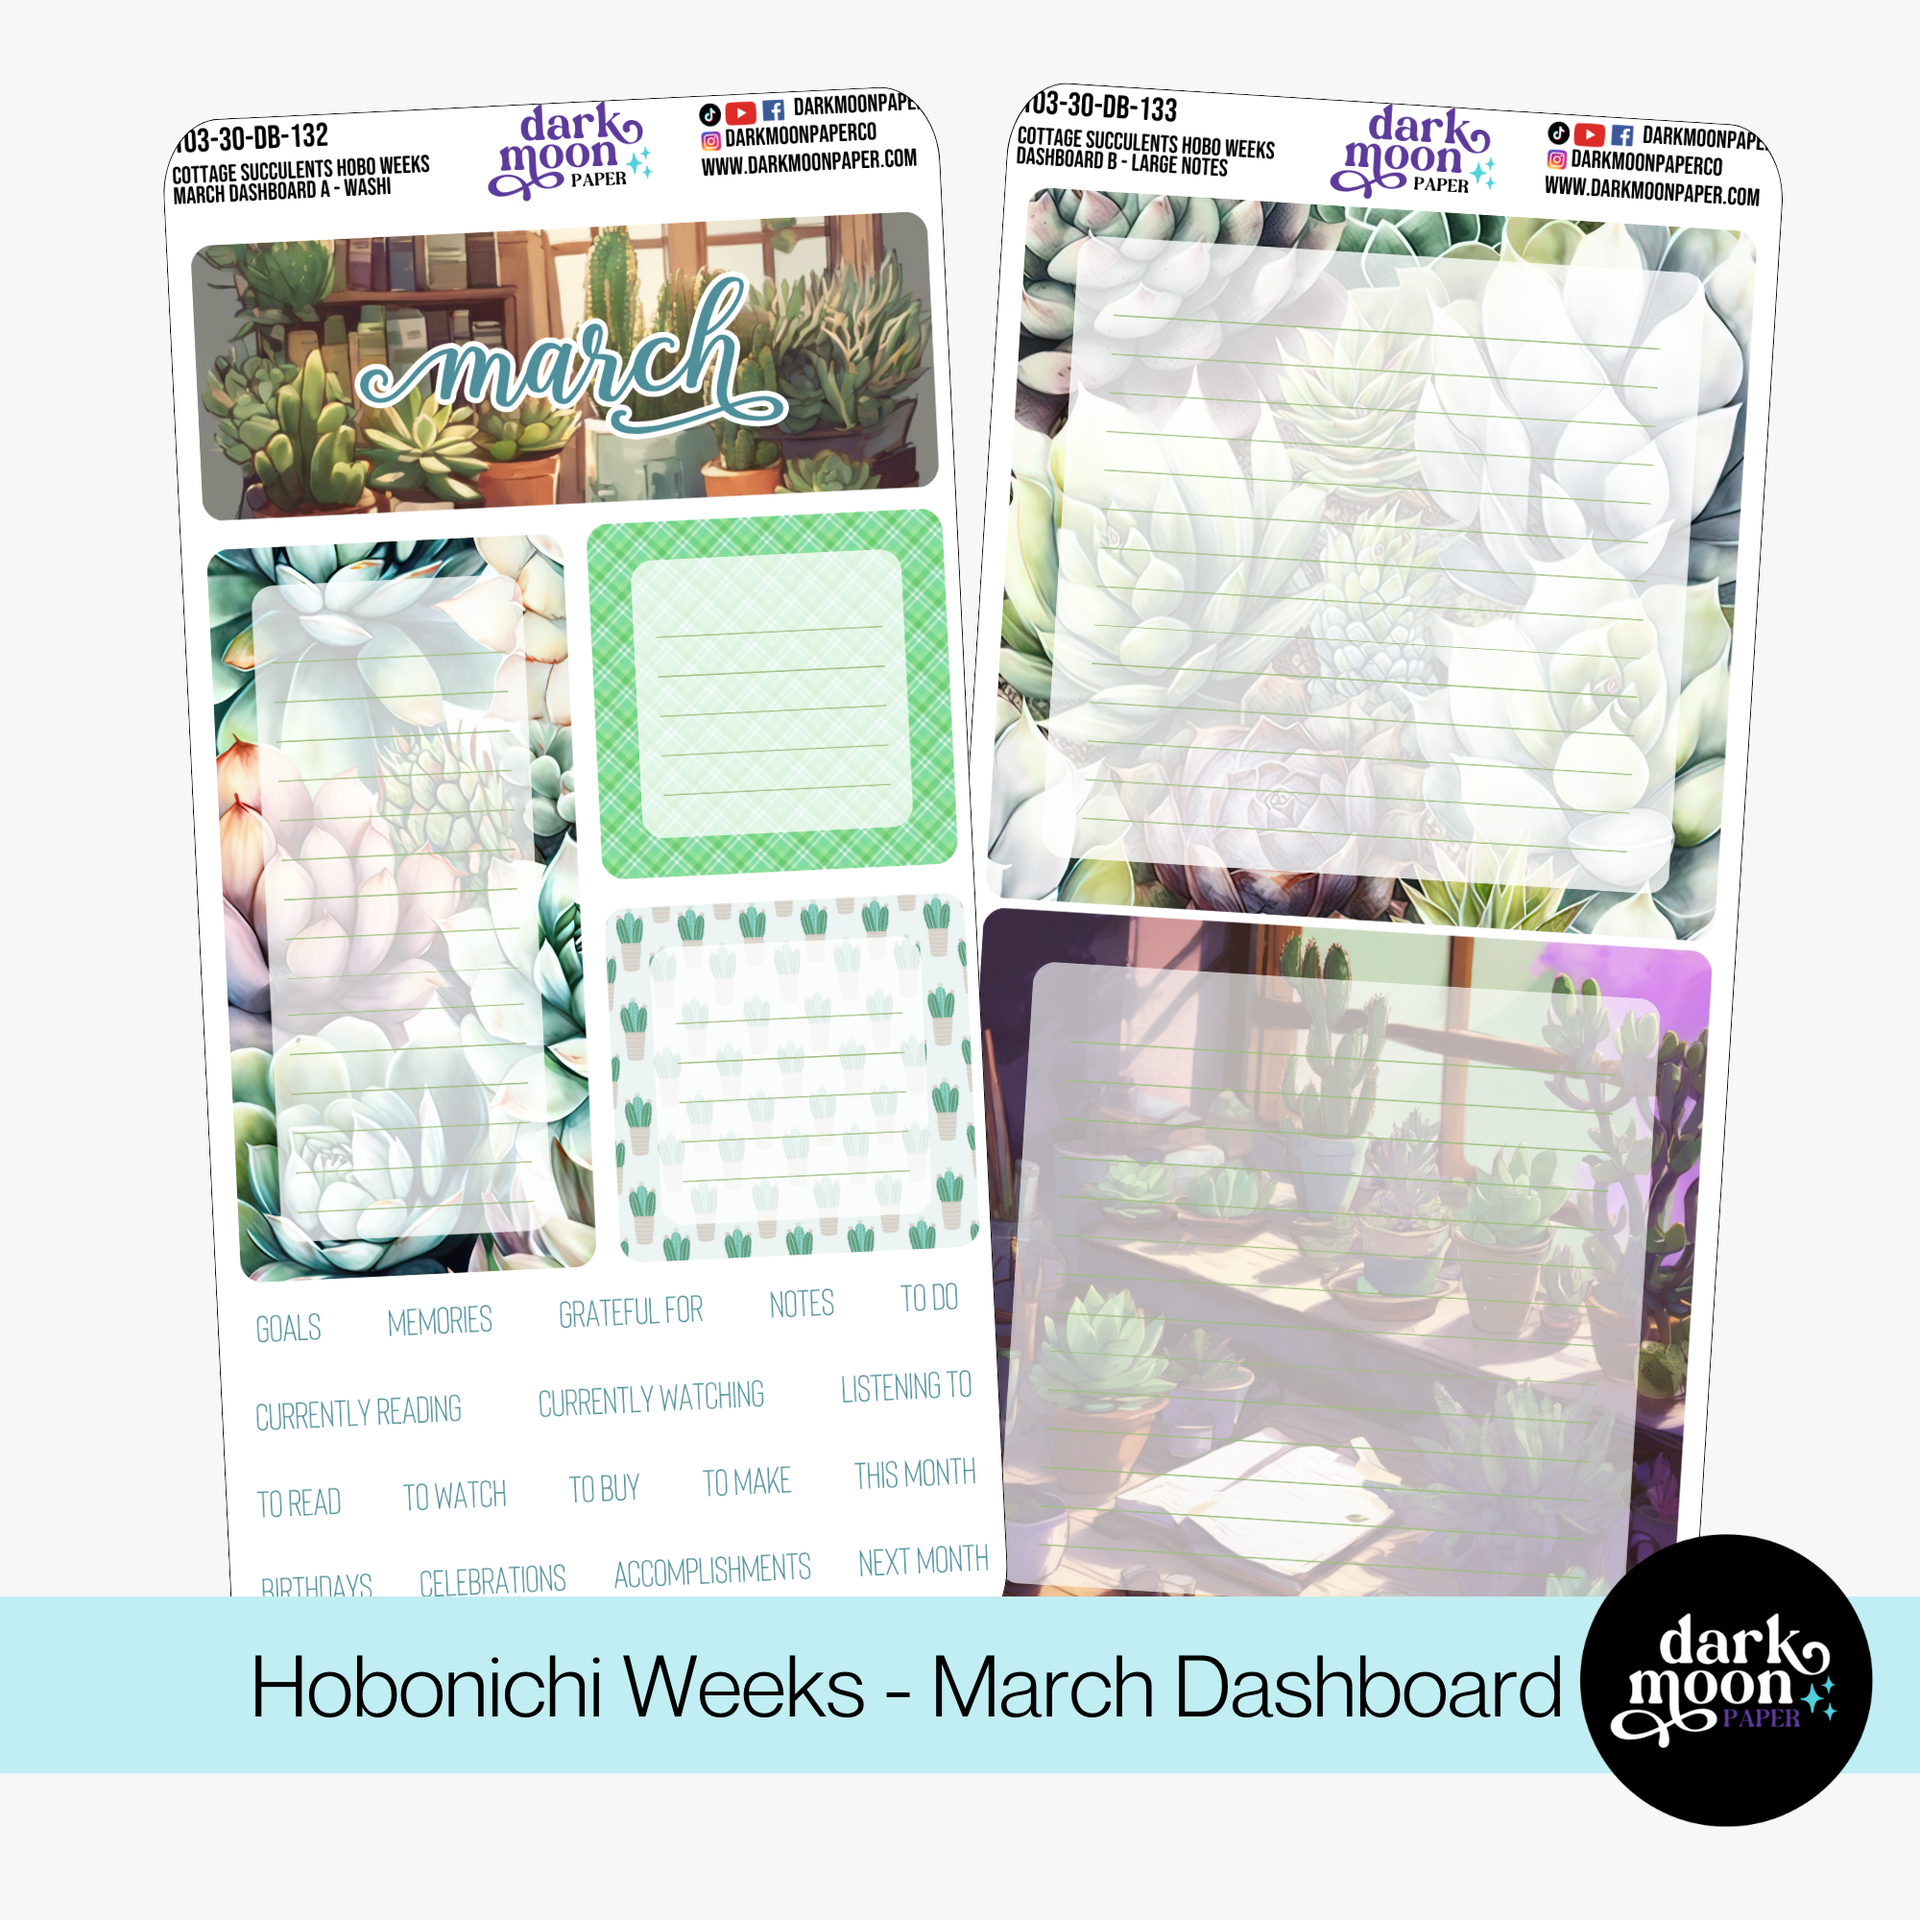
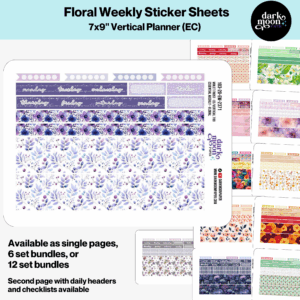
If you use a Hobonichi Cousin, Hobonichi Weeks, or a standard vertical planner, you’ll love the efficiency and polish of ready-to-use dashboard sticker kits that coordinate colors, box sizes, and stylistic details for you. For example:
Before you get into decorating, decide what you need from your dashboard this month. Ask yourself:
What areas of life do I need to see at a glance? (Goals, habits, tasks, events, finances, health, meal ideas?)
Do I want more motivation, space to reflect, or just clear organization?
Most effective dashboards include these four anchor sections:
Priorities: Top 3 goals, focus word, or a motivating quote
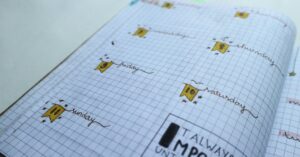
Habit Tracker: Track up to 6 monthly habits, such as water intake, workouts, meditation, etc.
To-Do/Checklist: Major monthly tasks sorted by category (Work, Personal, Family, etc.)
Notes Space: Jot space for thoughts, project reminders, or flexible lists
Step 3: Create the Foundations of Your Layout
Set yourself up for a dashboard that’s as functional as it is pretty:
Use your ruler to divide your page into distinct spaces for each section above.
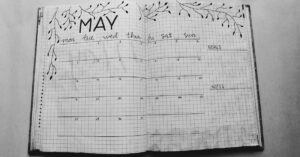
Add a bold header for the month—it can be hand-lettered, a sticker, or even die-cut from an old calendar.
Use color blocks or washi tape to border each section. Soft greens, browns, or pastels from the Cottage Succulents collection work beautifully for a fresh, calming vibe.
If you want quick and tidy results, try sized stickers formatted for your planner layout, which include headers, trackers, and boxes.
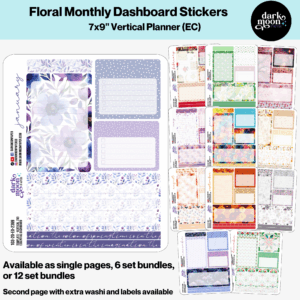
Standard Vertical Planner Dashboard Kit – Cottage Succulents
Step 4: Cohesive Decoration – The Key to Visual Calm
A cohesive dashboard feels intentional and soothing, not cluttered. Our favorite tips:
Stick to a Color Palette: Pick 2-3 hues for ink, stickers, and tape. This guides a harmonious look from start to finish.
Use Coordinated Sticker Kits: Choose a kit that matches your planner size and monthly mood. These kits include thoughtfully sized headers, checklist boxes, trackers, and deco pieces.
Add Your Priorities: Write in your top focus goals, intentions, or motivating words at the top or in the priorities box.
Set Up Your Habit Tracker: Fill in your chosen habits and leave space to mark progress each day.
Write Out Major Tasks: Populate your checklist for the month—aim for a mix of practical to-dos (renew passport, organize closet) and motivational items (morning walks, read every night).
Transfer Key Dates and Events: Include birthdays, appointments, or special deadlines, color-coding or using stickers where needed.
Use the Notes Section: This can be a free space for meal ideas, gratitude, project notes, or journaling. Make the space truly yours.
Pro tip: Take a quick snapshot of each dashboard before the month begins. You may want to repeat a layout you love or simply enjoy seeing your creative journey progress across the year.
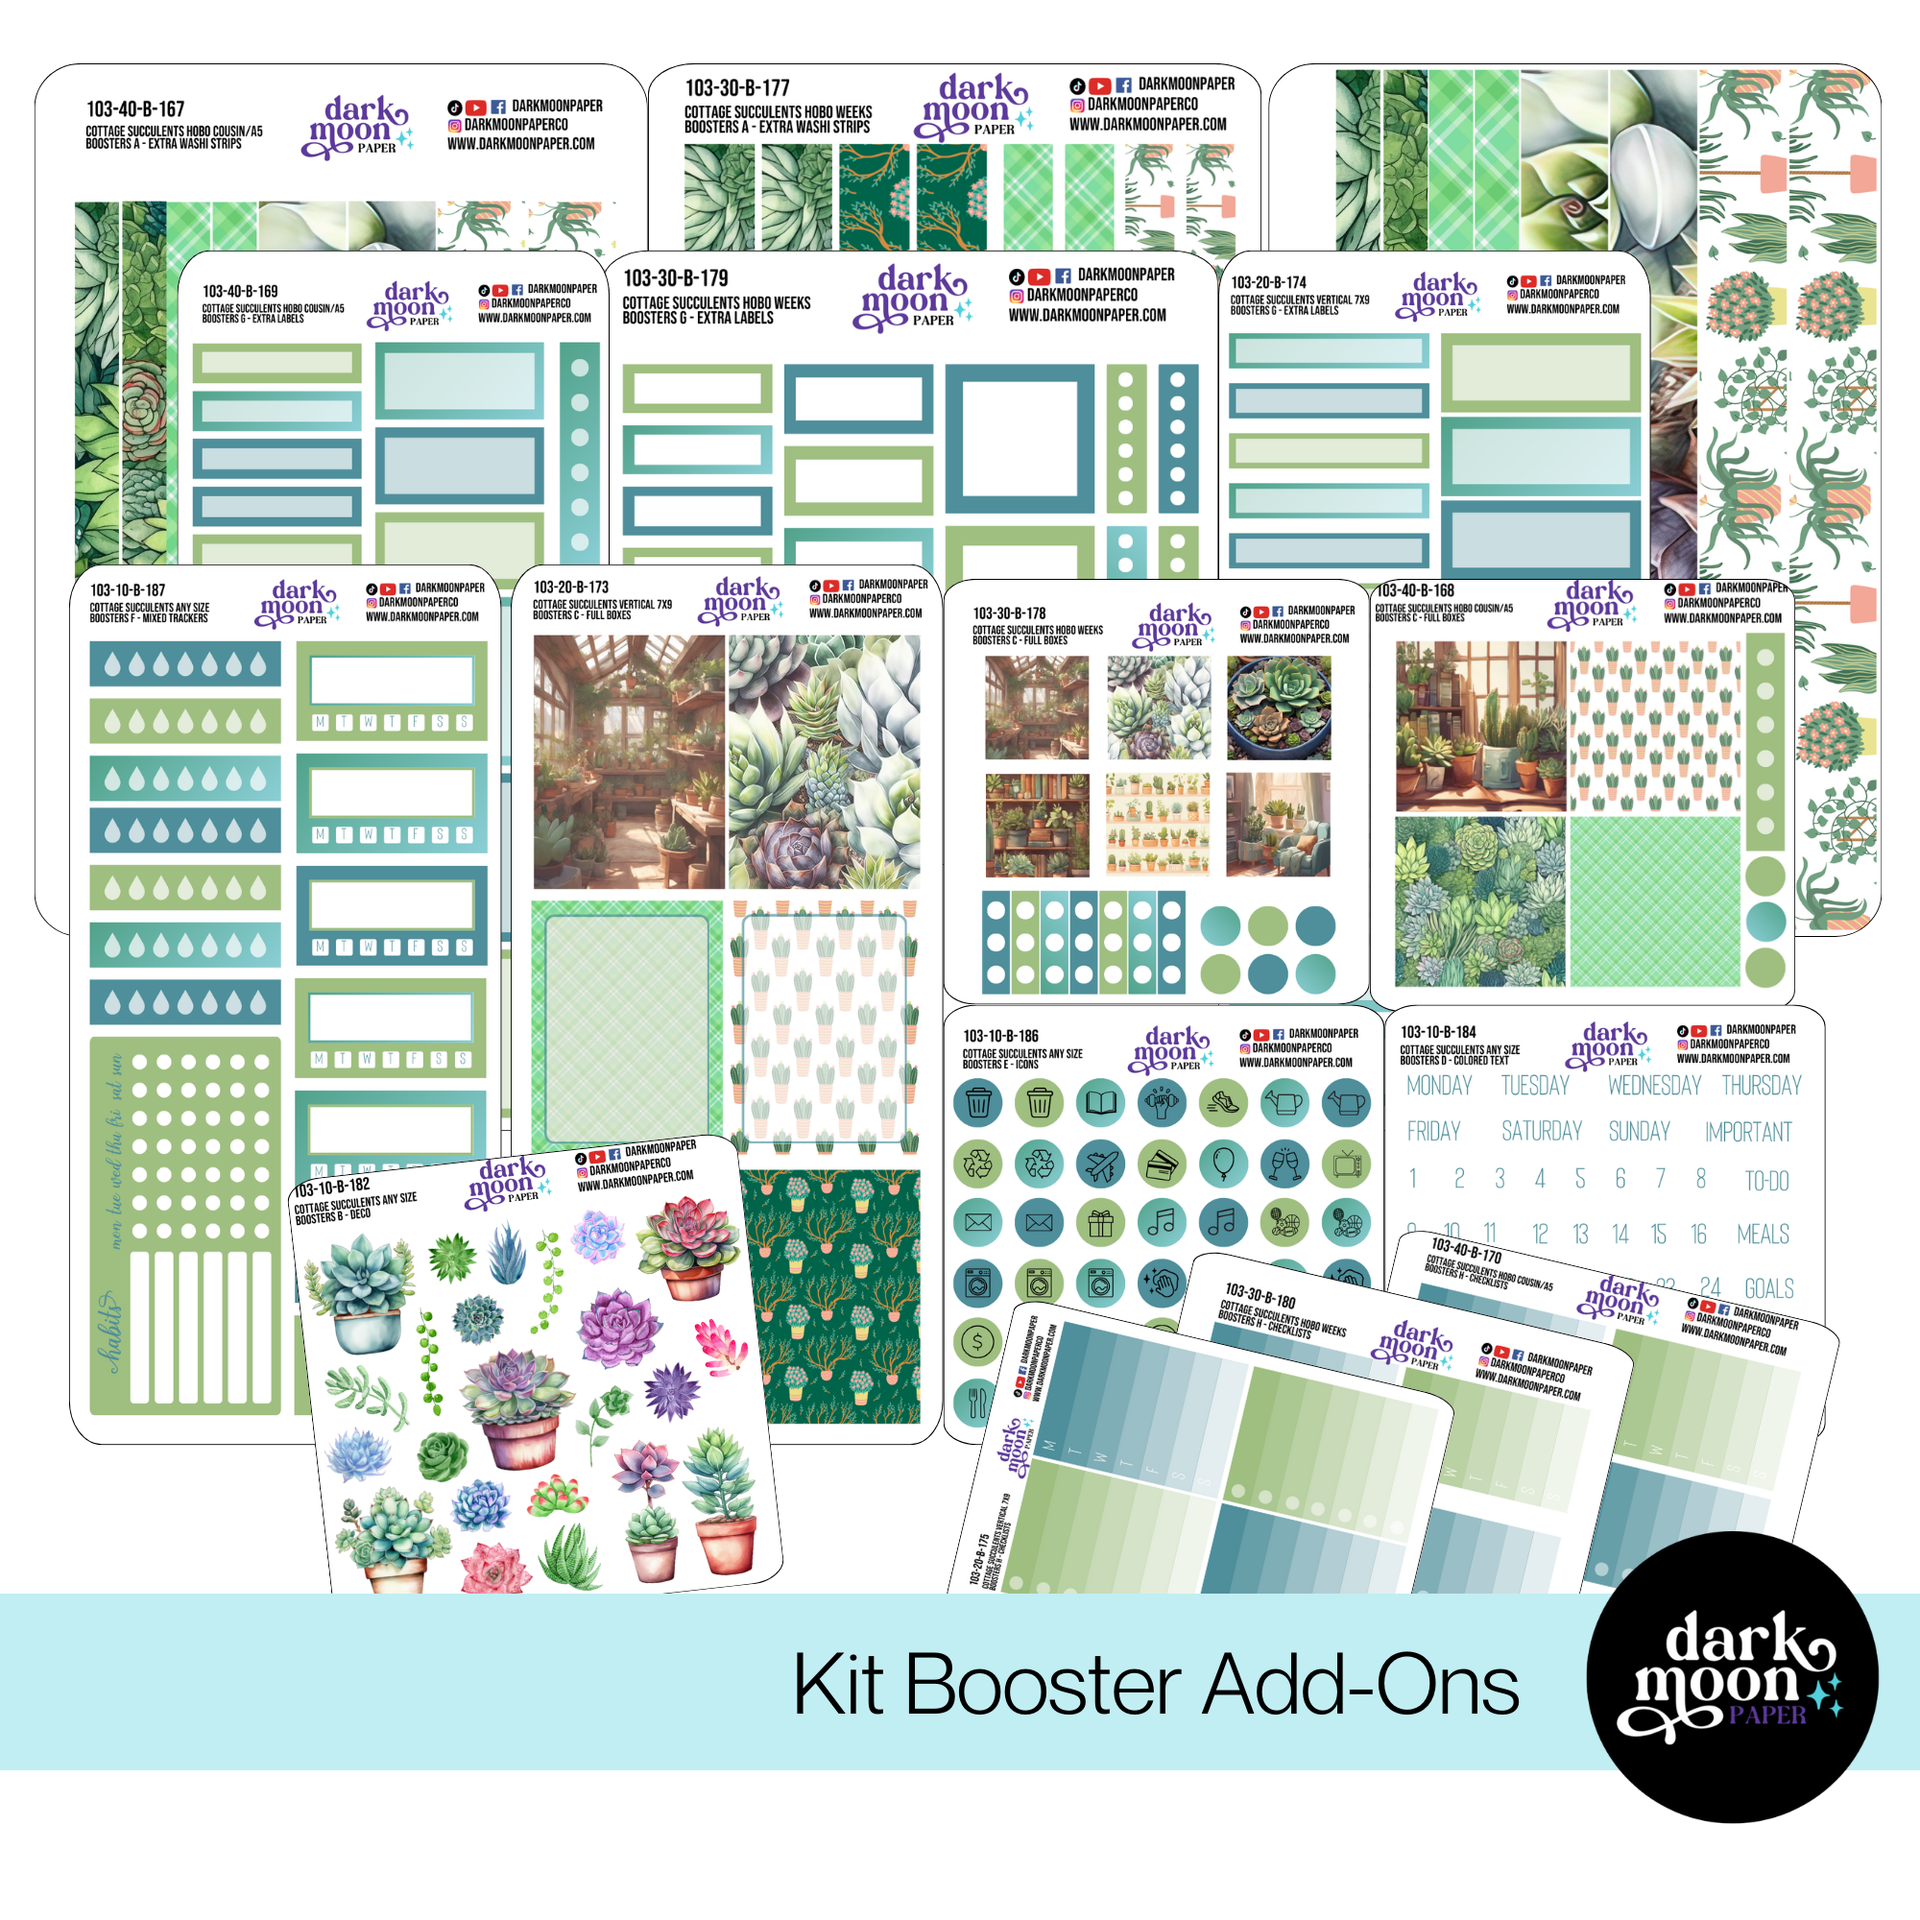
Sticker Kit Boosters: Expand your creative toolkit with matching trackers, icons, and decorative elements for any planner layout.
Cottage Succulents Sticker Kit Boosters for extra touches
Tips for Dashboard Success
Only add sections you’ll actually use; keep it uncluttered and purposeful.
Experiment with layouts, box positions, or themes each month until you hit your sweet spot.
Update checklists and key reminders weekly to keep your dashboard feeling fresh throughout the month.
Refer back and tweak—your dashboard is meant to evolve with your needs!
Ready to Create a Monthly Dashboard You Love?
Setting up a cohesive monthly dashboard is all about mixing functional planning with personal, creative touches. If you’re looking for thoughtfully designed sticker kits to help streamline your next setup, you’ll find our latest dashboard kits and add-ons in the Dark Moon Paper shop. And, if you want regular inspiration, exclusive planning tips, and first access to new collections, join our email newsletter—let’s make every month more organized, creative, and truly yours!
Our custom stickers are a fuss-free way to brighten up your planner pages with perfectly-sized designs that add a spark of personality to every layout.
Planner stickers make organizing easy, fun, and personal! Add color, creativity, and structure to every page, transforming your planner into a tool that reflects you. Perfect for tracking, decorating, and staying inspired daily!
I’m Kat, the artist behind Dark Moon Paper. I started this studio to blend my love of art, handwriting, and the small rituals that make everyday life feel magical. My sticker kits and creative resources are made to set the mood, spark ideas, and give you a little escape from the ordinary.
I create from a cozy studio in the Oregon woods, surrounded by nature and a clear view of the stars.